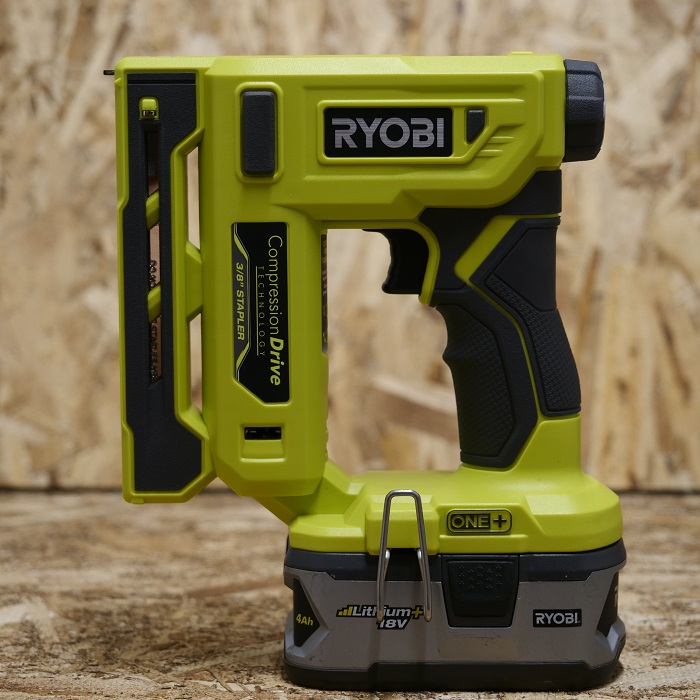
In February, we learned about the Ryobi P317 18V 3/8 Inch Crown Stapler which offers the ease of use and performance of an electric stapler with the portability only a battery powered tool can offer. In this review article we will check it out and go over it’s features and performance.
Ethics Disclosure:
Ryobi was kind enough to provide the Ryobi P317 18V 3/8 Inch Crown Stapler at no cost for review. As with all my reviews, I am not paid, sponsored, or obligated to give a positive review. This review is my opinion of the product based on my usage and knowledge and my review will reflect what I like and dislike about the product. I will do my best to provide you with an unbiased review.
Manufacturer Specs:
- Battery: 18V
- Type of Staples: 3/8 in.
- Magazine Capacity: 85
- Staple Length: 1/4 in. – 9/16 in.
- Staples per Charge: Over 5,500* (with 4.0ah battery)
- Tool Weight: 3 lbs.
- includes: P317 3/8 in. Stapler, 160 steel 1/2 in. staples, dual wire/screen attachment, belt clip, operator’s manual
![]()
Features:
The Ryobi P317 18V stapler uses the very common Arrow T50 style staples found just about everywhere and the stapler has a variety of uses such as installing in wall insulation, upholstery, etc. Being a battery powered tool, everything needed to operate the tool is on board including the motor, compression chamber and battery pack that must be inserted in order to operate the tool and all you have to do is do a simple press of the trigger to install staples. This is much easier than squeezing a manual hand powered stapler and I find it that there is much less fatigue with prolonged use.
This particular cordless stapler uses similar technology from Ryobi’s previous cordless nailers in the sense that it uses a compression chamber to compress air which in turn is the driving force that fires staples. Although I’m not exactly sure how similar or different it is compared to their previous nail guns, what I can tell you is that it is called “Compression Drive Technology” on this new stapler while it’s called AirStrike Technology on their previous nailers.

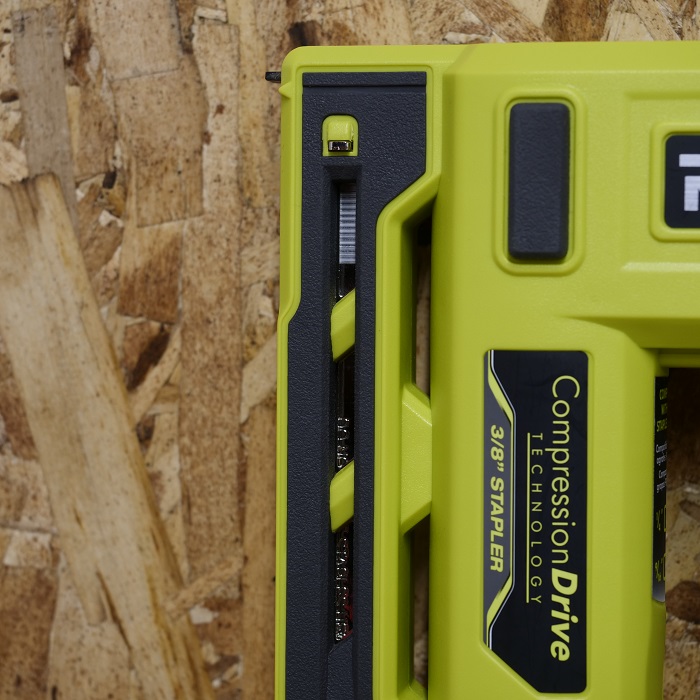
It’s magazine is the same as the ones you’d find on better featured staplers as it’s very simple to use and install new staples. A simple press on the tabs at the back of the magazine allows you to open the magazine to insert new staples and they go in on on the underside while the unit is held upside down. Then once the staples are in place you can close the magazine and it locks into place. This is much better than the older magazines that required a bit more work and is not just easier, but faster too.
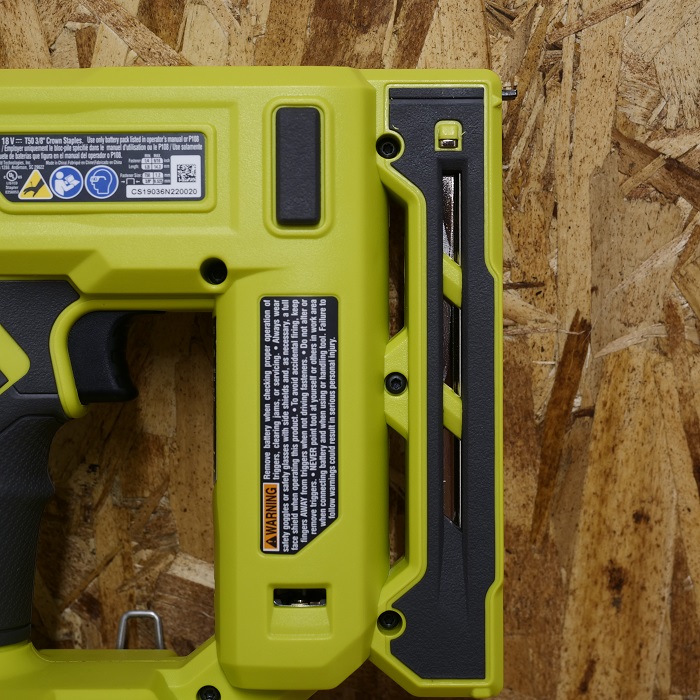
The magazine itself has viewing windows on both left and right sides of the unit to check your remaining staples and to see when you’re running low however only the left side of the magazine actually shows remaining staples. The right side while having a viewing window, does not show any staples when inserted. I’m not sure why this is but if you’re a left handed user, you wont be able to easily check the magazine window as you’ll have to turn the stapler to it’s left side facing you to check remaining staples. It’s not a big deal to me since I am a right handed user and naturally would check the left side of the stapler anyways but it might be a nuisance if you’re a lefty.
The magazine window also doesn’t go all the way up to the top meaning that once your remaining staples reaches a low amount of about 10-15 staples you won’t be able to know if you are completely out or still have a few but if you can’t see any at all it’s safe to say it’s time to reload.
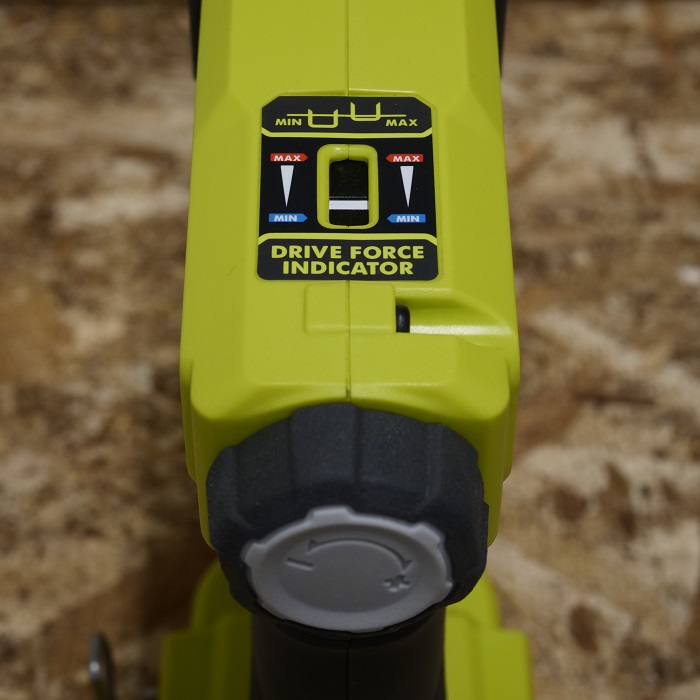
On the top of the unit towards the back you’ll find a “Drive Force Indicator” window that allows you to check and set your desired amount of pressure for staple firing. This is change the depth of each staple driven whether you want them to lay flush, above flush or sub flush depending on your needs. To change the desired pressure, there’s a dial on the back that allows you to increase or decrease the driving force.
As a safety feature, this cordless stapler will not fire unless it makes contact with the surface. This is so you don’t accidentally fire any staples at yourself or others which would lead to injury.
While this stapler operates similarly to other cordless staplers, there are a few key features missing on this Ryobi stapler such as dry fire lockout and bump fire modes. The lack of dry fire lockout means that it will still attempt to fire staples even when the magazine is completely out. This means that the stapler will leave small indents on the work surface when it actuates while empty. In my opinion this isn’t a big deal because these kinds of staplers aren’t used on parts of the project that will be shown, so a few dimples as a result of misfires aren’t going to ruin the project. As far as the lack of bump fire mode goes, I would have preferred if it did have this feature but a regular manual hand stapler doesn’t have that feature or dry fire lockouts so in that sense you’re not missing much if you’re upgrading from the hand powered option. However I will mention that Milwaukee’s M12 Stapler which is very similar in design to this unit, (not a surprise since they’re both made by TTI), does offer proper nail gun feature such as dry fire lockout and bump fire mode along with a magazine viewing window that goes all the way up to the tip so you’ll be able to know you’re completely out of staples. At the time of writing, both the Ryobi 18V cordless stapler and the Milwaukee M12 stapler are the same price of $79 (M12 stapler used to be $99 baretool) which makes the M12 model a bit more appealing at the same price point. However if you’re in the Ryobi 18V system, it wouldn’t make much sense to jump on the Milwaukee M12 version of the stapler since you’d have to invest in another battery and charger platform and have to hassle with juggling two sets of incompatible batteries. I’d stay put in the Ryobi system if I was invested only in the Ryobi system.
The Ryobi 18V P317 stapler when compared to a traditional manual hand powered stapler, is heavier at 3 lbs baretool and when paired with the 4.0 ah battery I tested it with was a total of 4.5 lbs which makes it considerably heavier than the hand powered option. It’s also bulkier because the battery pack adds some bulk to the bottom of the unit. Some may complain saying Ryobi’s cordless version is too heavy or too bulky and they may have good reason to say so however I believe the added weight and bulk are a good compromise because it’s a lot easier to use than a hand powered stapler. You won’t get tired from the weight of a hand powered stapler when carrying it all day but you will get fatigued from squeezing and pumping it’s handle to pump out staples over and over. This is something I can’t say of the cordless battery option which is less tiring over long periods of use since a simple trigger press is all that’s needed to fire staples.
Ryobi also includes a clip on dual screen/wire attachment which “allows installation that guides staples without penetrating wire or screen”. I’m not exactly sure what this is for but I would assume it’s for installing something like the wire mesh needed for adding stucco to the exterior of a building. I have no comments or opinions about this attachment since it’s not something I’ve ever used or needed in the past but it might be useful for others. What I can say about it is that it is double sided and it clamps onto the front top of the stapler near the firing mechanism which is used to set the appropriate spacing for a specific application.
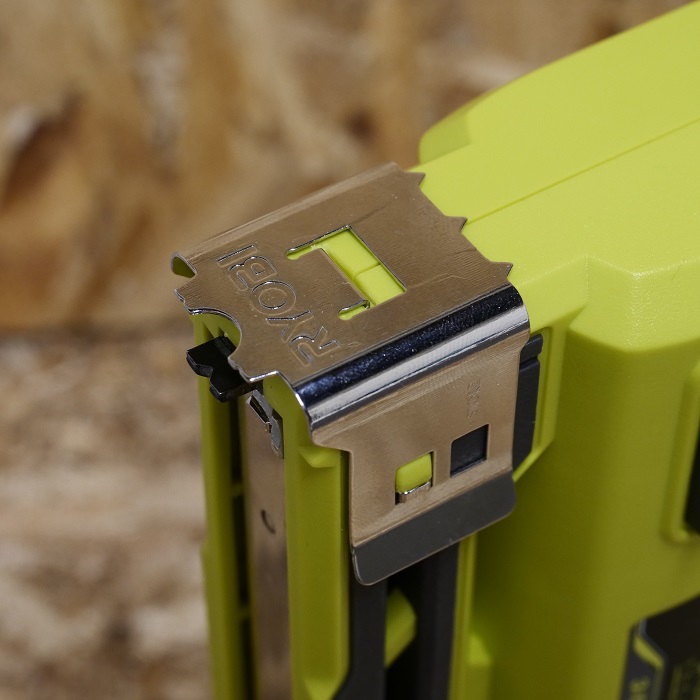
Other features include a belt clip that must be installed prior to use and can be placed on left or right hand side of the unit, ergonomic handle with textured rubber grip, no mar rubber bumpers on sides of the stapler and a brushed motor.
Performance:
Long time Tool Craze follower Glenn has one of the older blue Ryobi 18V P300 staplers and was saying his unit was underpowered and required the assistance of a hammer to fully seat it’s staples. I’ve never tried that older model before so we’d have to take his word for it and it’s safe to say that the new P317 model is a very big improvement in the performance department. First of all it had no problem sinking staples into softwood lumber such as 2×4’s and was very consistent. In my testing, full power consistently sets staples subflush into the material, medium power sets staples consistently flush with a few subflush and a few above flush and the lowest power setting sets staples consistently barely above flush. Slightly above flush is perfect in most cases as it would not puncture the material being fastened such as the paper backing found on in wall insulation. When installing in wall insulation you wouldn’t want the staples to be flush or sub-flush since that would tear the paper and ruin the grip strength of the staple so personally I’d just set this stapler on it’s lowest power setting and forget it.

I’ve set several hundred staples with this new P317 stapler and not only does it consistently set them deep enough but none were improperly seated or required additional hammering to set correctly nor were there any that needed to be pulled out. So it’s a very consistent performer. As a disclosure, I haven’t set thousands of staples with it yet so I’m sure it’ll have the occasional improperly set staple at some point but so far it doesn’t look like that should be a concern any time soon.
I’ve used Ryobi’s Airstrike nailers many times in the past and currently own the 15 gauge nailer. They’re great nailers, with plenty of power and are very reliable. One thing that instantly stands out with the Airstrike models, is that they have a delay between trigger press and nail fire. This is because they have to compress air in a short amount of time to fire nails and staples. It’s not what I would call slow as they are still fast but there is a delay and It’s noticeable. That’s what’s interesting about this new P317 model with it’s newer compression drive tech because staple fires are instantaneous and fire just as fast as you can press the trigger. There’s no delay whatsoever and it performs more like a typical electric corded plug in stapler.
I mentioned that there wasn’t a bump fire mode on this stapler which can be found on the M12 Milwaukee version or other cordless nailers and staplers however considering the fact that this Ryobi P317 stapler lays down staples so fast and instantly that in my opinion, it doesn’t need a bump fire mode to be quick. Sure, I’d still prefer the actual bump fire mode to hold the trigger down and bump to fire over and over but I can still achieve multiple staple fires in a similar amount of time as I would with bump fire with repeated trigger presses. I would also go on and say it can be faster than a hammer tacker stapler since it’s faster to press a trigger and fire than it is to swing a hammer tacker over and over.
As far as runtime goes, according to Ryobi, you can expect over 5,500 staples driven with a P108 4.0 ah battery which is very impressive runtime for a cordless nailer. I didn’t test for runtime but I wouldn’t have any doubts that it can actually reach that number or close to it.
Conclusion:
While the Ryobi P317 18V stapler has a few quirks such as only being able to see remaining staples on one side of the magazine and the lack of standard nail gun features such as dry fire lockout and bump fire mode, I still feel they hit a home run with this stapler as it’s an excellent performer since it lays down staples instantly and without any delay, has the performance to consistently set staples to the desired depth, has excellent runtime and is very easy to use since it will not tire you out like a hand stapler would. It appears to be a big upgrade in the performance department compared to the previous blue series P300 stapler. The Milwaukee M12 Stapler might offer more bells and whistles for the same price point, I’d say that if you’re invested in the Ryobi 18V cordless system and need a battery powered stapler that uses Arrow T50 style staplers, look no further than the Ryobi P317 model.
Pro’s:
- solid performance drives staples to desired depth consistently
- instant firing, no delay like on Airstrike models
- excellent rated runtime of over 5,500 staples per charge with 4.0ah battery
- very simple and easy to use
Cons:
- no dry fire lockout
- no bump fire mode
- only left side of magazine window displays remaining staples
- remaining staples magazine window does not go all the way to the tip to show if completely out of staples
- heavier and bulkier than hand staplers although it is easier, faster and less tiring to use than hand staplers
![]()
Free 2 day shipping – Try Amazon Prime 30-Day Free Trial
DISCLOSURE:
Tool Craze does not sell this product or any product on the Tool Craze website. Tool Craze does not handle the sale of any item in any way. If you purchase something through a post on the Tool Craze site, Tool Craze may get a small share of the sale. Please refer to the About section for more info.
Great review Javier. I would most likely buy one but unfortunately we still don’t have this available in Australia so I still have the P300. My comments about it being inconsistent setting staples is probably not helped by me mainly working with MDF which is quite dense. But it still failed so set 100% in pine the few times I have used it.
Thanks Glenn, glad you liked the review. Hopefully Australia will get these soon so you guys can enjoy these new models in your part of the globe.