 The good folks over at Flir were kind enough to send me over one of their DM284 imaging multimeter with IGM for me to check out. What is the Flir DM284 imaging multimeter? Flir known for their thermal imaging hardware took a multimeter (a quite advanced one at that) and added a thermal imaging sensor and also added a bunch of other useful features such as non contact voltage detector, integrated LED light, thermocouple, and the ability to use flexible current clamp meters.
Flir DM248 Features:
- 18-function DMM including VFD mode, True RMS, LoZ, and NCV
- thermocouple input
- 3m drop tested
- 10-year warranty
- LED worklight
- IP54 rated
- thermal imager
- 2.8″ color display
- 3 color palettes: iron, rainbow, grayscale
By combining a thermal imager with a multimeter, users can detect certain problems quicker with the aid of the thermal imager. For example, let’s say you have a potential breaker overload – rather than test each circuit individually, you could use the thermal imager and point it at the electrical breaker box to spot which breaker might be the problem. So by using the thermal imager you’d save a lot of time from testing each one till you found the problem with a multimeter alone. Also by combining a thermal imager and a multimeter into one it saves space because now you only need to carry one tool that has both functions instead of two separate tools.
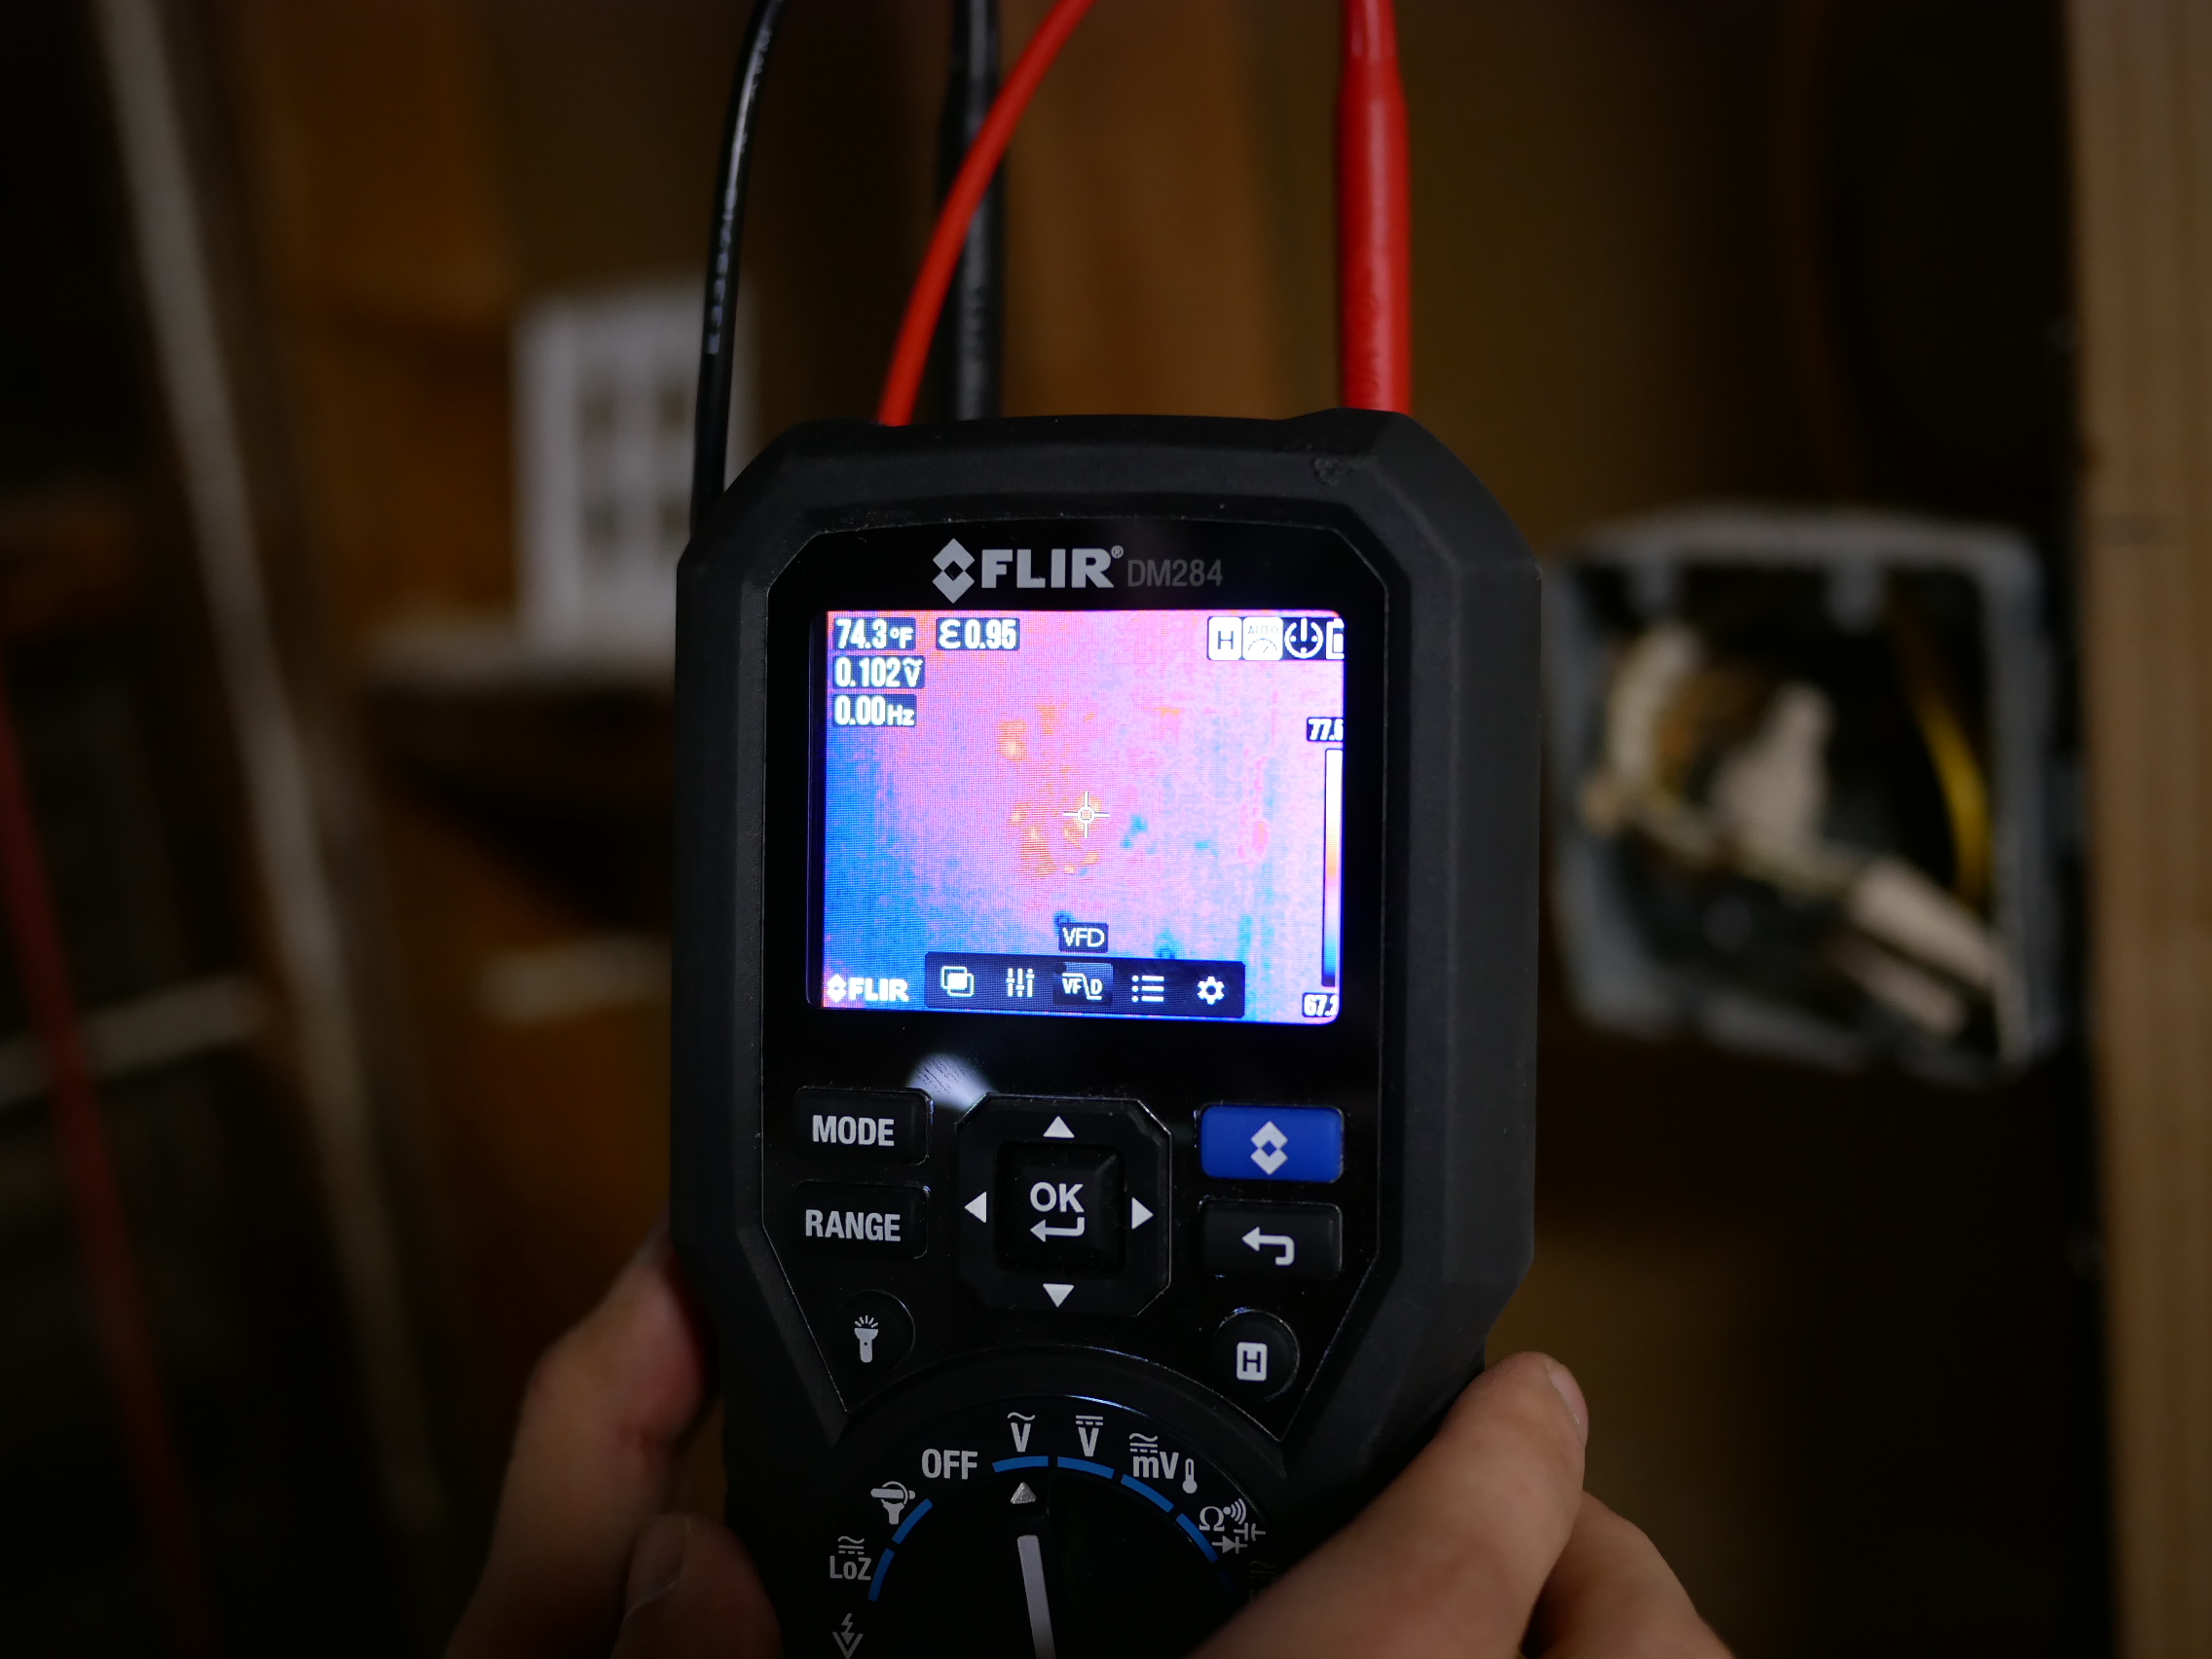
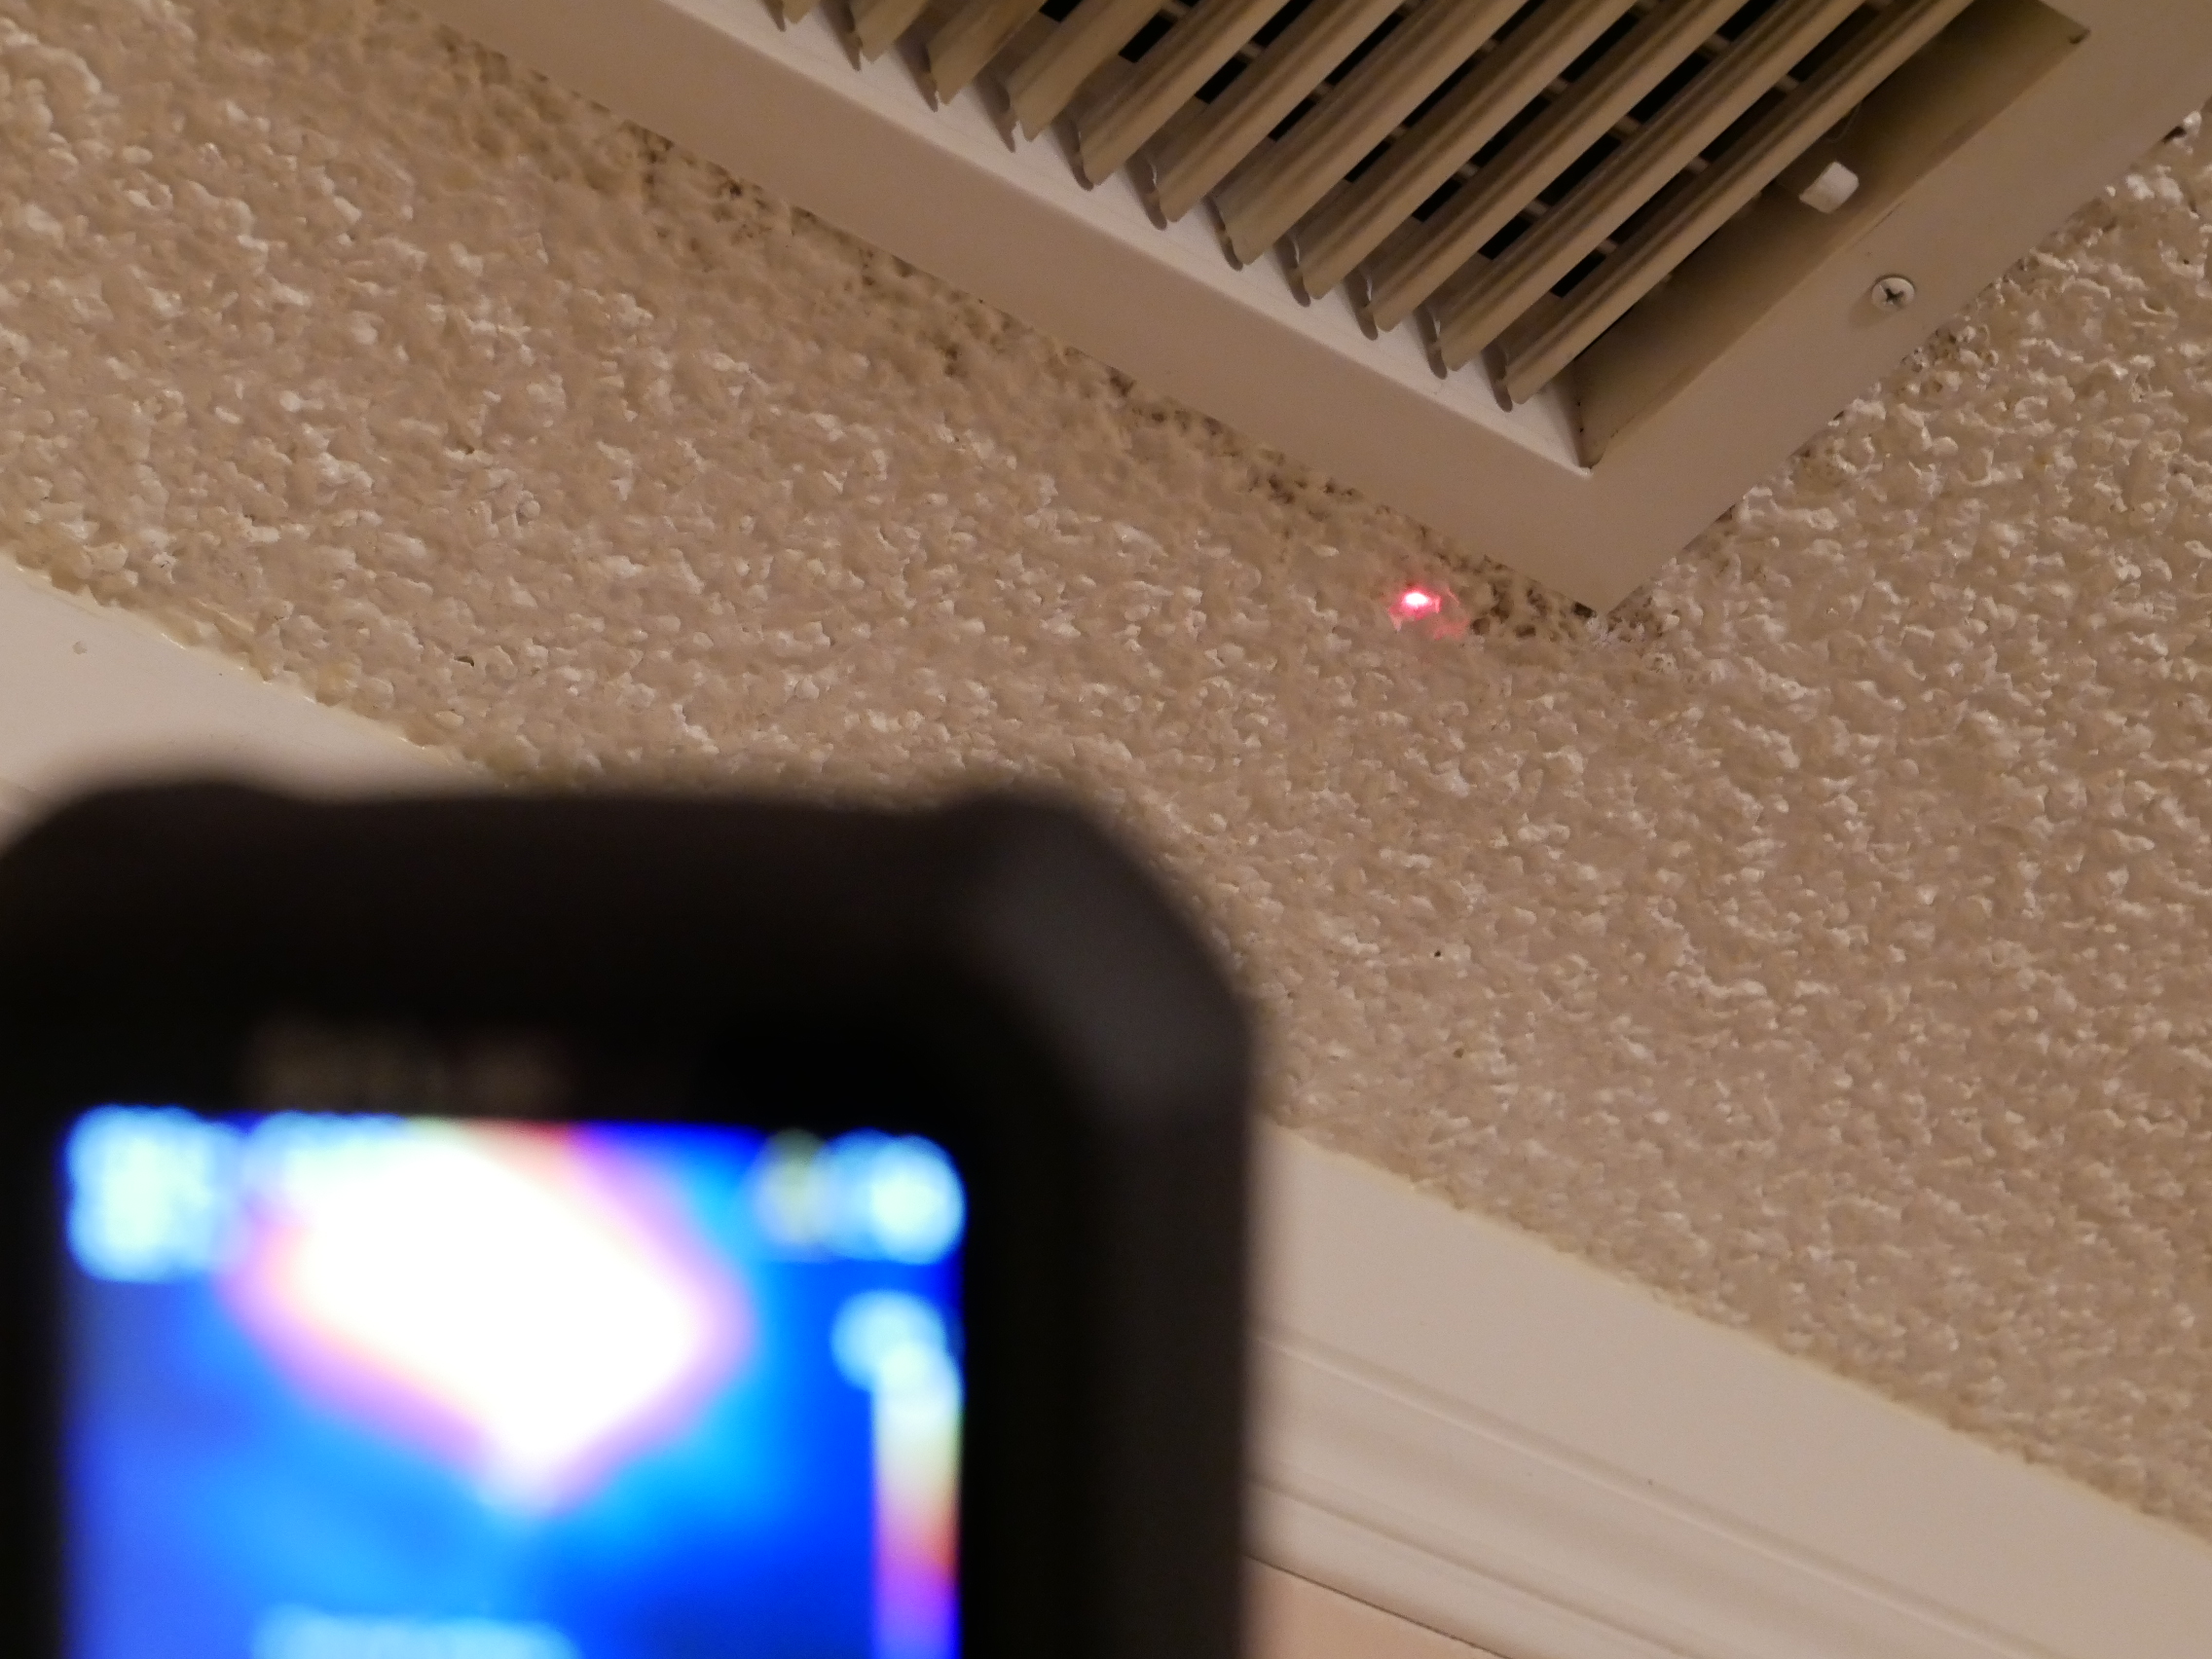
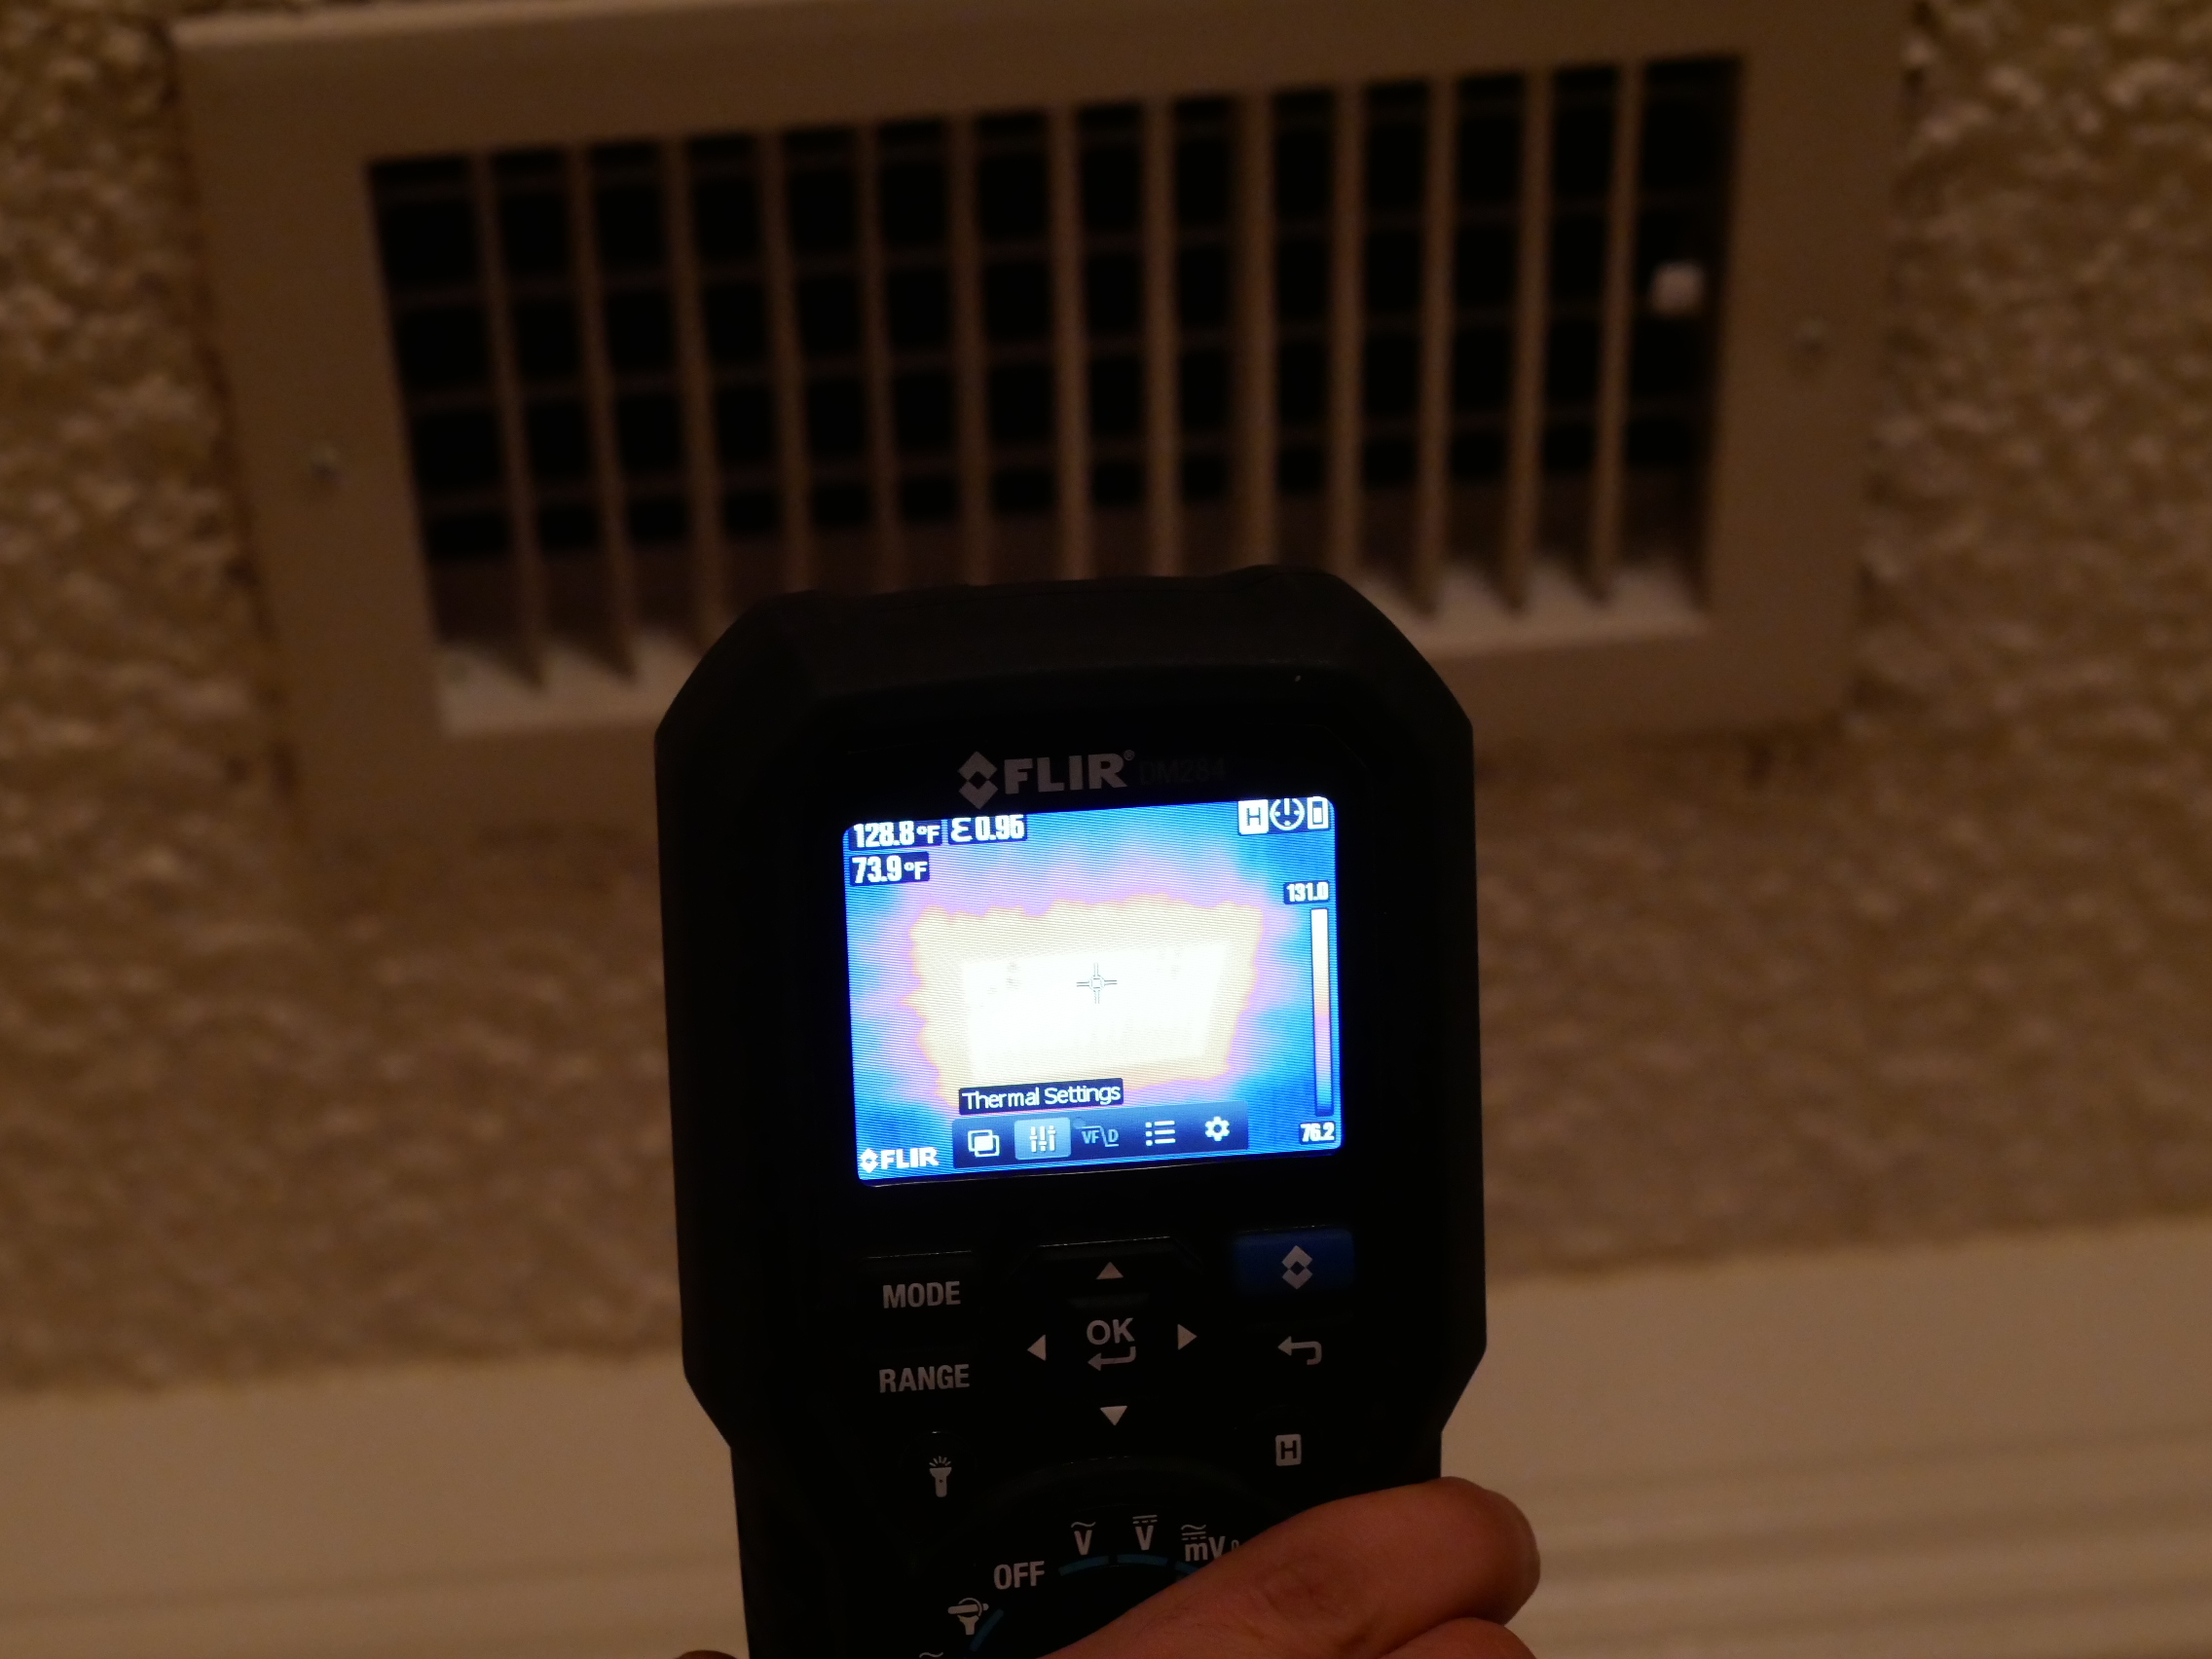
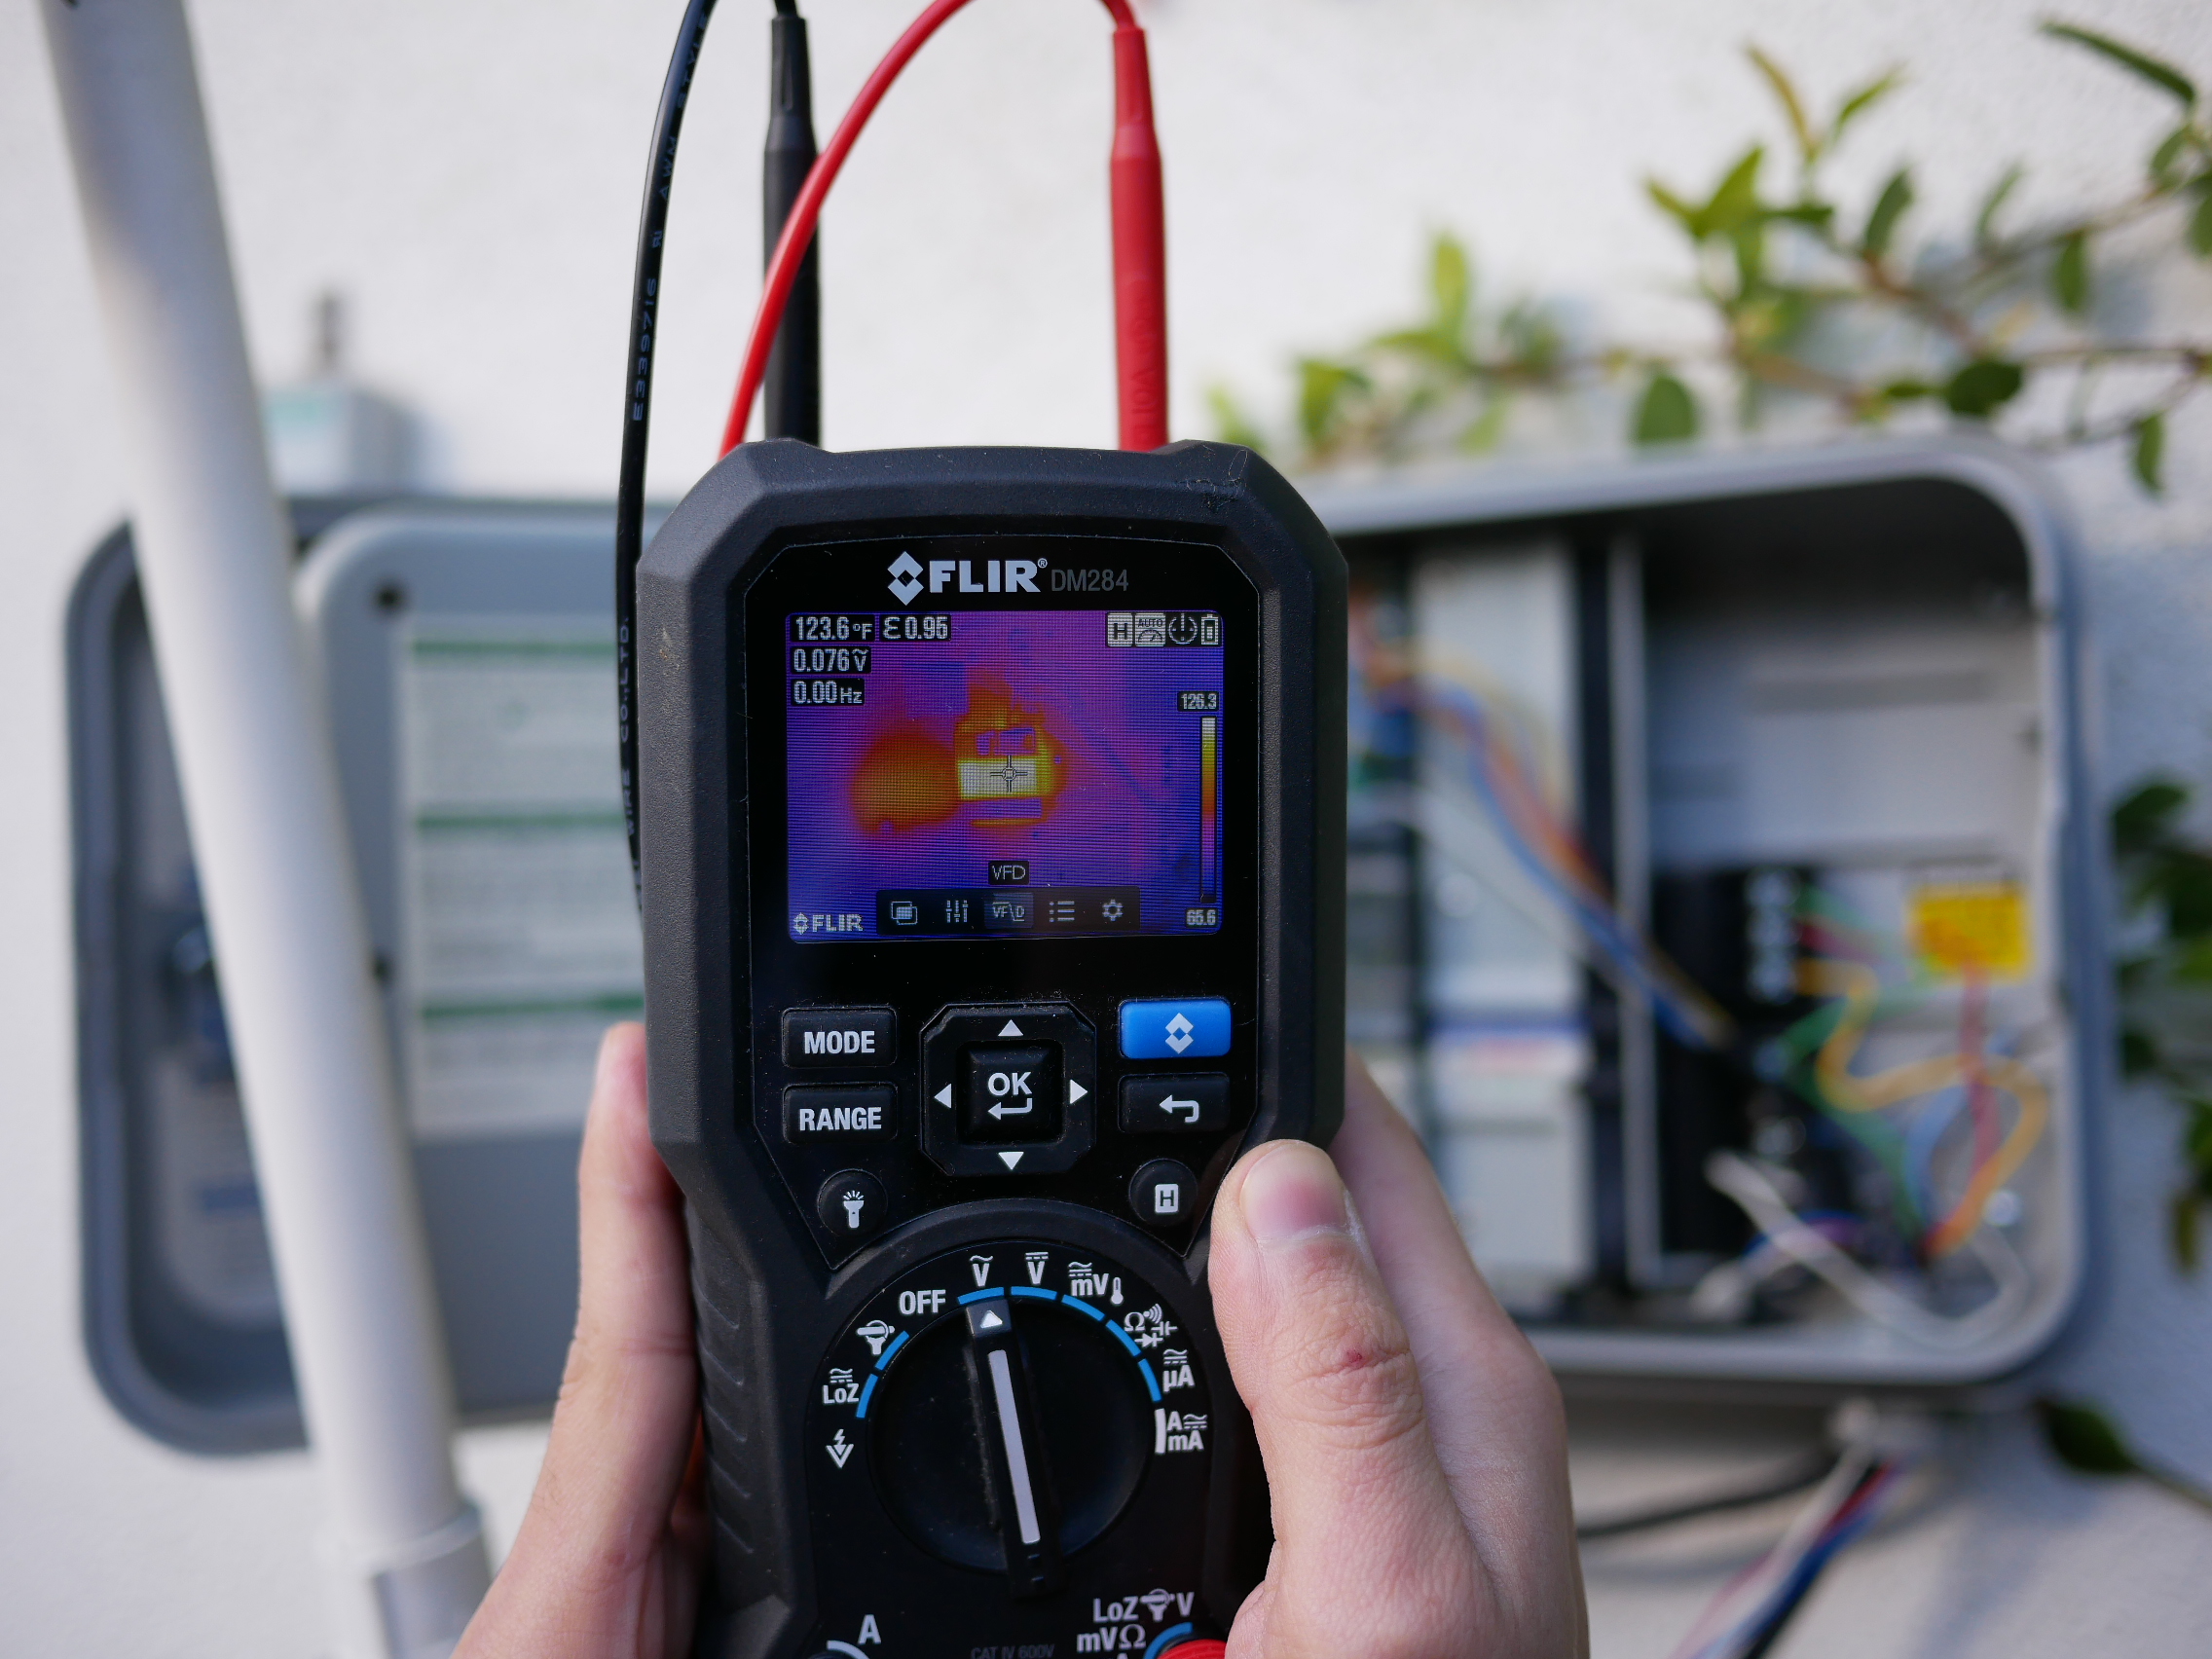
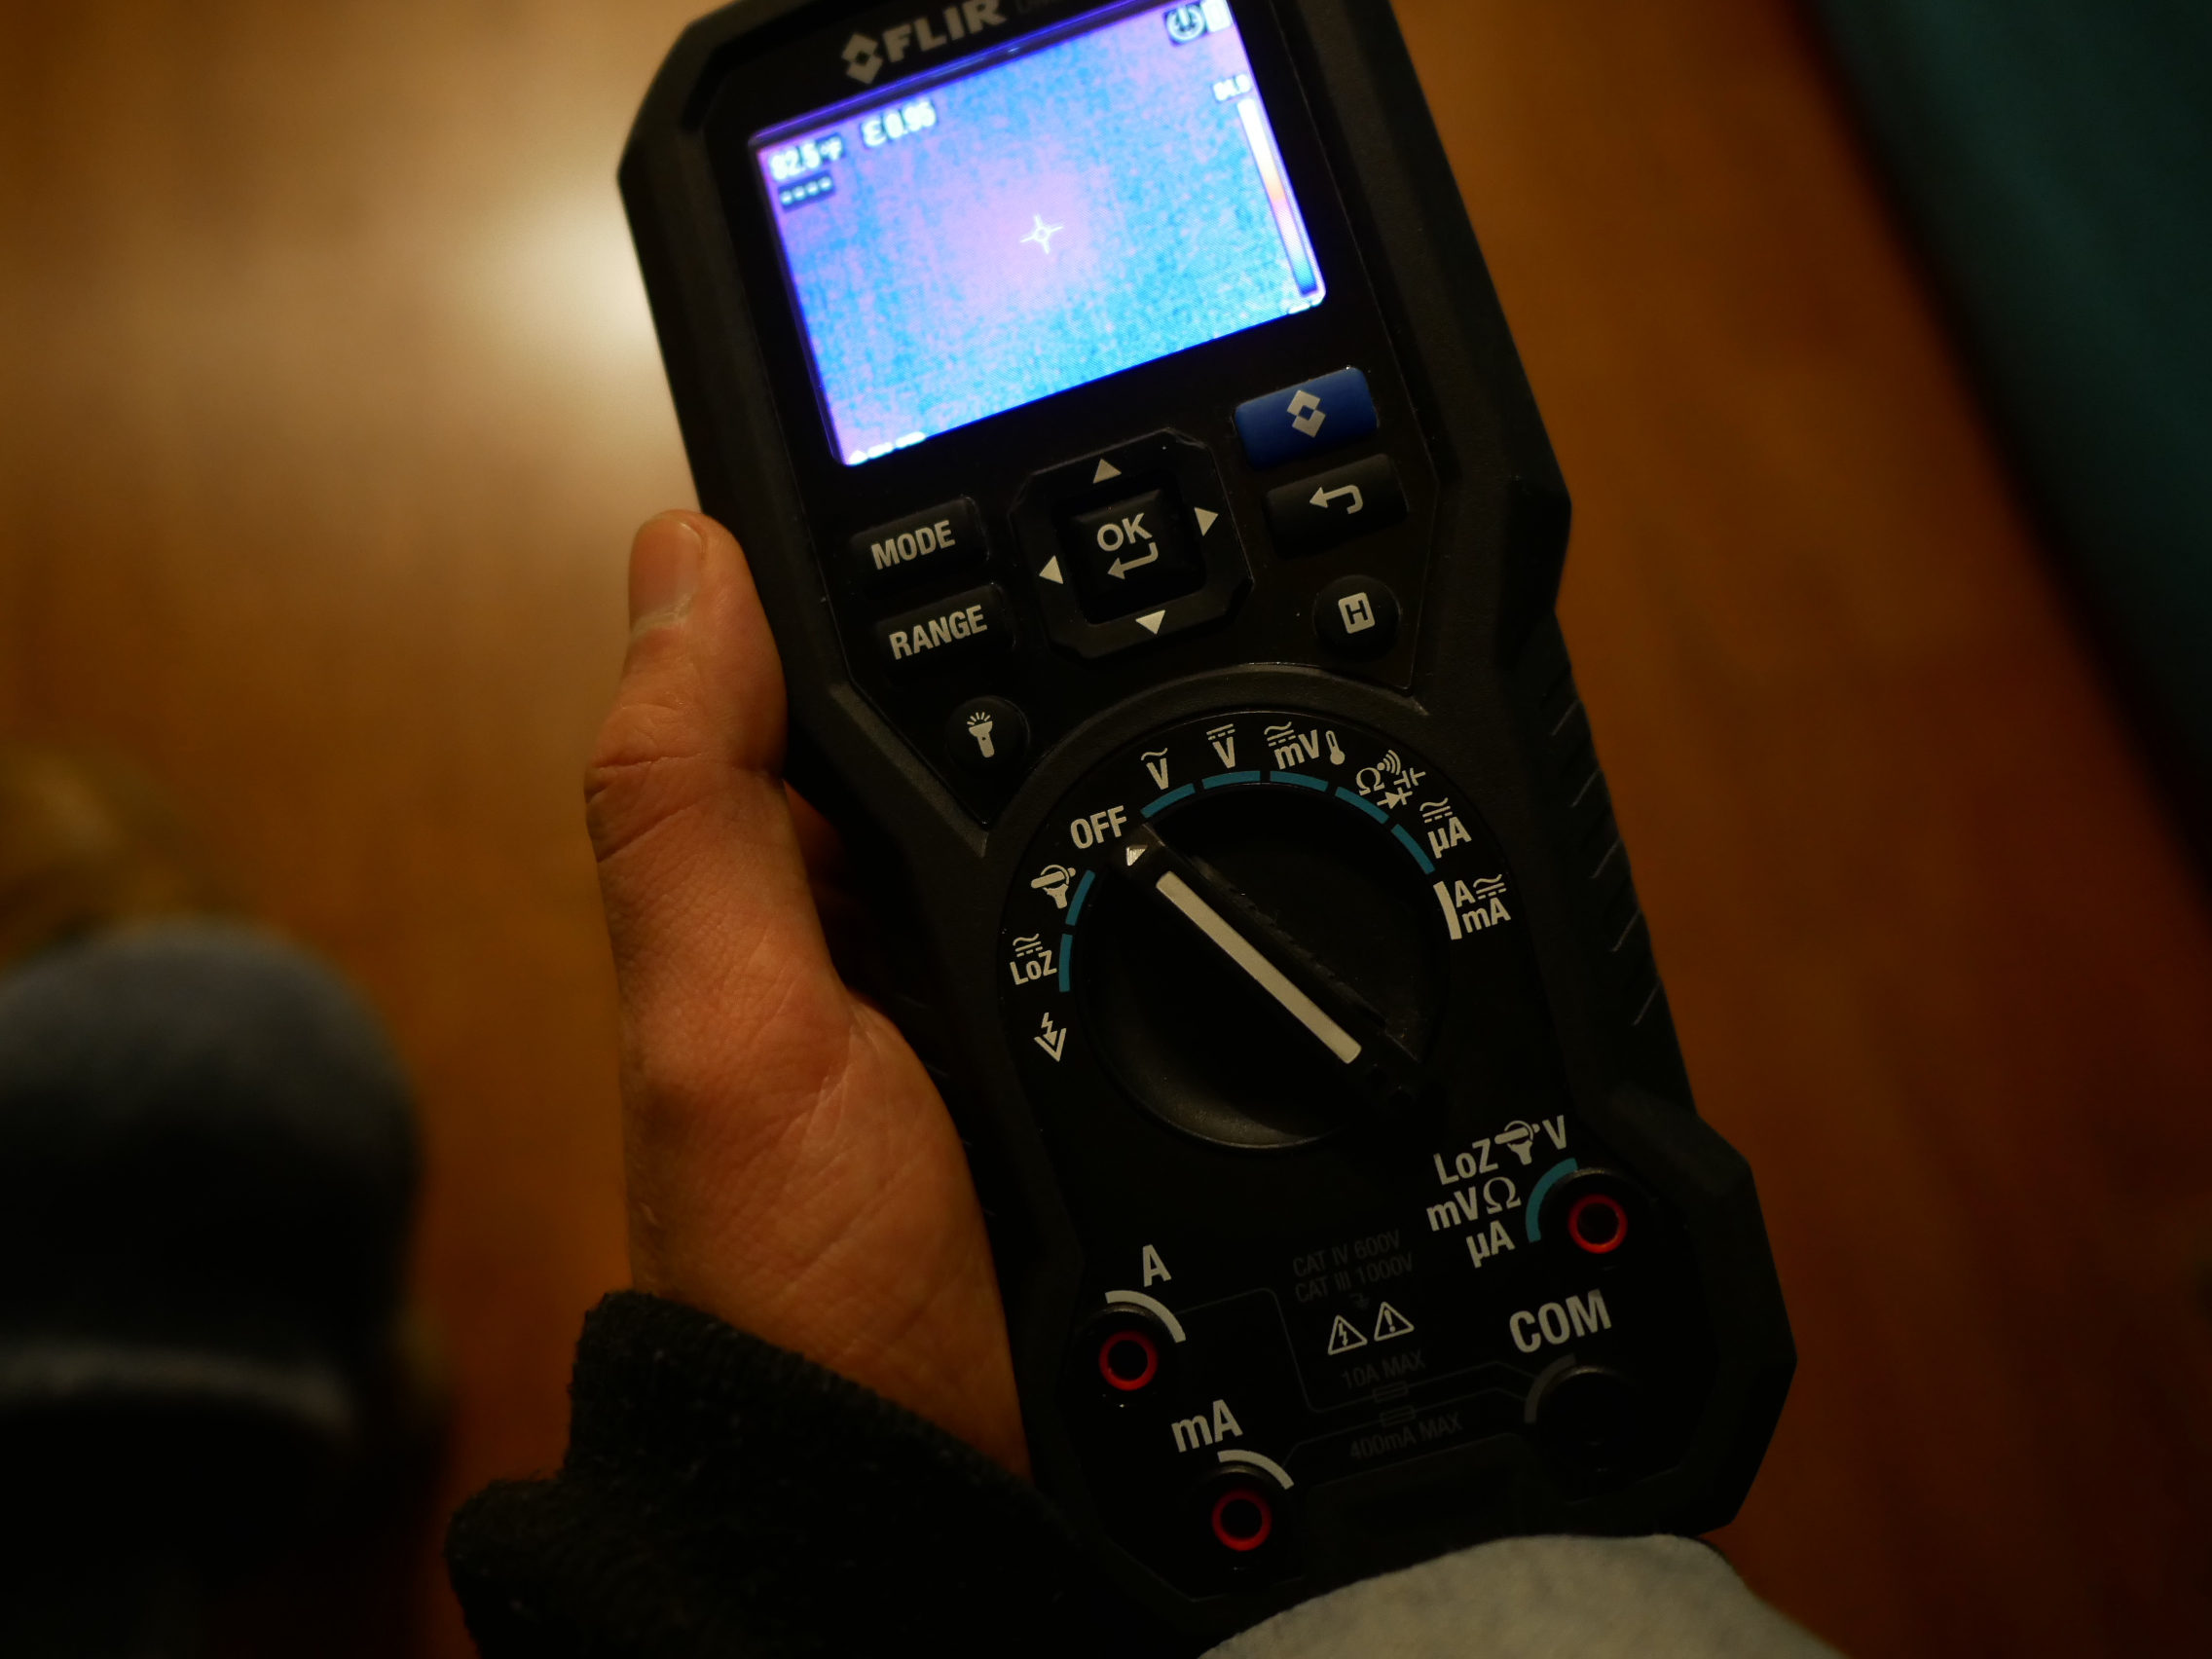
The integrated thermal imager does a good job at detecting heat variances and displays an image on the built in screen and shows you the varying temperatures with multiple colors. The colors aid in showing you roughly how hot or cold items are within the image frame with a color scale on the right side with minimum and maximum temperatures. You can also get a pinpoint temperature reading on the center crosshair marker. You’ll get actual temp readings when you point the center crosshair marker over the desired object. You can also turn on a built in laser pointer that points the laser at the center of the thermal image to give you pinpoint temperature readings. And so you don’t have to worry about ruining the sensor and laser lens, the unit has a built in cover that slides open for use and closes to protect both lenses from damage.


The resolution that’s coming out of the thermal imager is 160×120 pixels which is good enough to make out what you’re looking at and a better resolution than the budget thermal imagers out there with lower resolutions. It doesn’t offer dual image sensors like the Flir C2 that I tested out previously so you will only see temperature differences on screen. I liked how the Flir C2 had the ability to overlap a thermal image over a visible light image and fuse them together which would give further detail to the images. You were able to make out what was in the thermal image picture instead of heat variances in the form of varying colors. For example if you were to point the thermal imager at someones face, you’d see blobs of color in the form of a human head but you’d also be able to see fine details such as an outline of their face and features such as eyes, nose, hair, etc. You don’t get this added feature on the Flir DM284 since it uses only one thermal imaging sensor without the aid of a visible light sensor. For the most part, this should be good enough for trouble shooting as you know what you’re looking at based on your own eyesight.

Also unlike the Flir C2 you can’t snap thermal image pictures and save them on the device. There is no such option to do this meaning you will not be able to export picture files for viewing later or archiving. But since this is a digital multimeter, you are able to freeze everything on screen by pressing the hold button. This is the closest thing to taking a thermal image picture without the ability to save. So as a thermal imager you get all the core features without any of the fancy stuff like saving picture files.
After turning on the unit, by default it goes into the multimeter function that you have selected but at anytime in any function setting you can turn on the thermal imager. What’s neat about using the thermal imager is that you can see temperature readings on screen while operating the multimeter functions simultaneously. You don’t have to use one feature or the other as you can use them both at the same time.
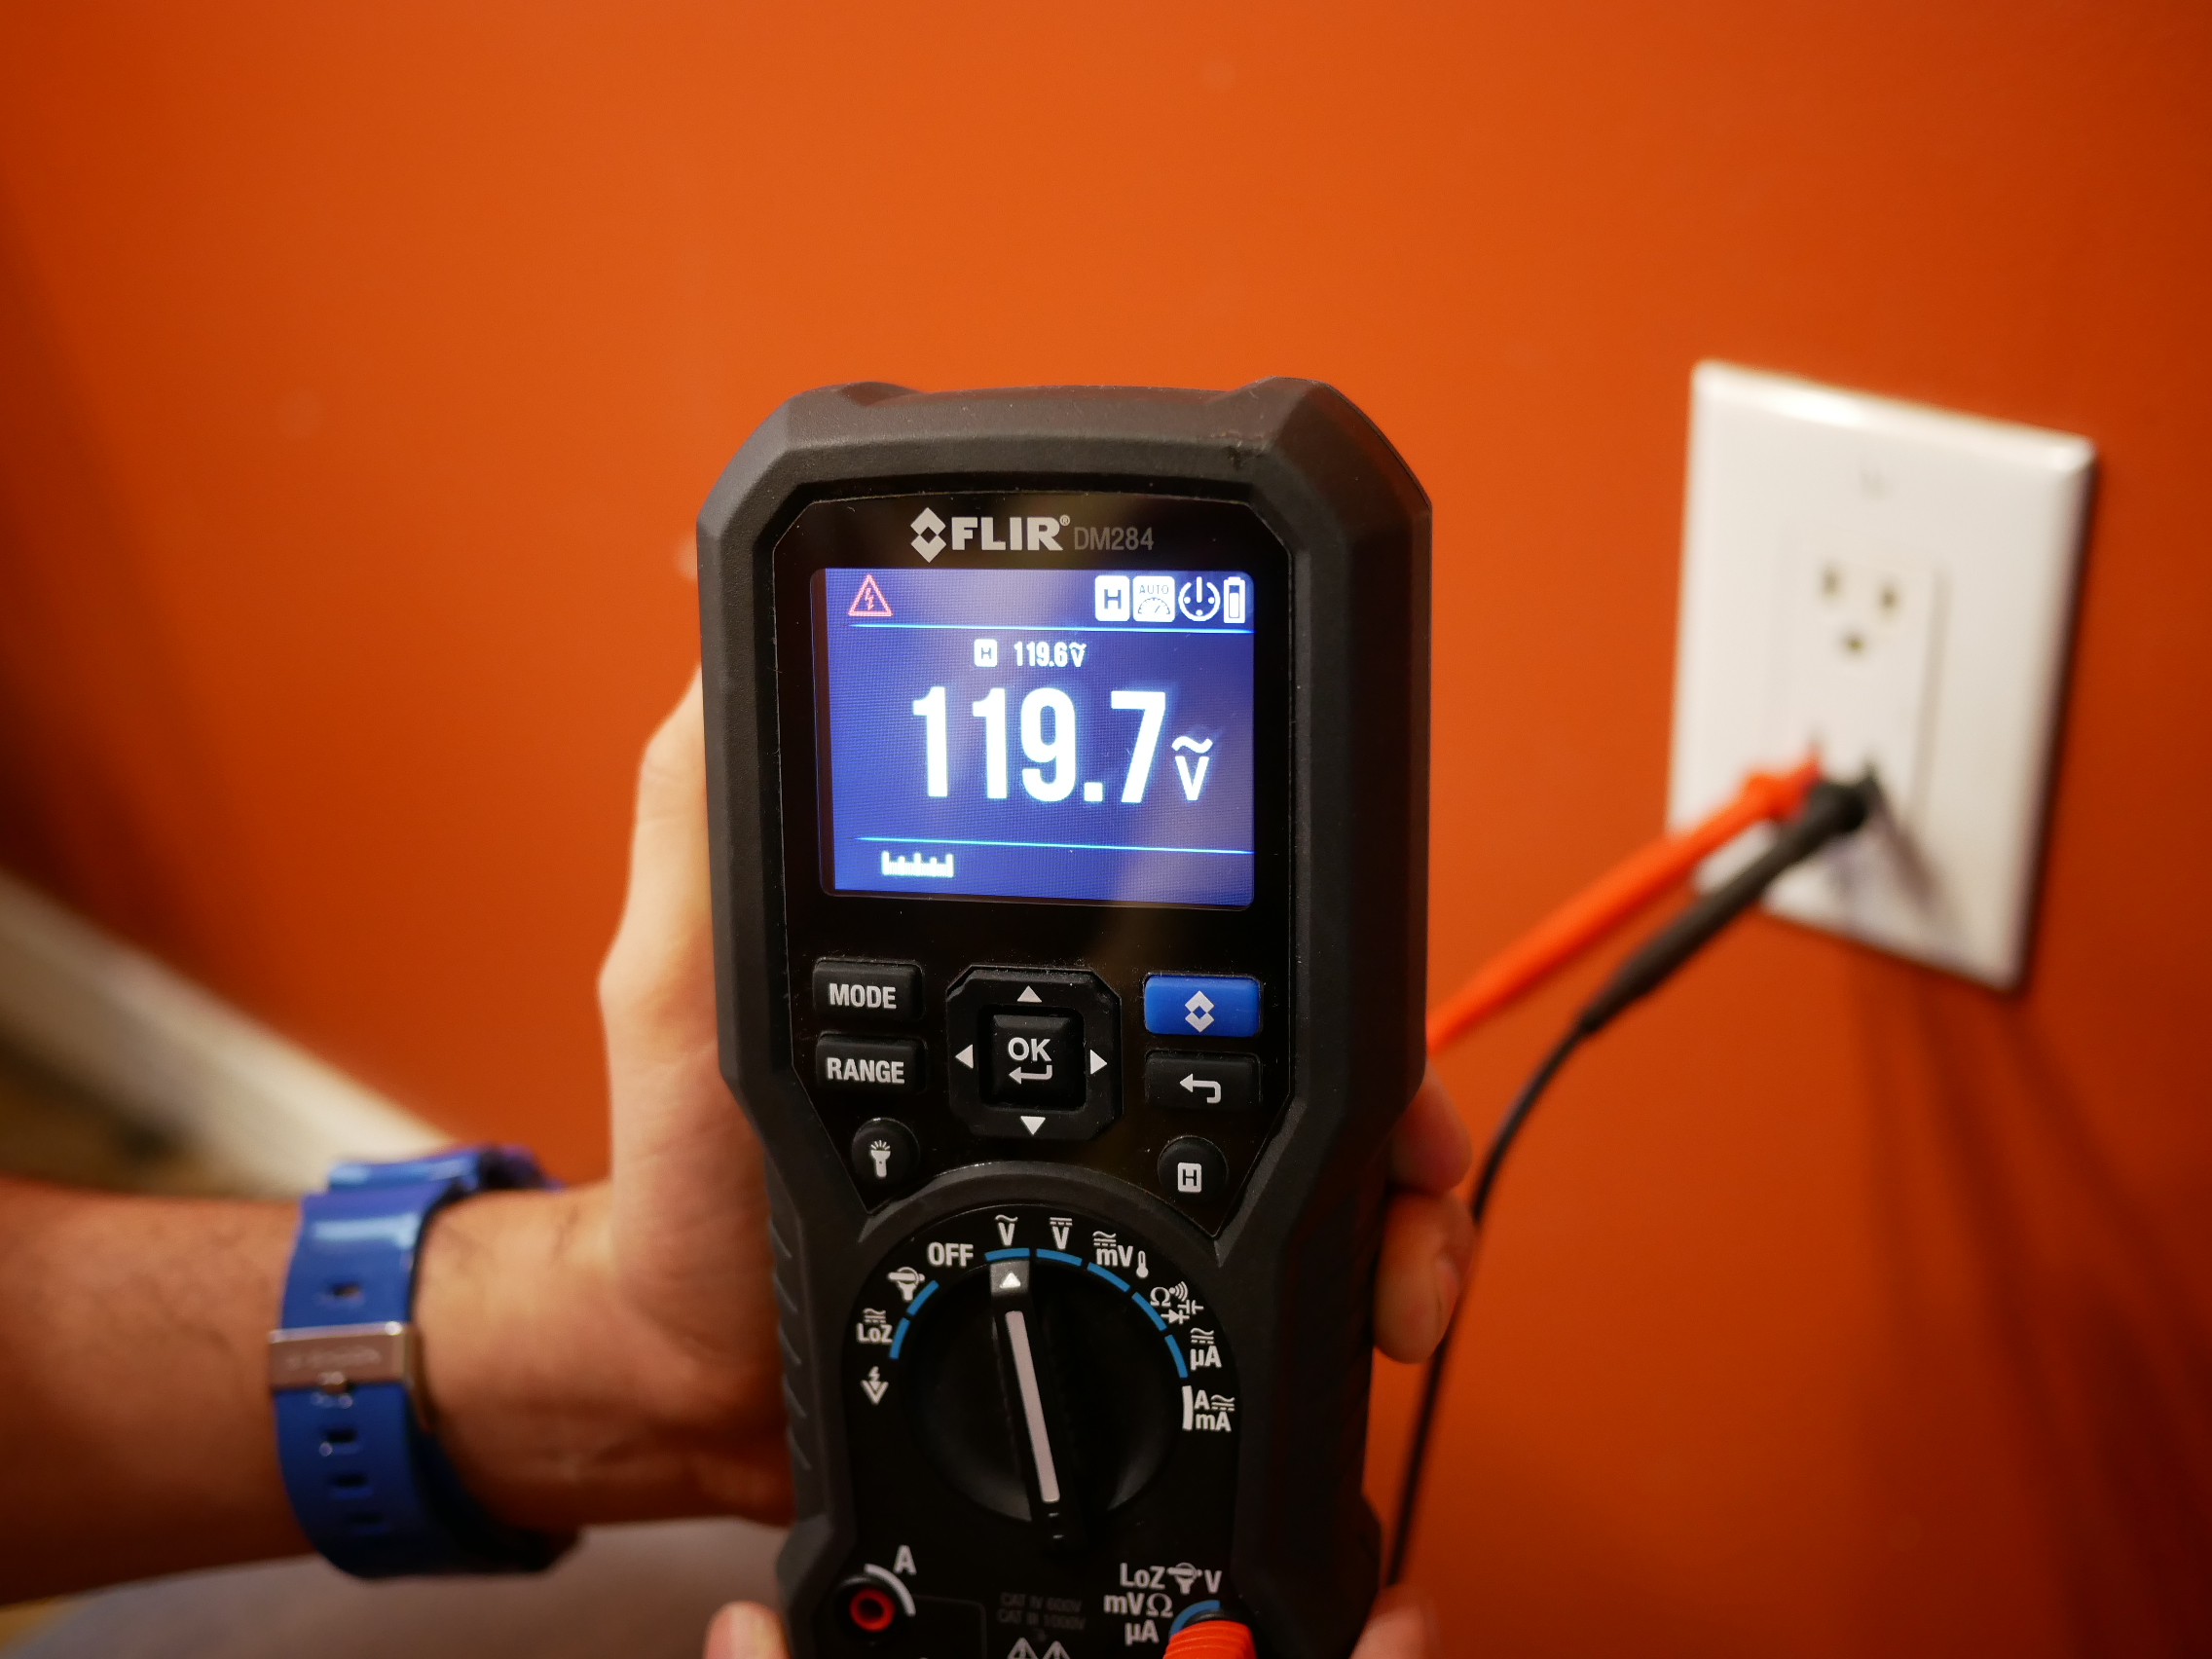
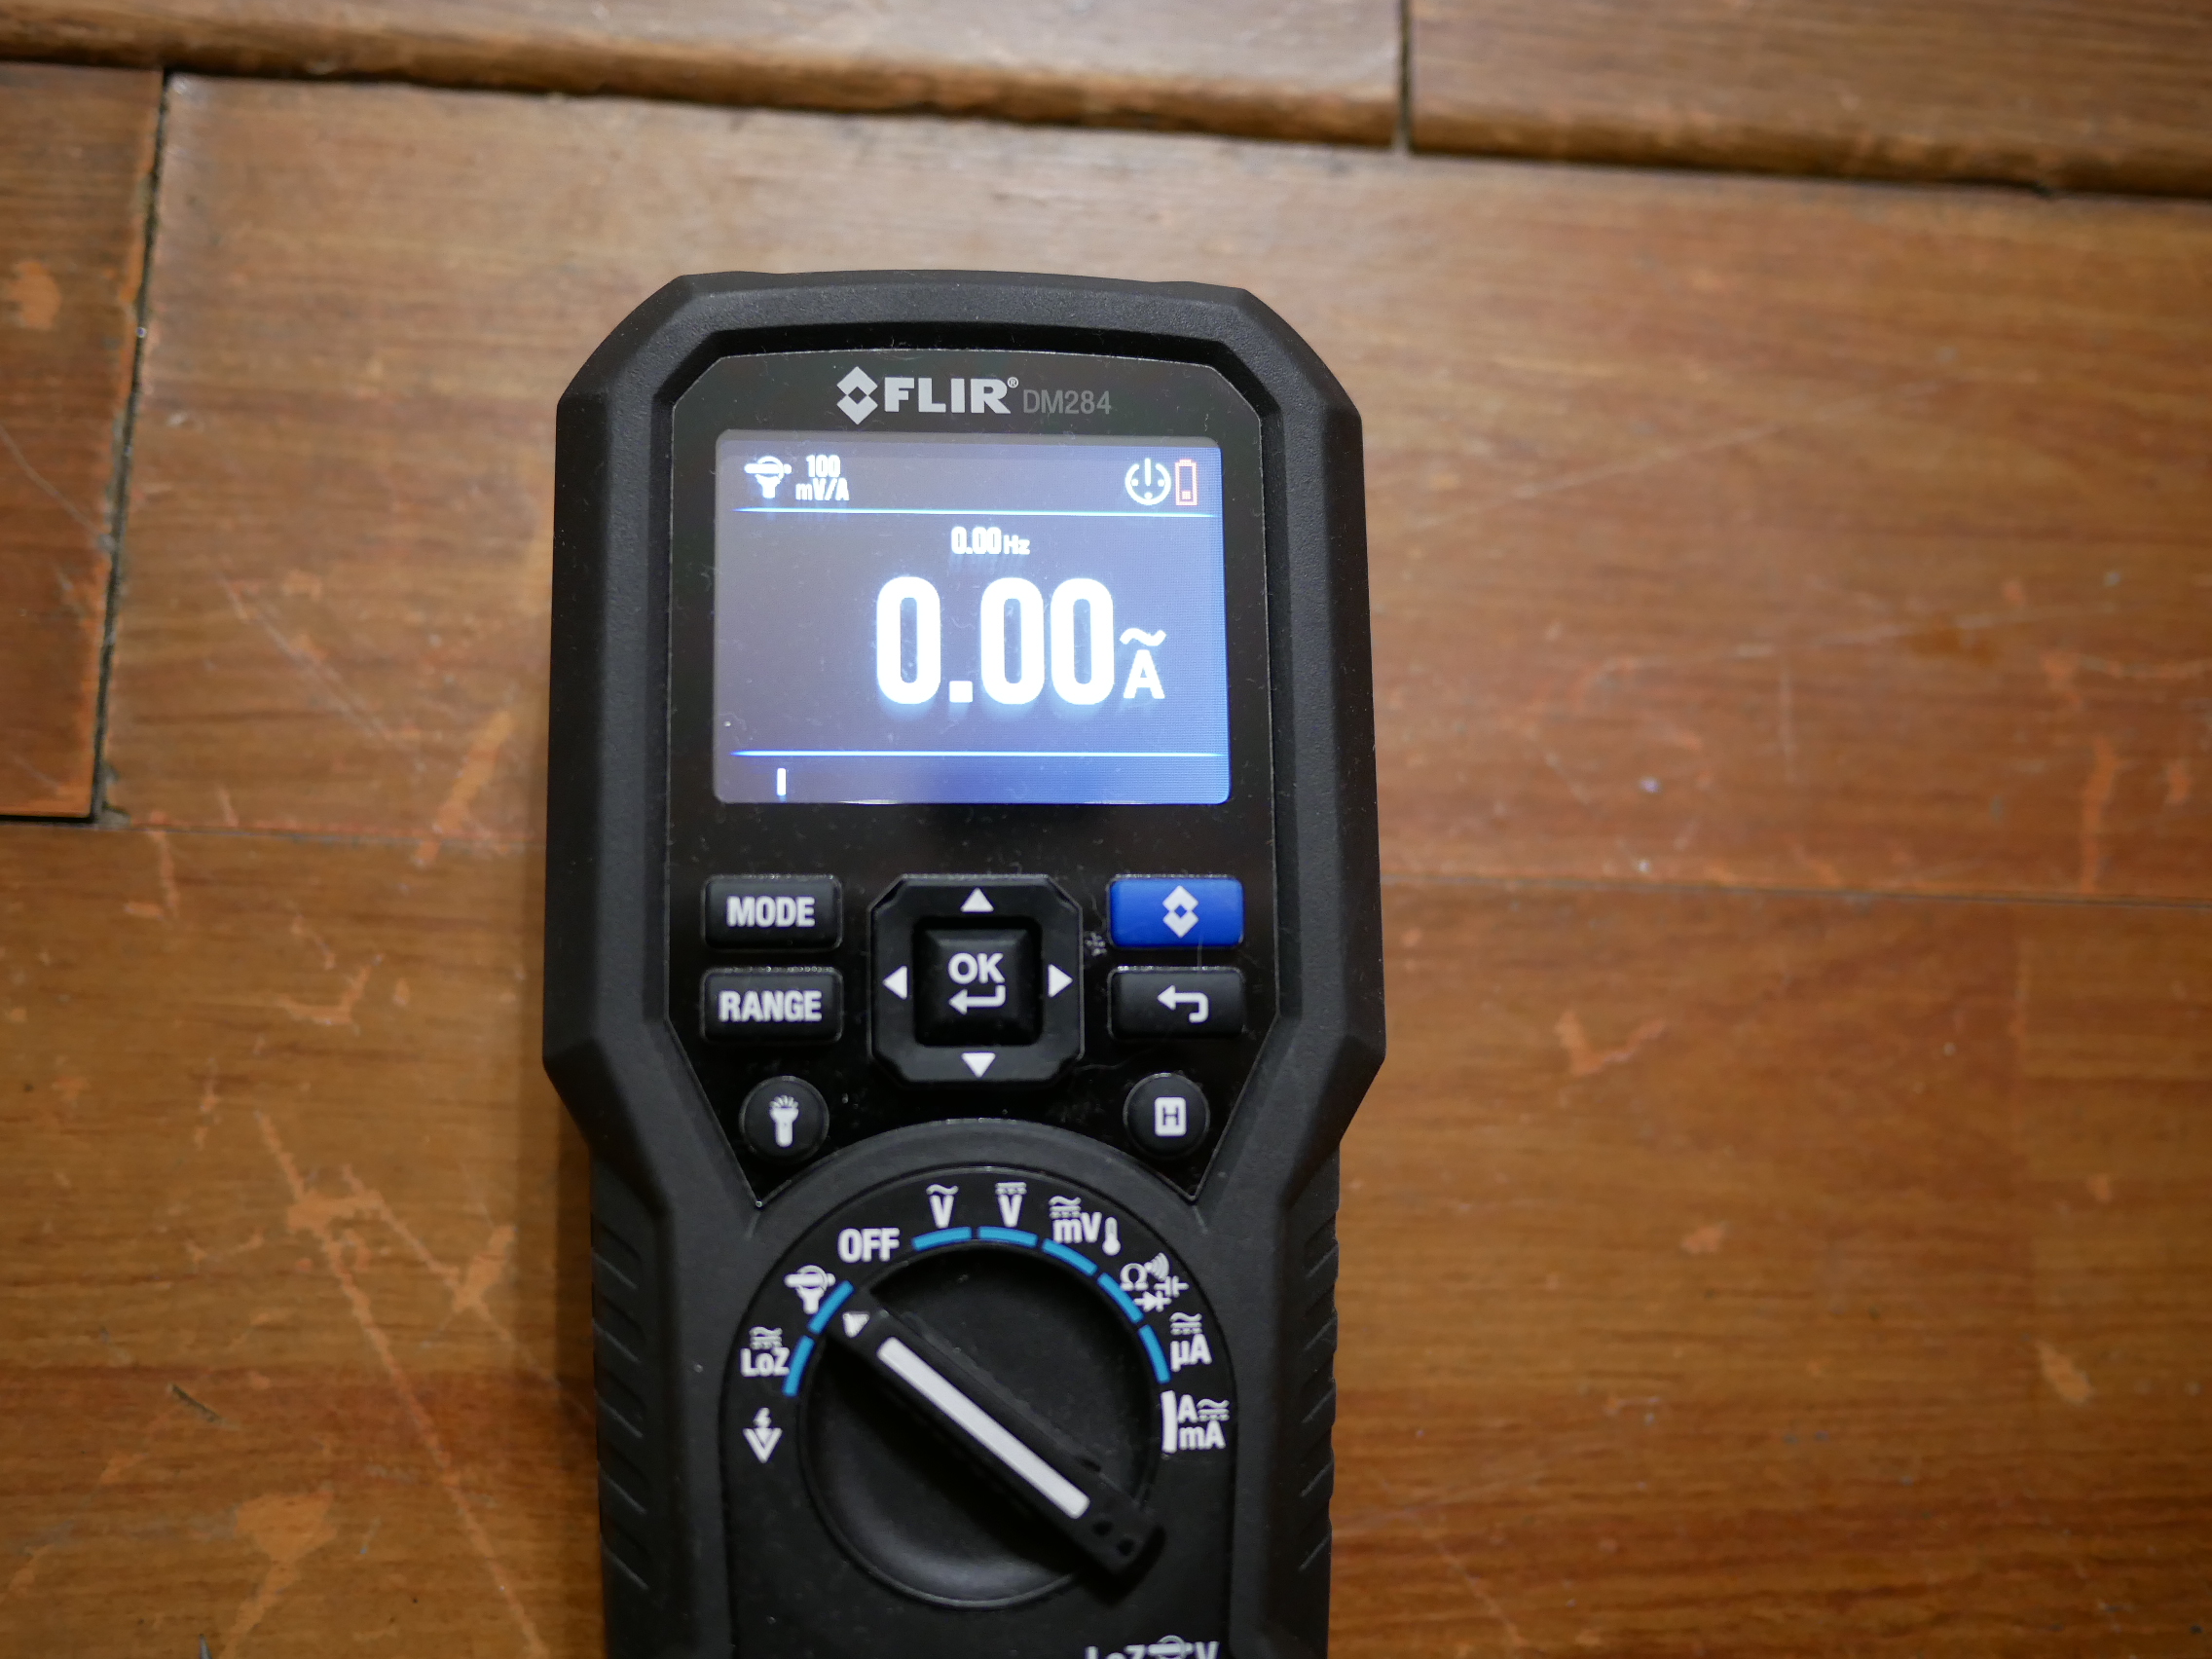
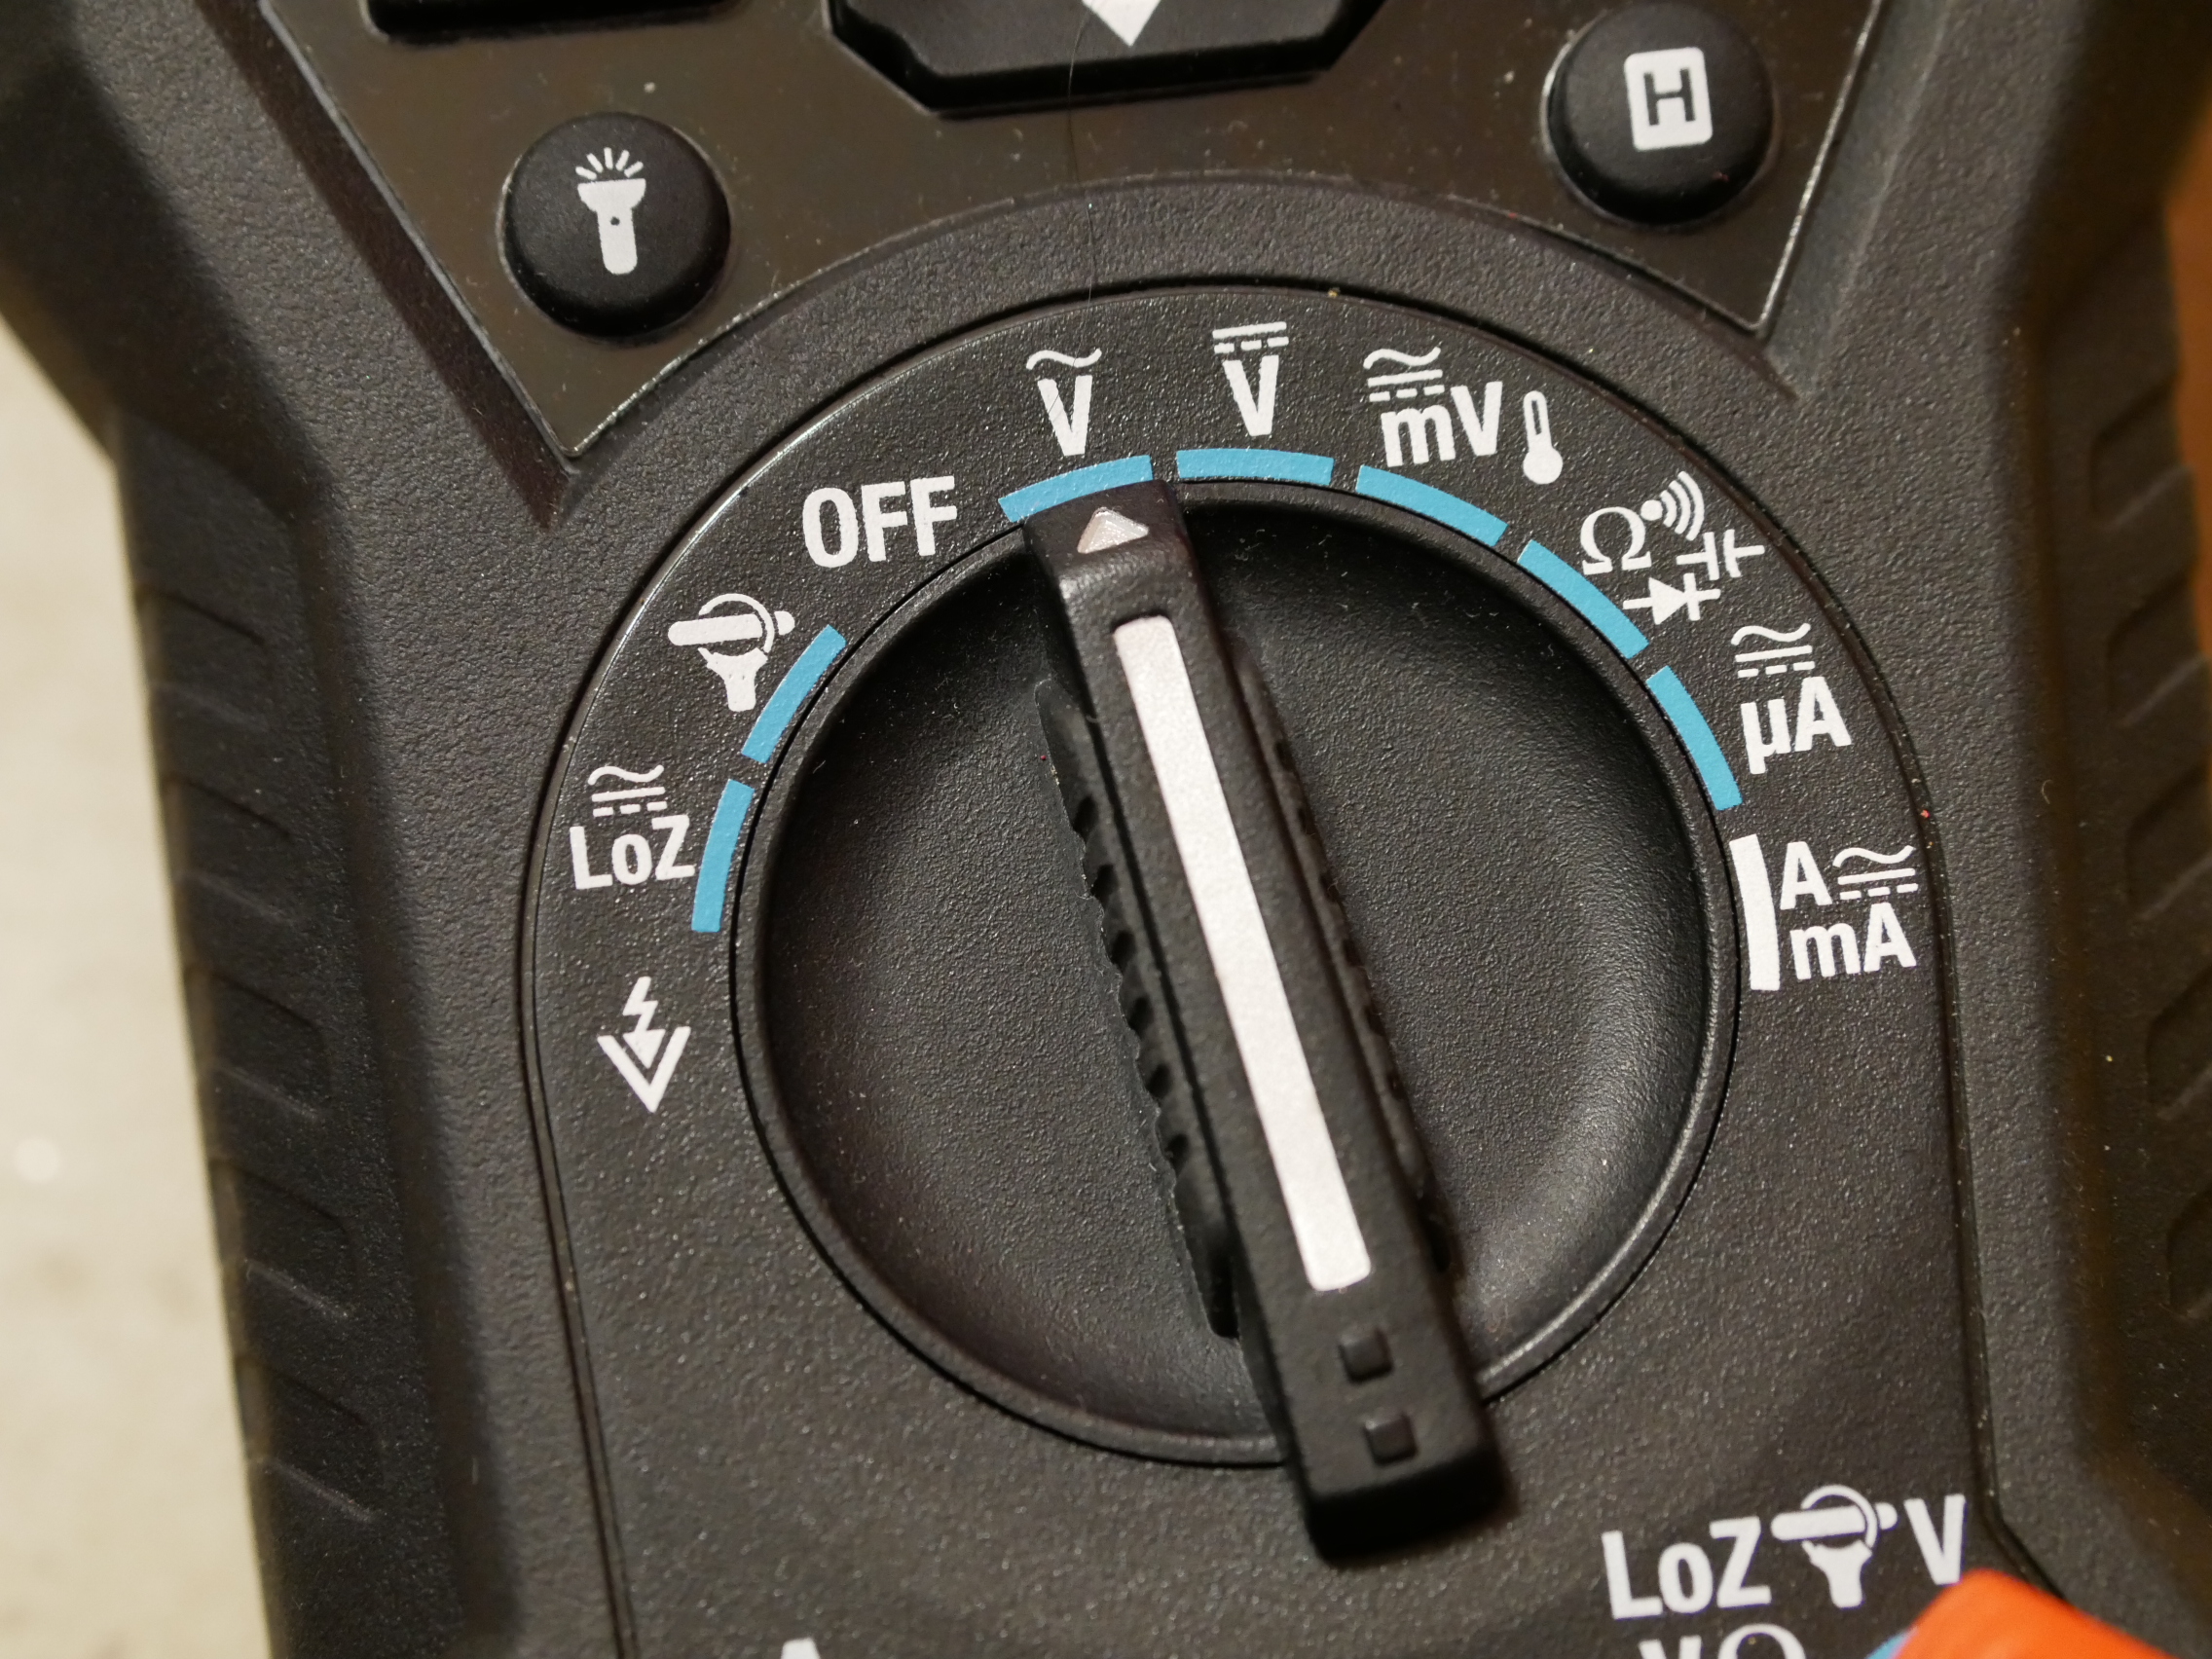
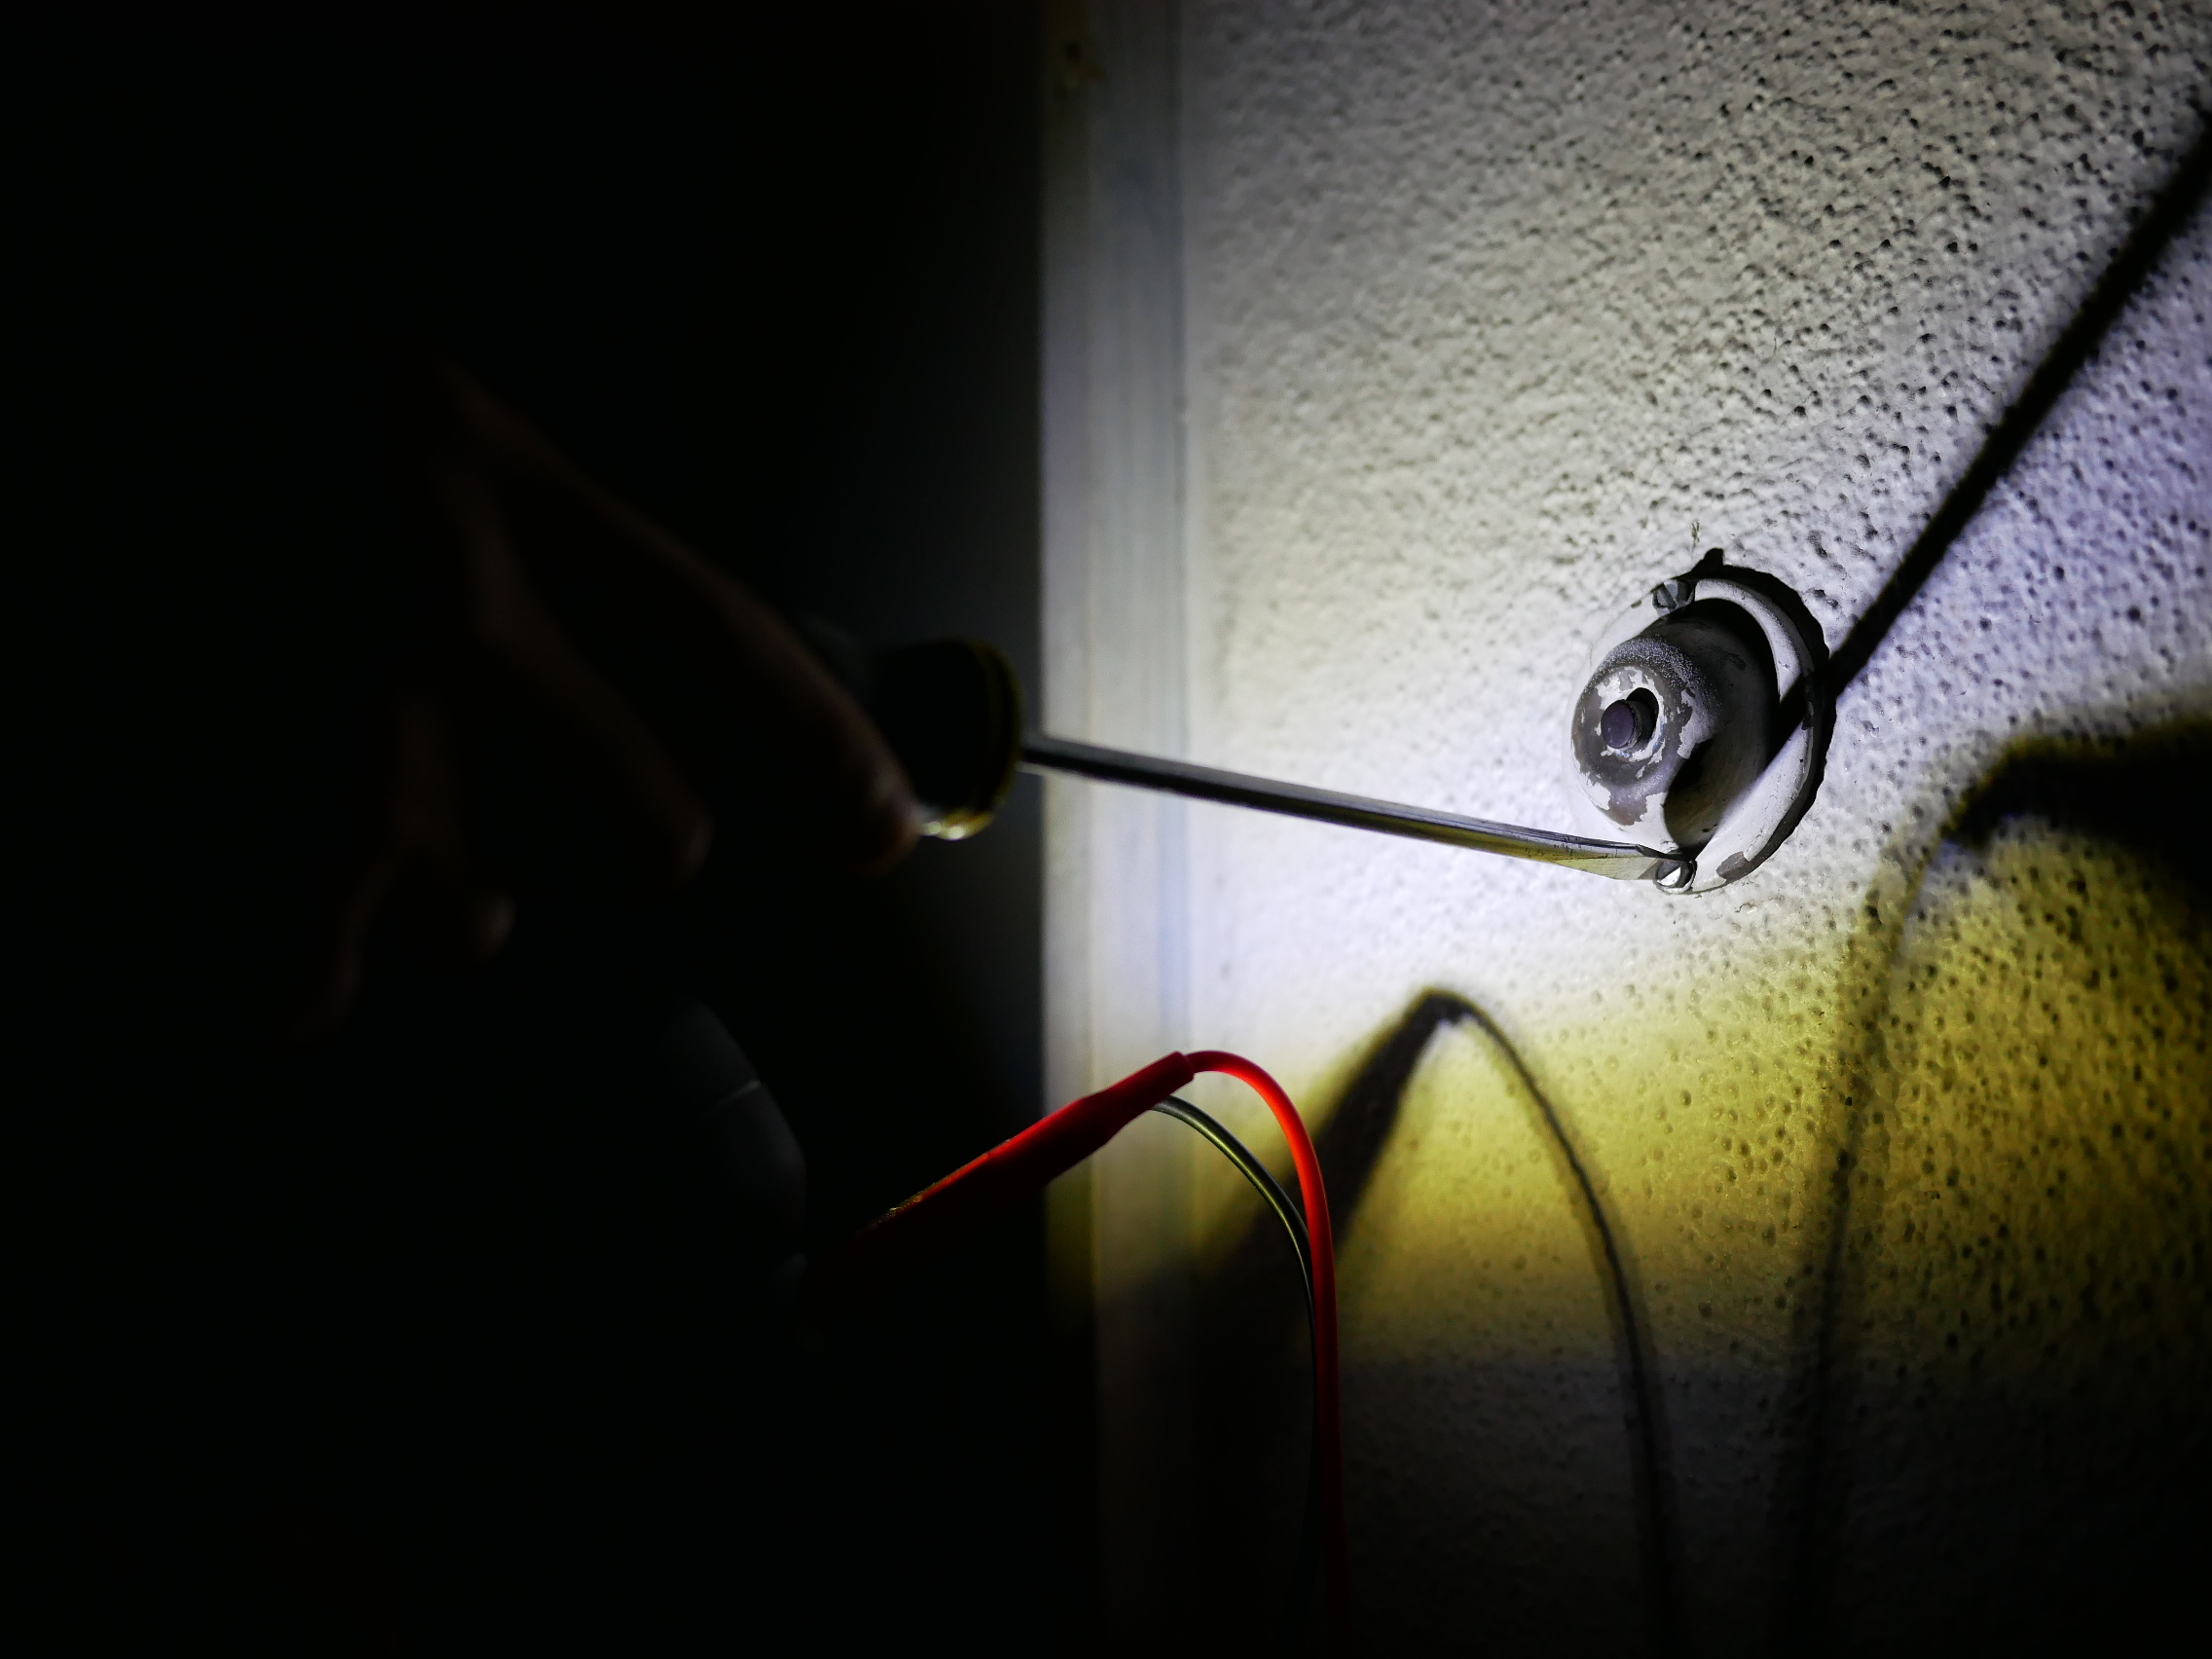 As far as the digital multimeter portion of the unit goes, you get many functions such as testing voltage, resistance, continuity, current, capacitance, diode, LoZ, true RMS, NCV, and vfd. One feature I find useful in my occasional electrical work is a non contact voltage detector. I was stoked to see this Flir multimeter has this feature built in. The non contact voltage detector is at the very top o the unit. Also at the top of the unit is a built in LED light that comes in handy when working in low light. I was replacing a doorbell with a security camera doorbell unit and because of my busy schedule I wasn’t able to do till later in the day when the sun was down. Luckily the built in LED light helped me out and this meant I didn’t need to bring additional tools to the job.
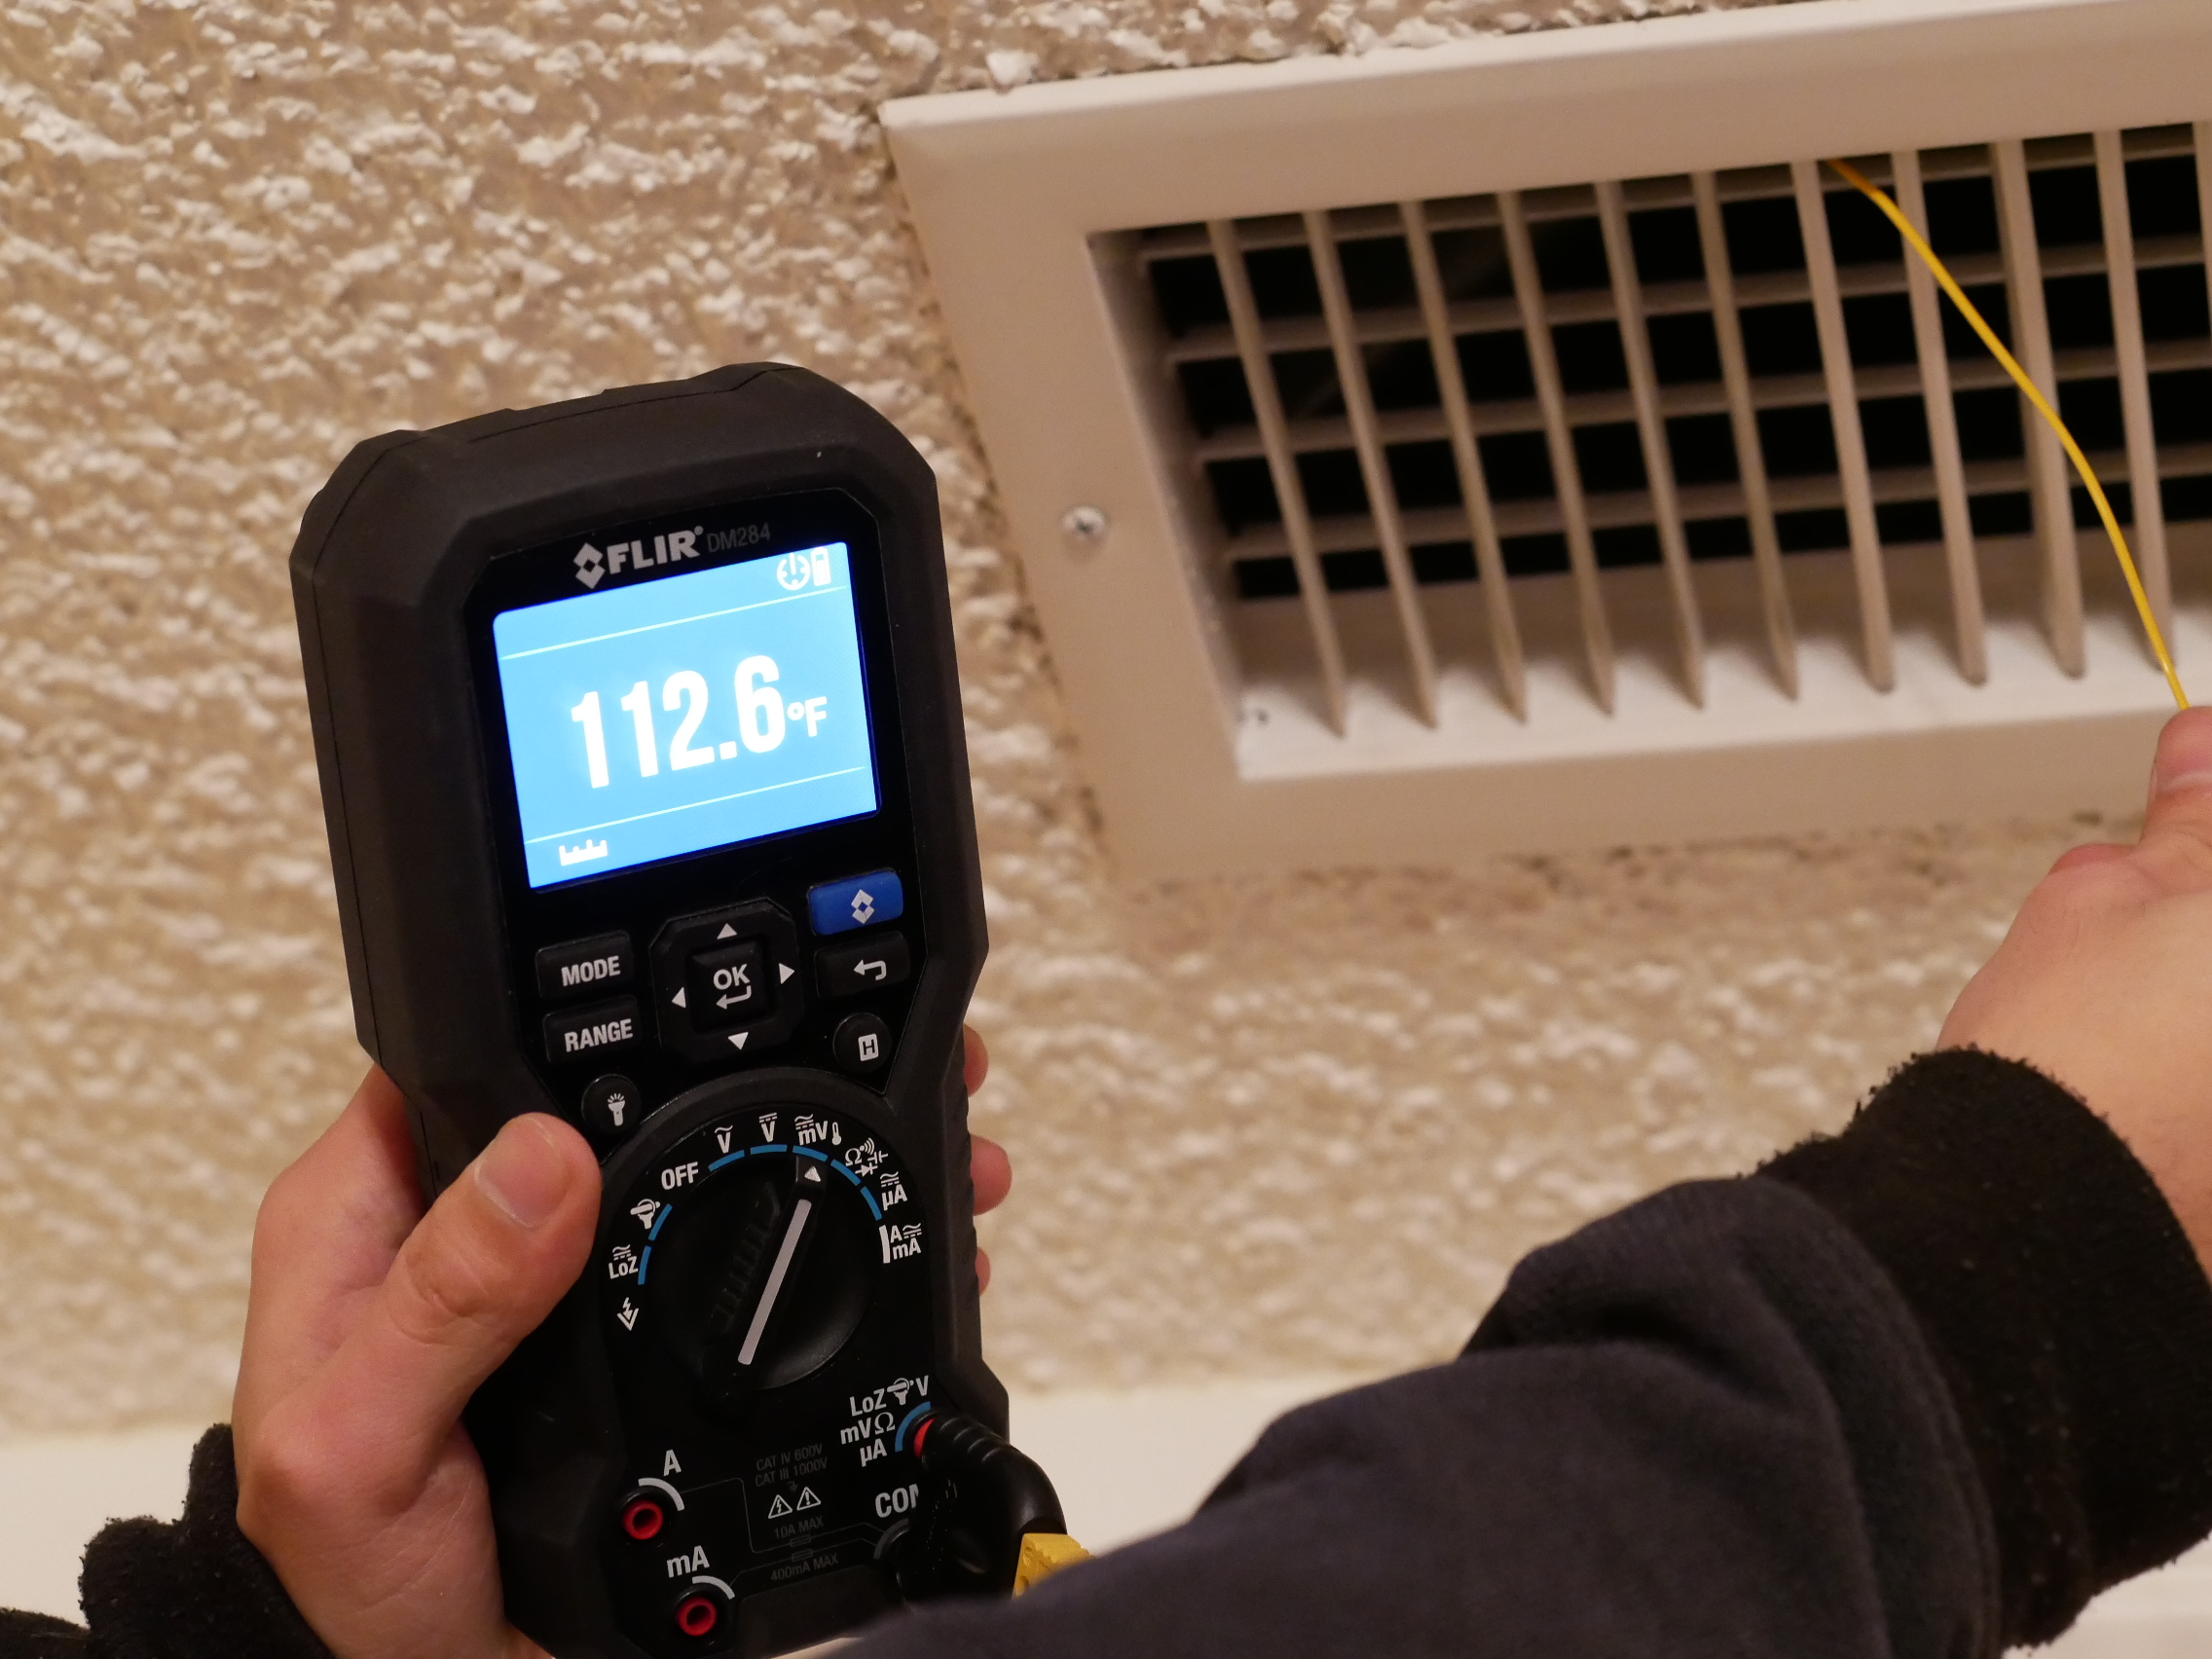
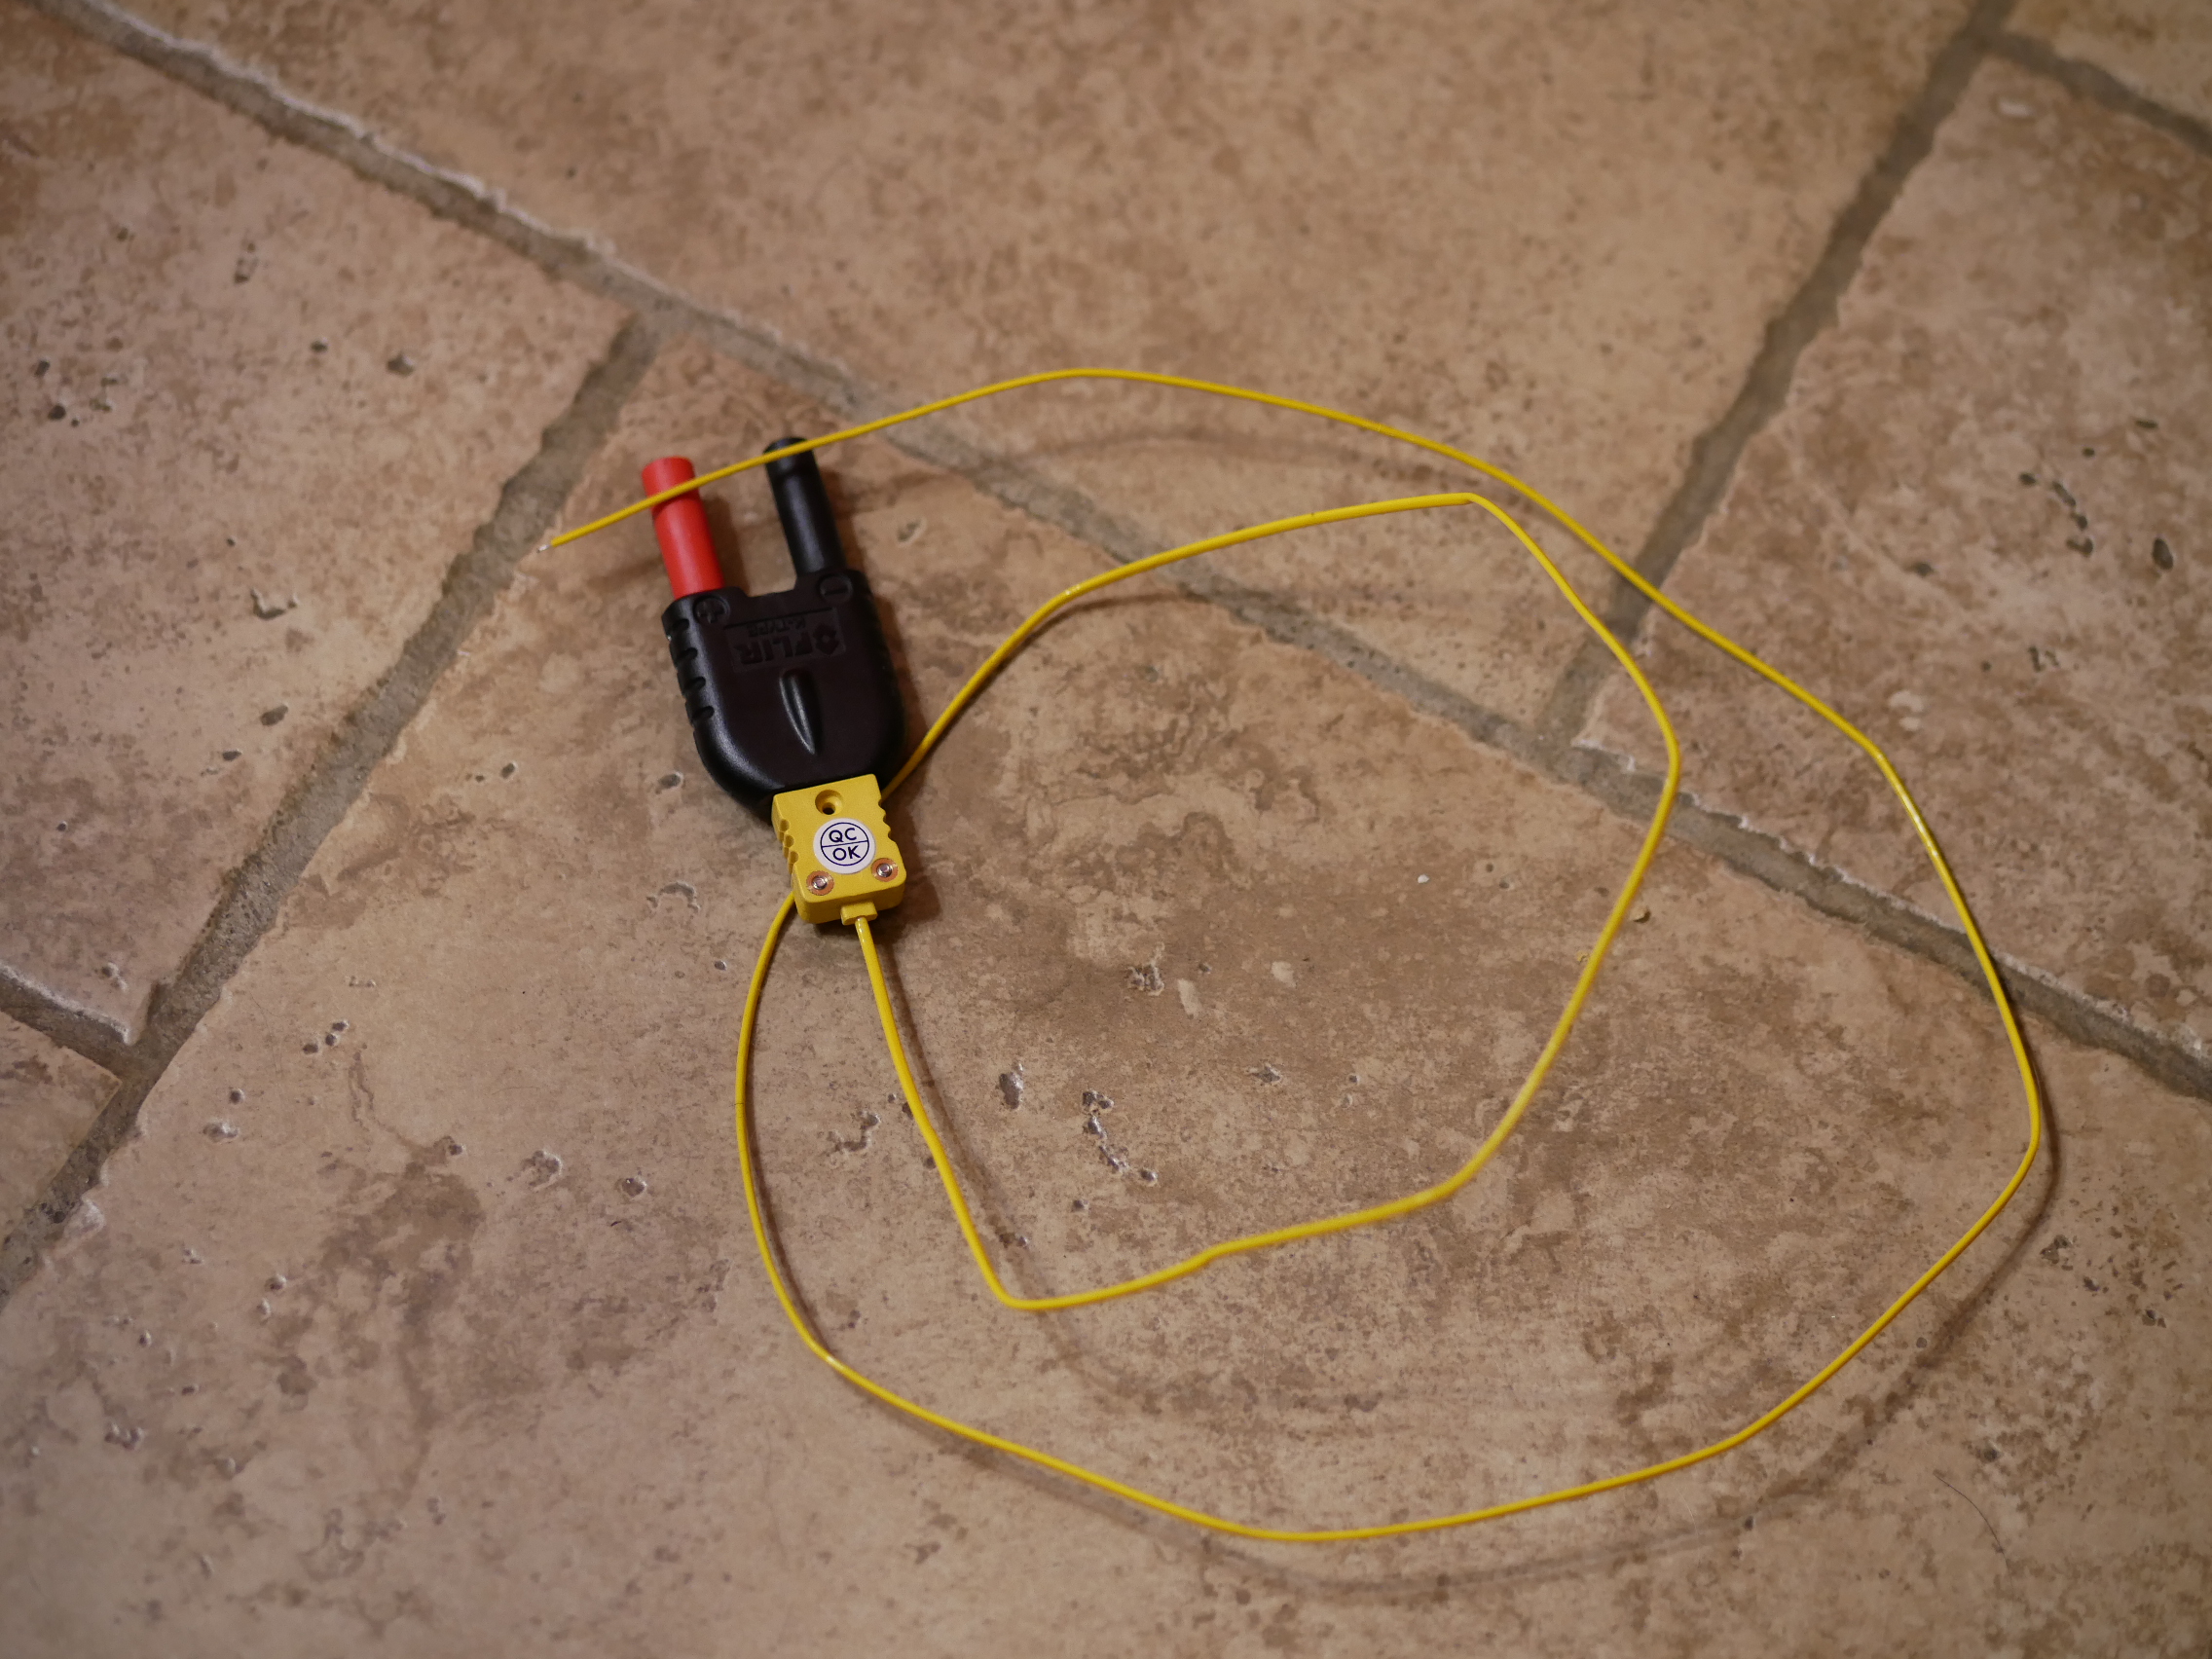
The multimeter also comes with a thermocouple to get on the spot temperature readings to work hand in hand with the multimeter. While using the thermocouple you can also turn on the thermal imager to get two separate temperature readings at the same time.
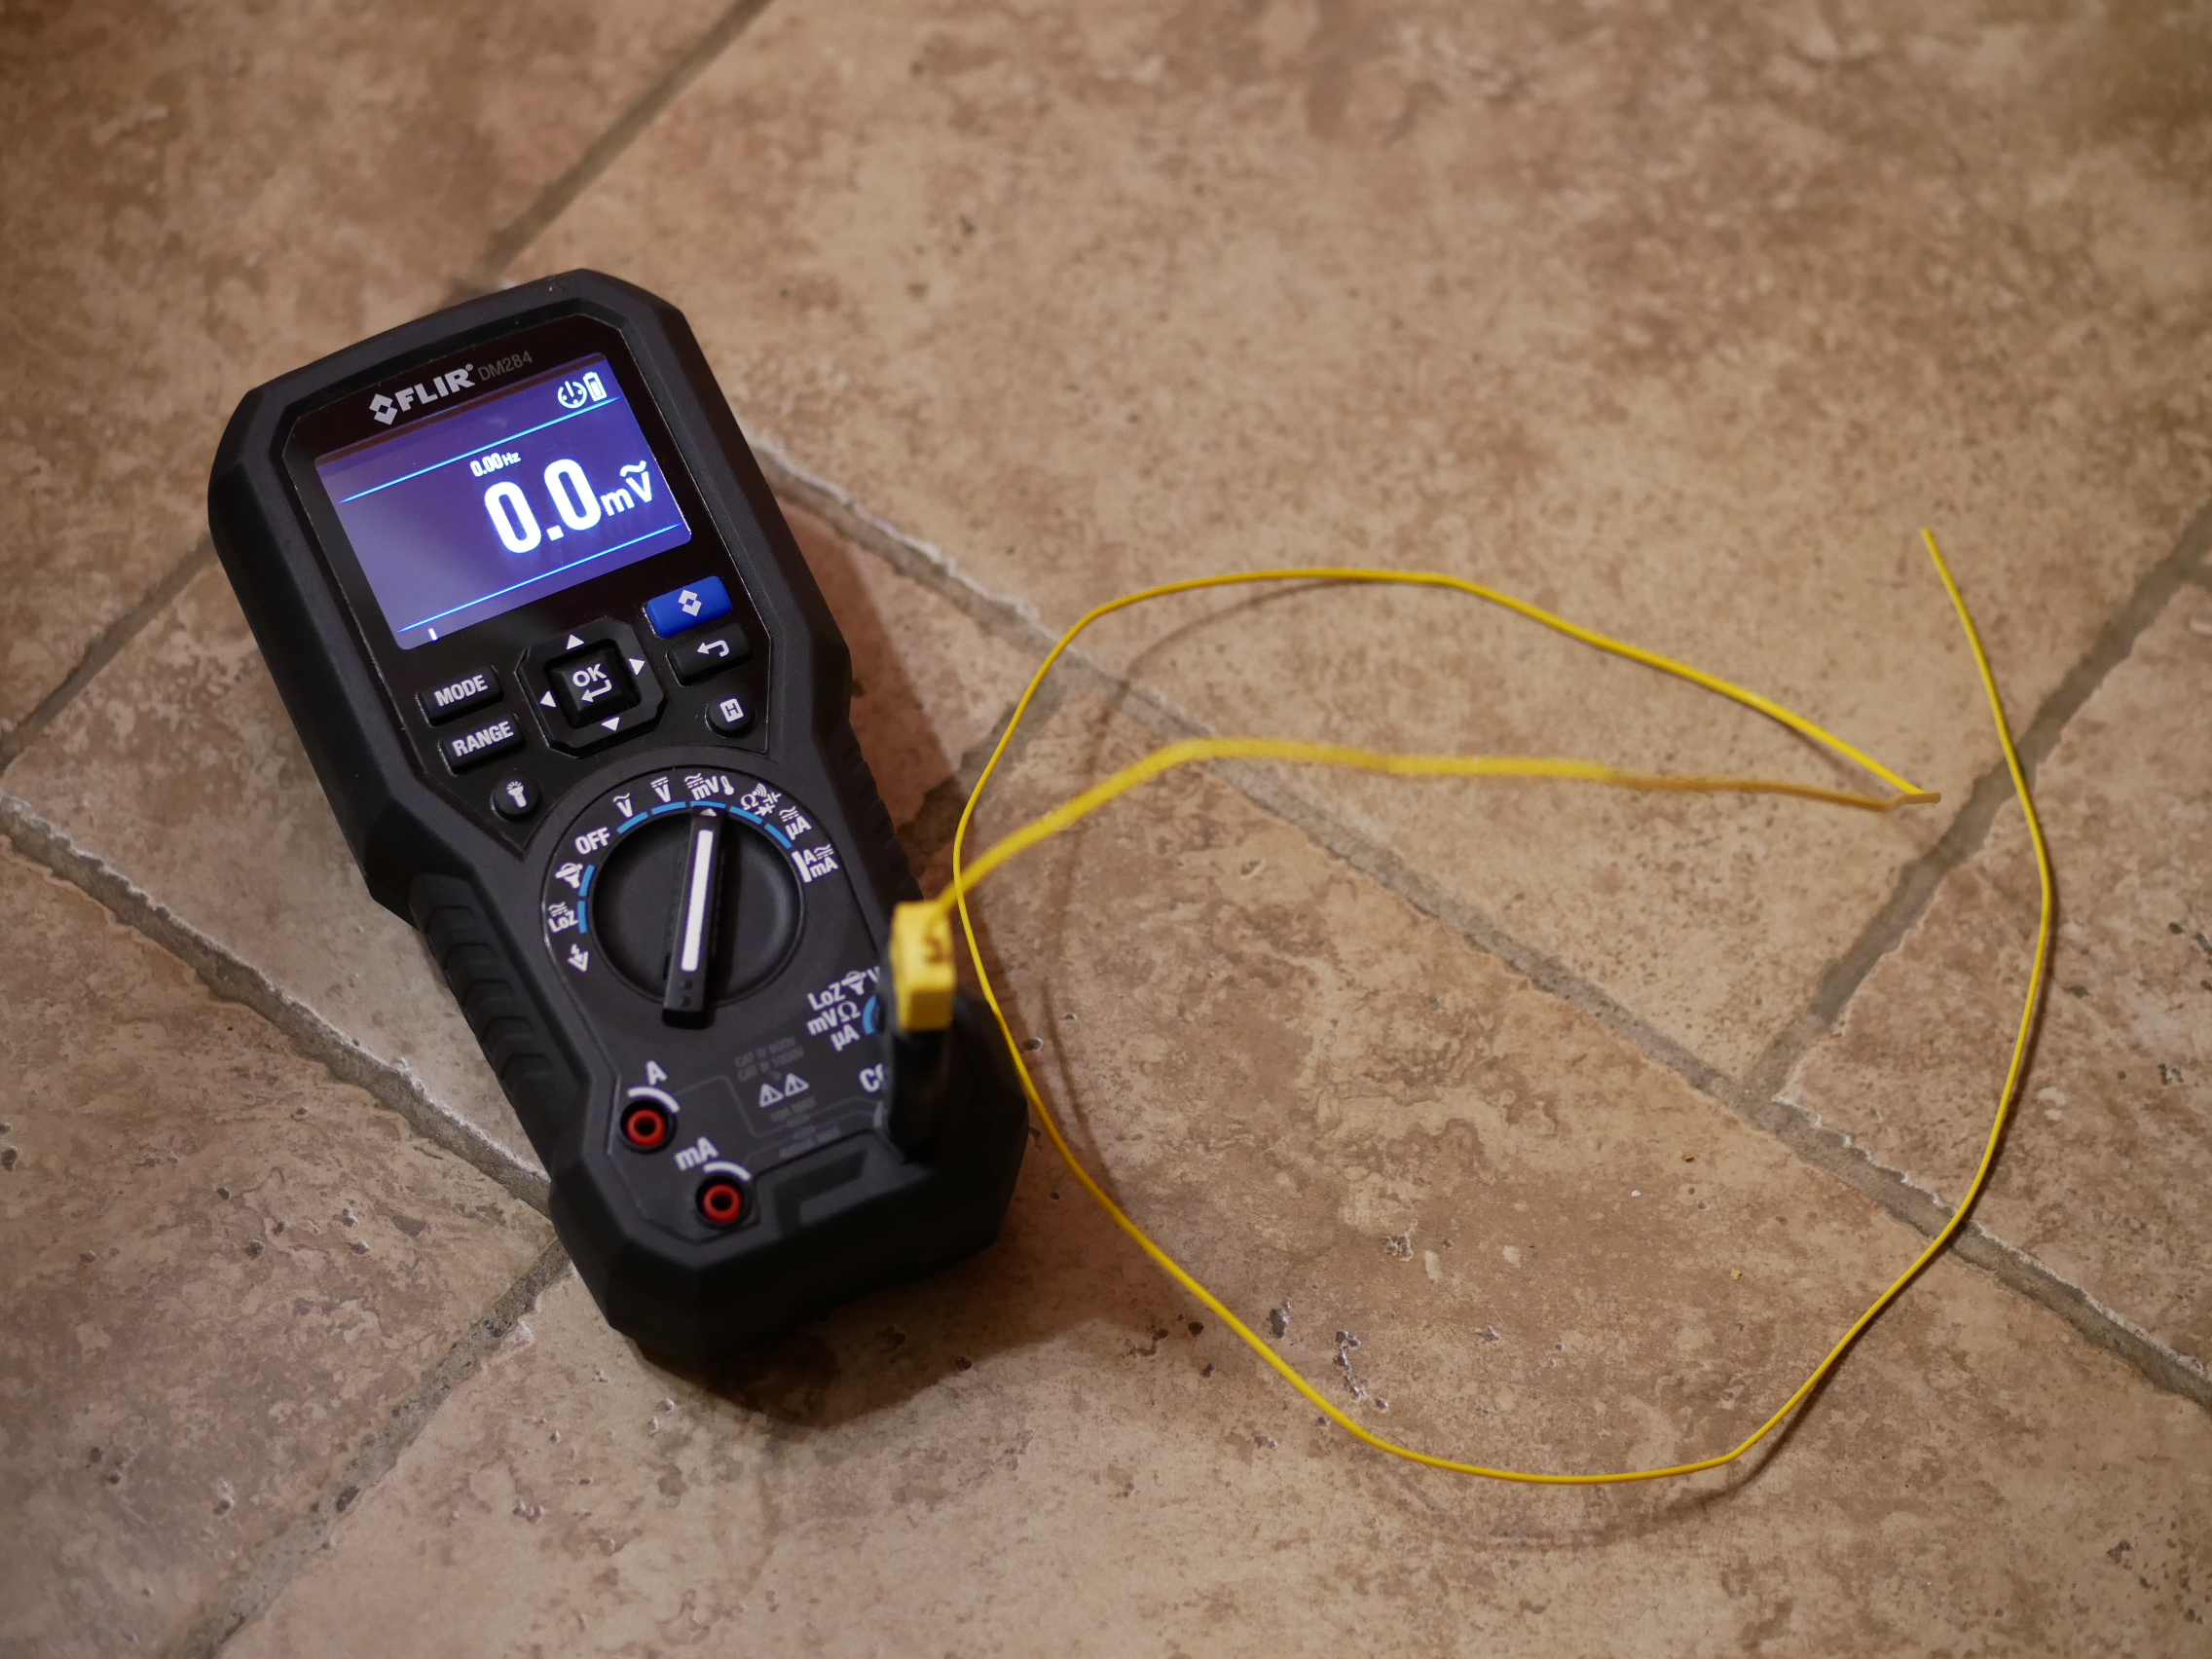
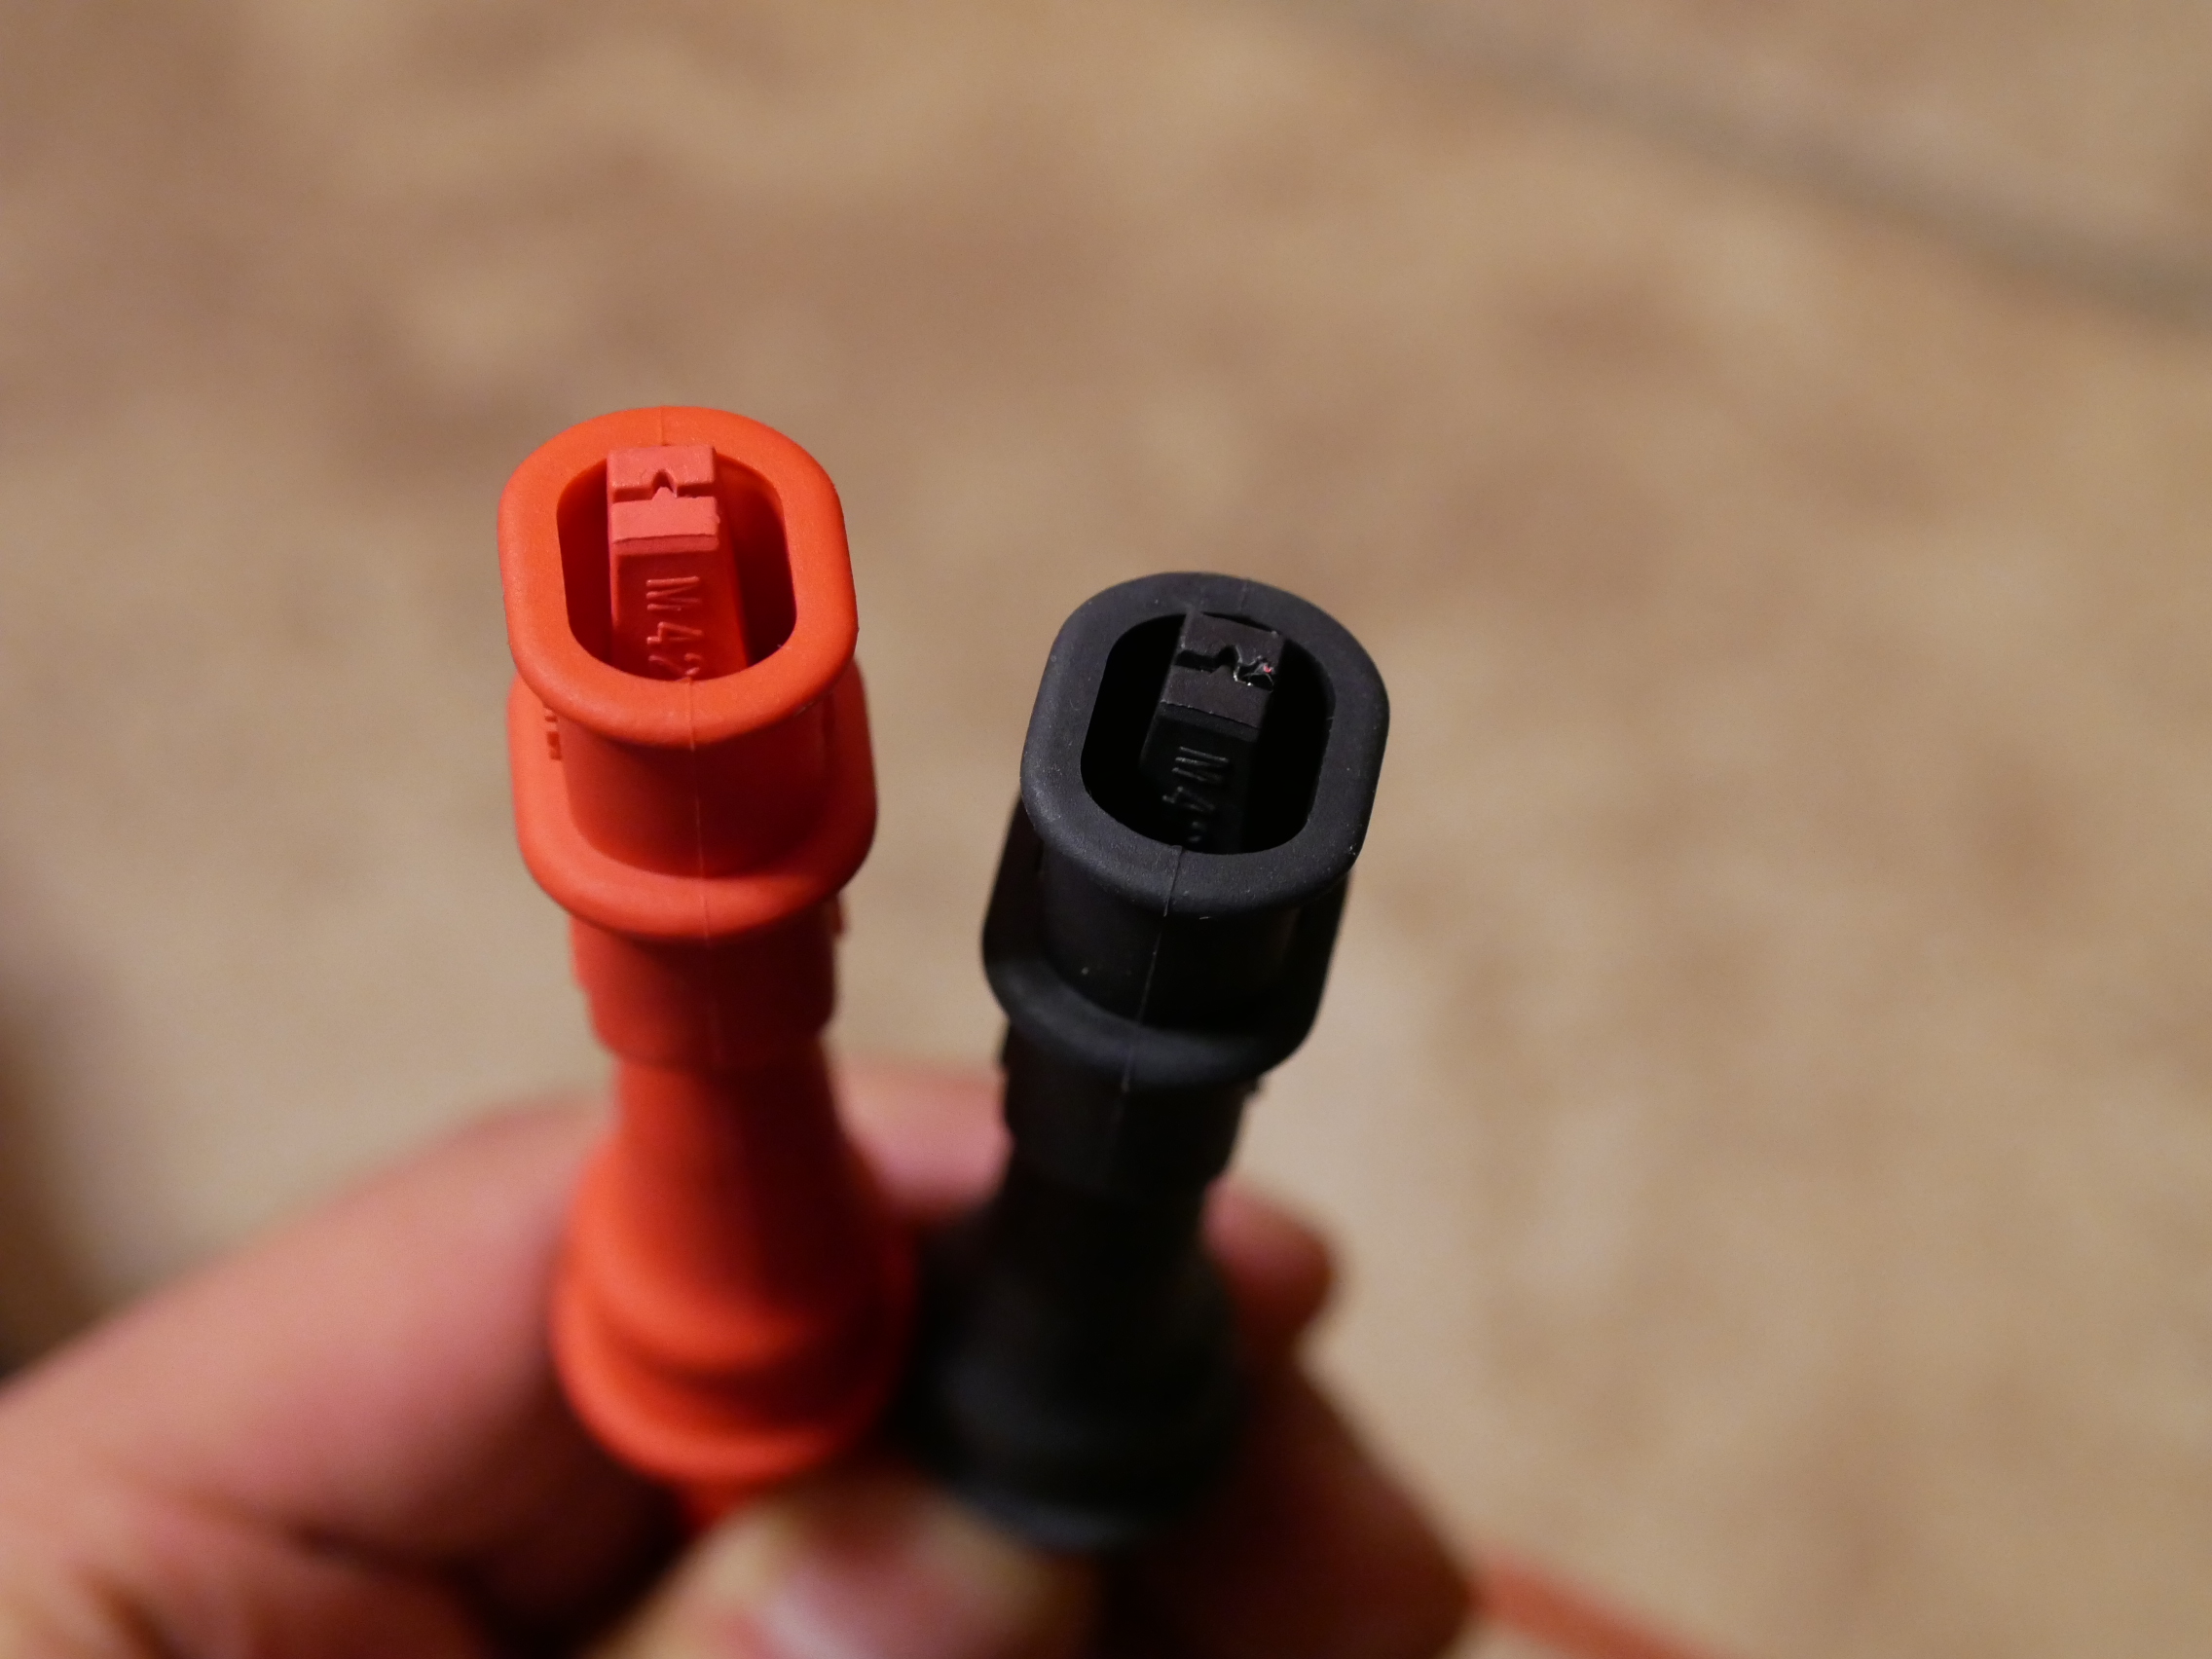
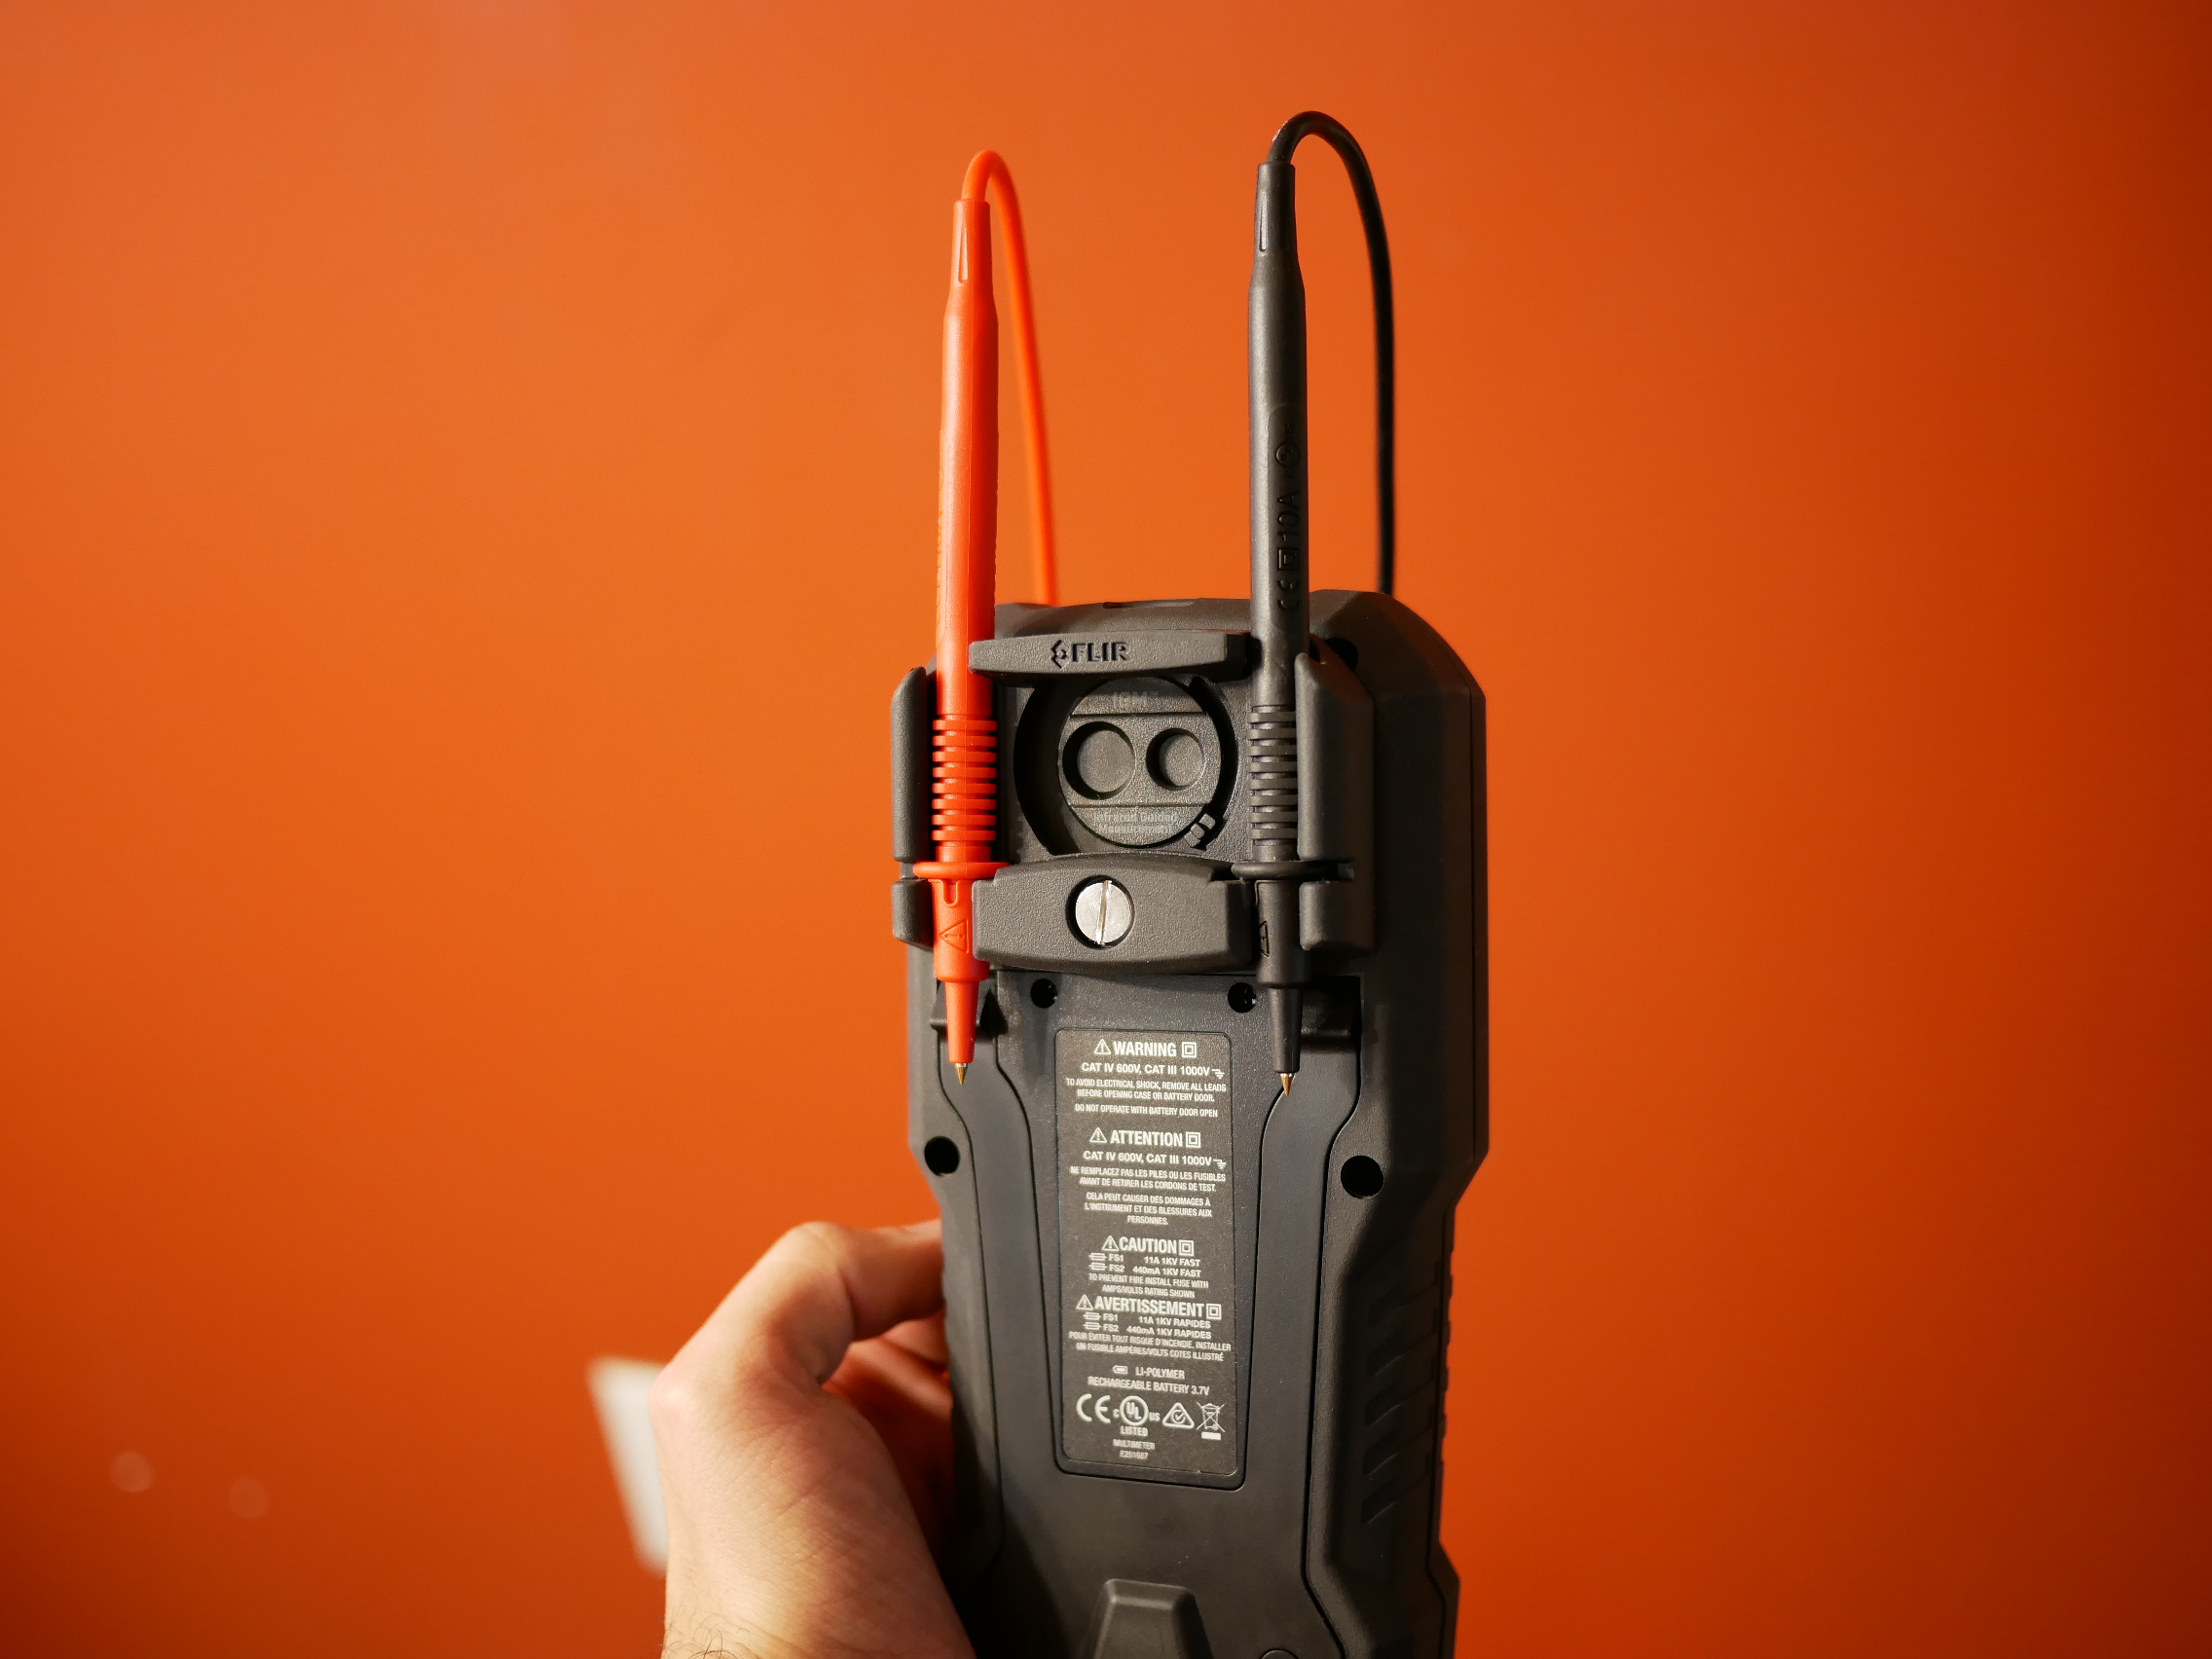
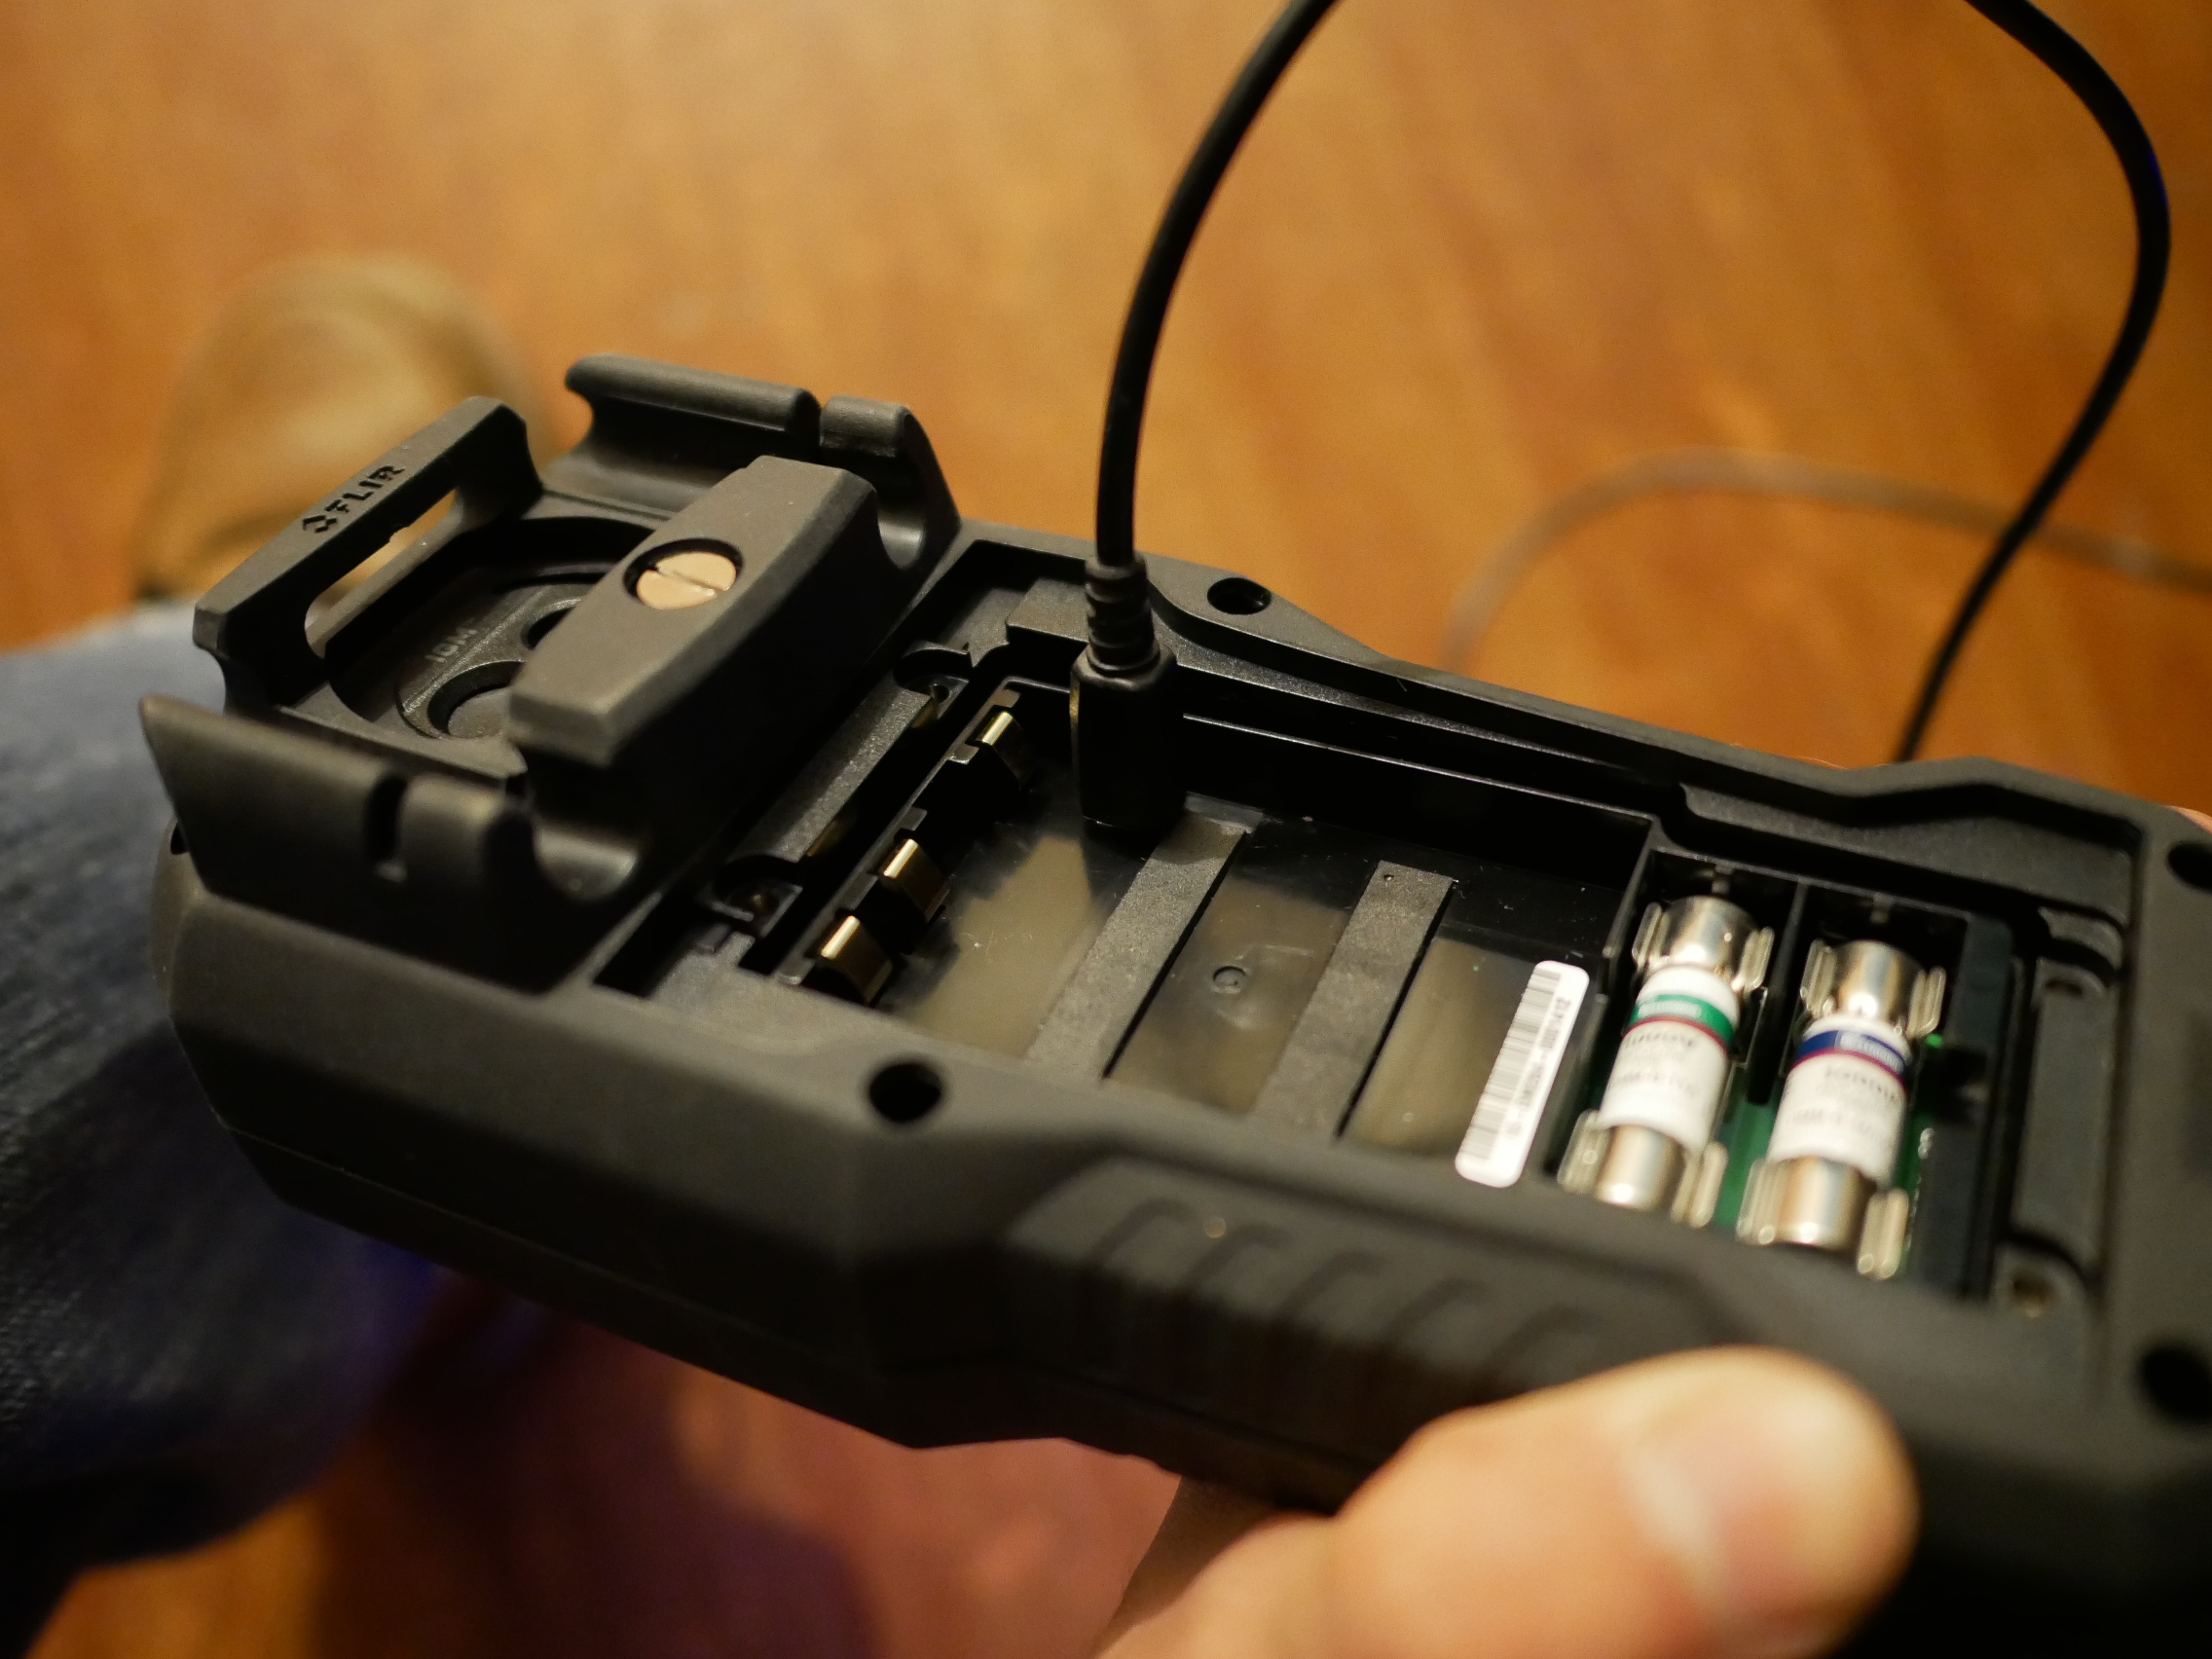
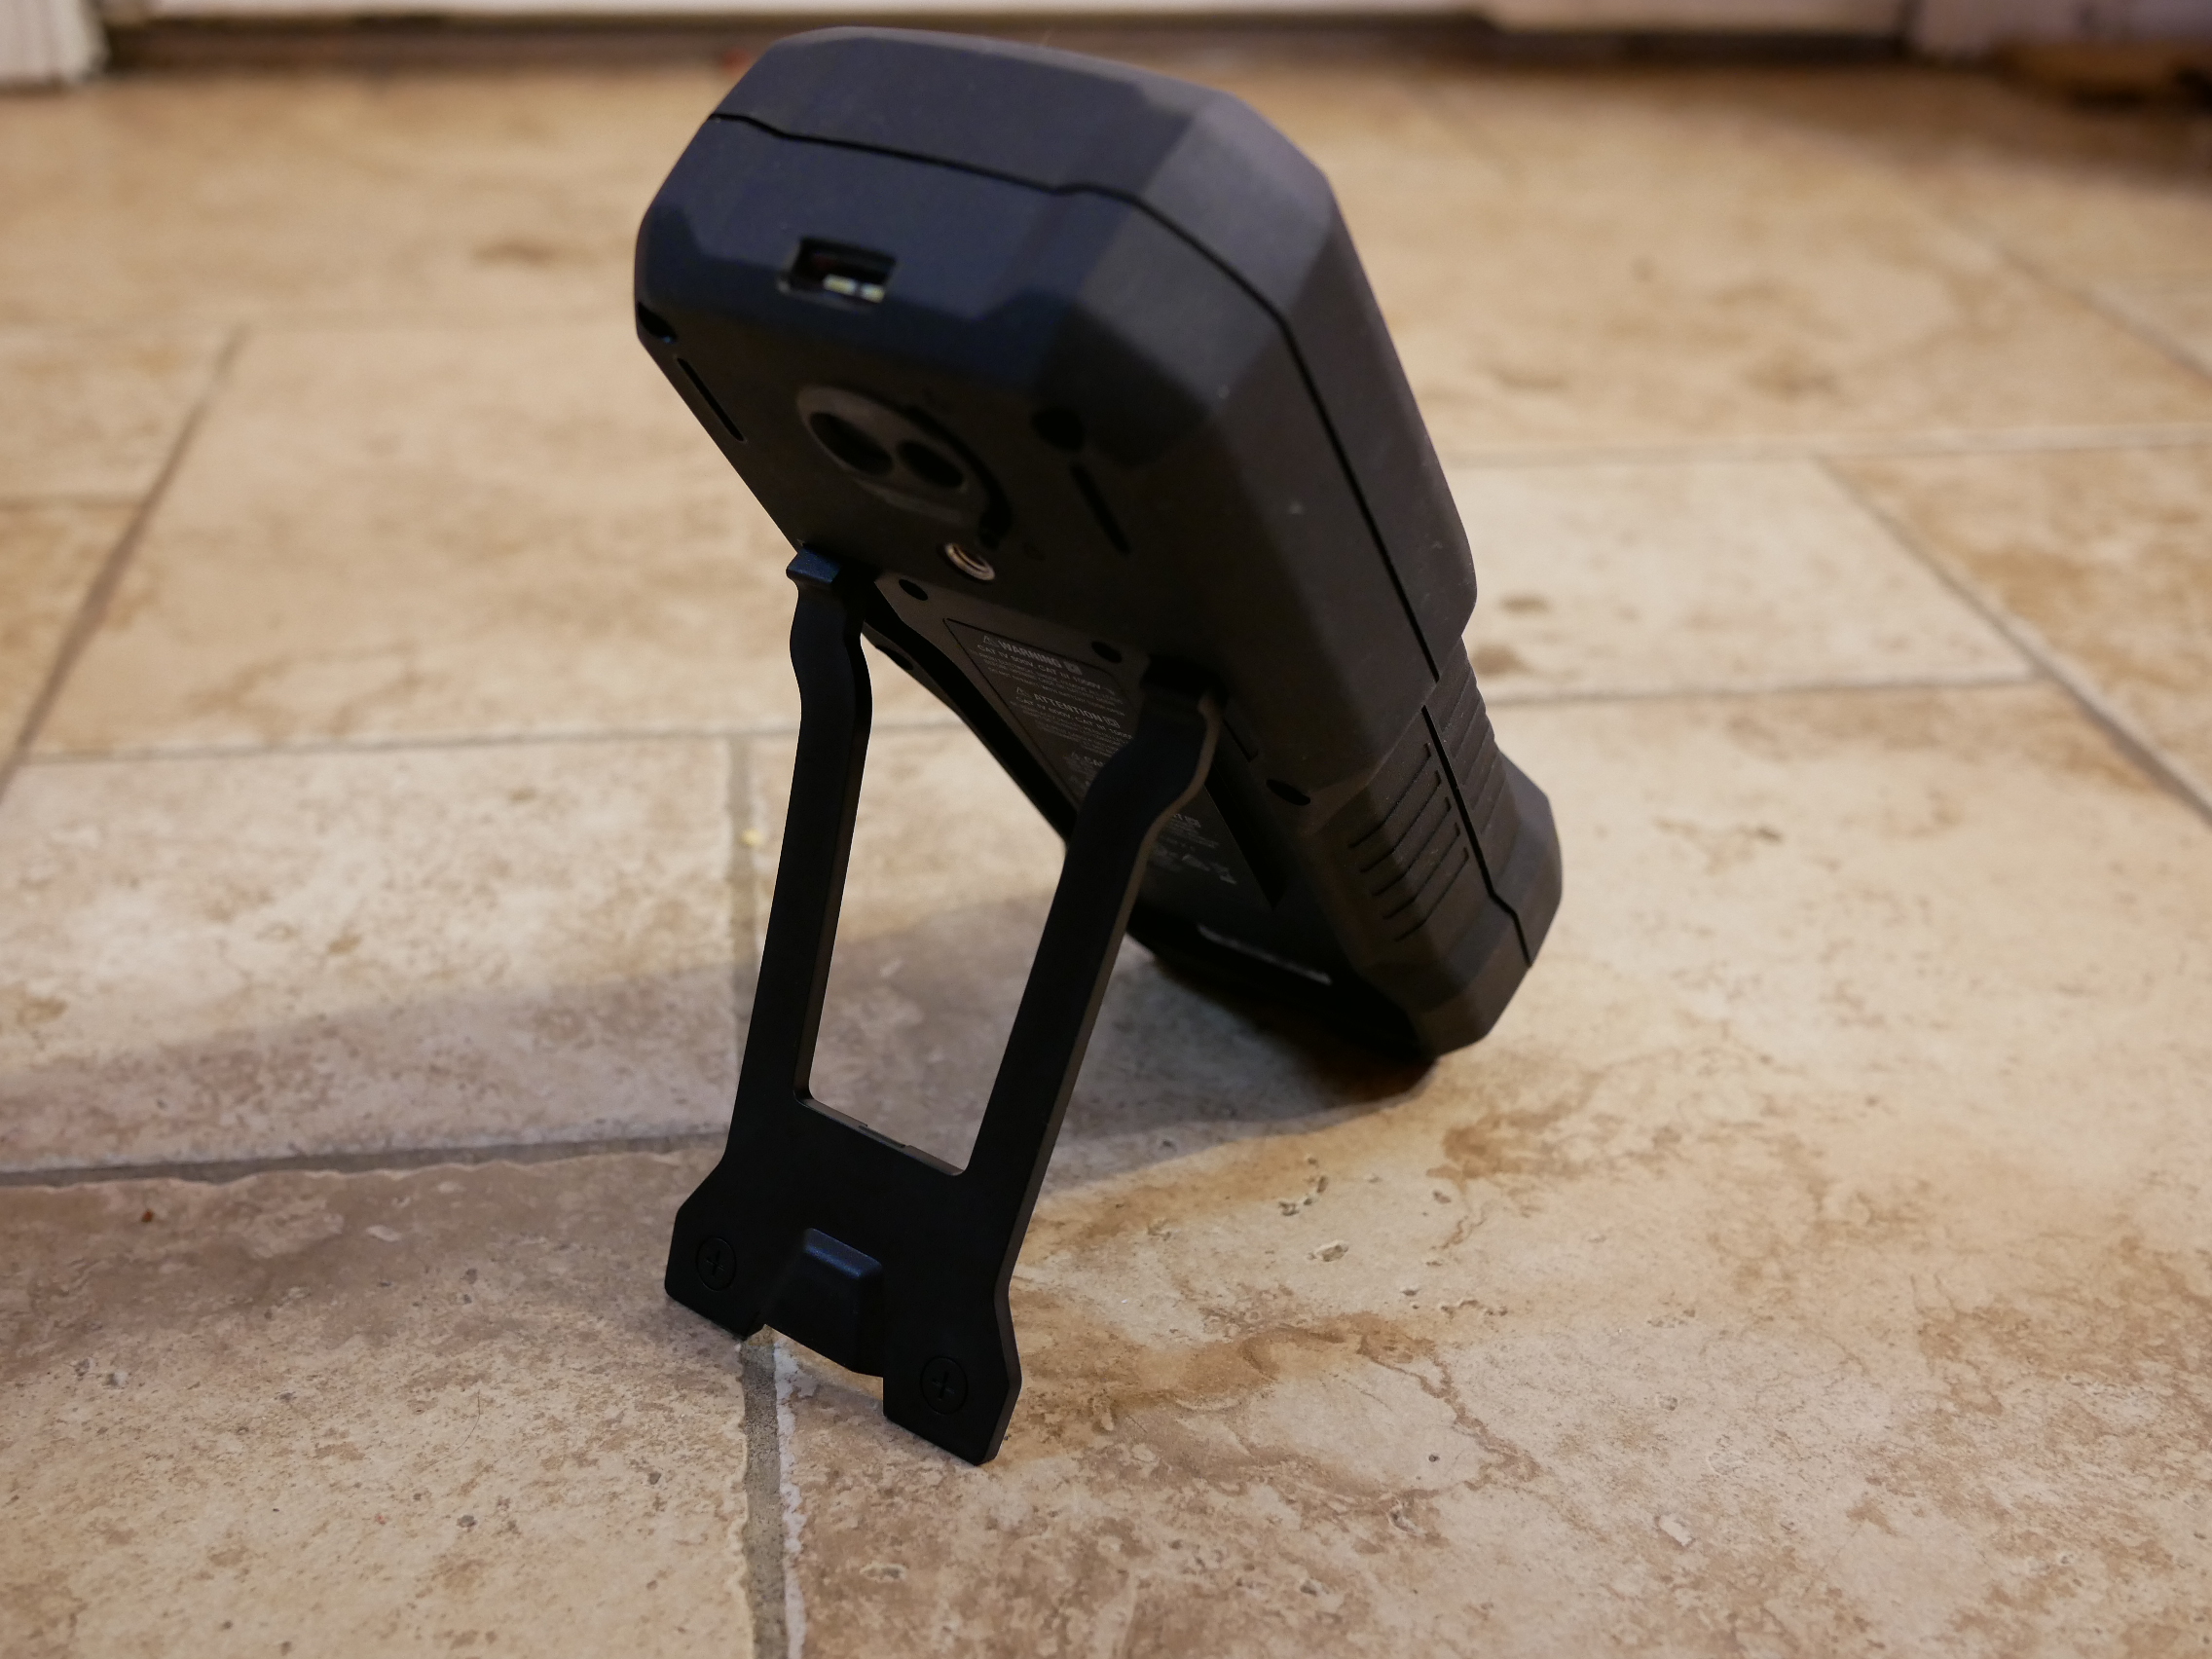
As far as the test leads are concerned, they’re very good quality and it also comes with a set of alligator clips to attach for when you need to clamp the probes directly. The unit has a built in test leads holder to store the leads when not in use and it’s located on the back of the unit surrounding the thermal image sensor without obstructing it’s view.
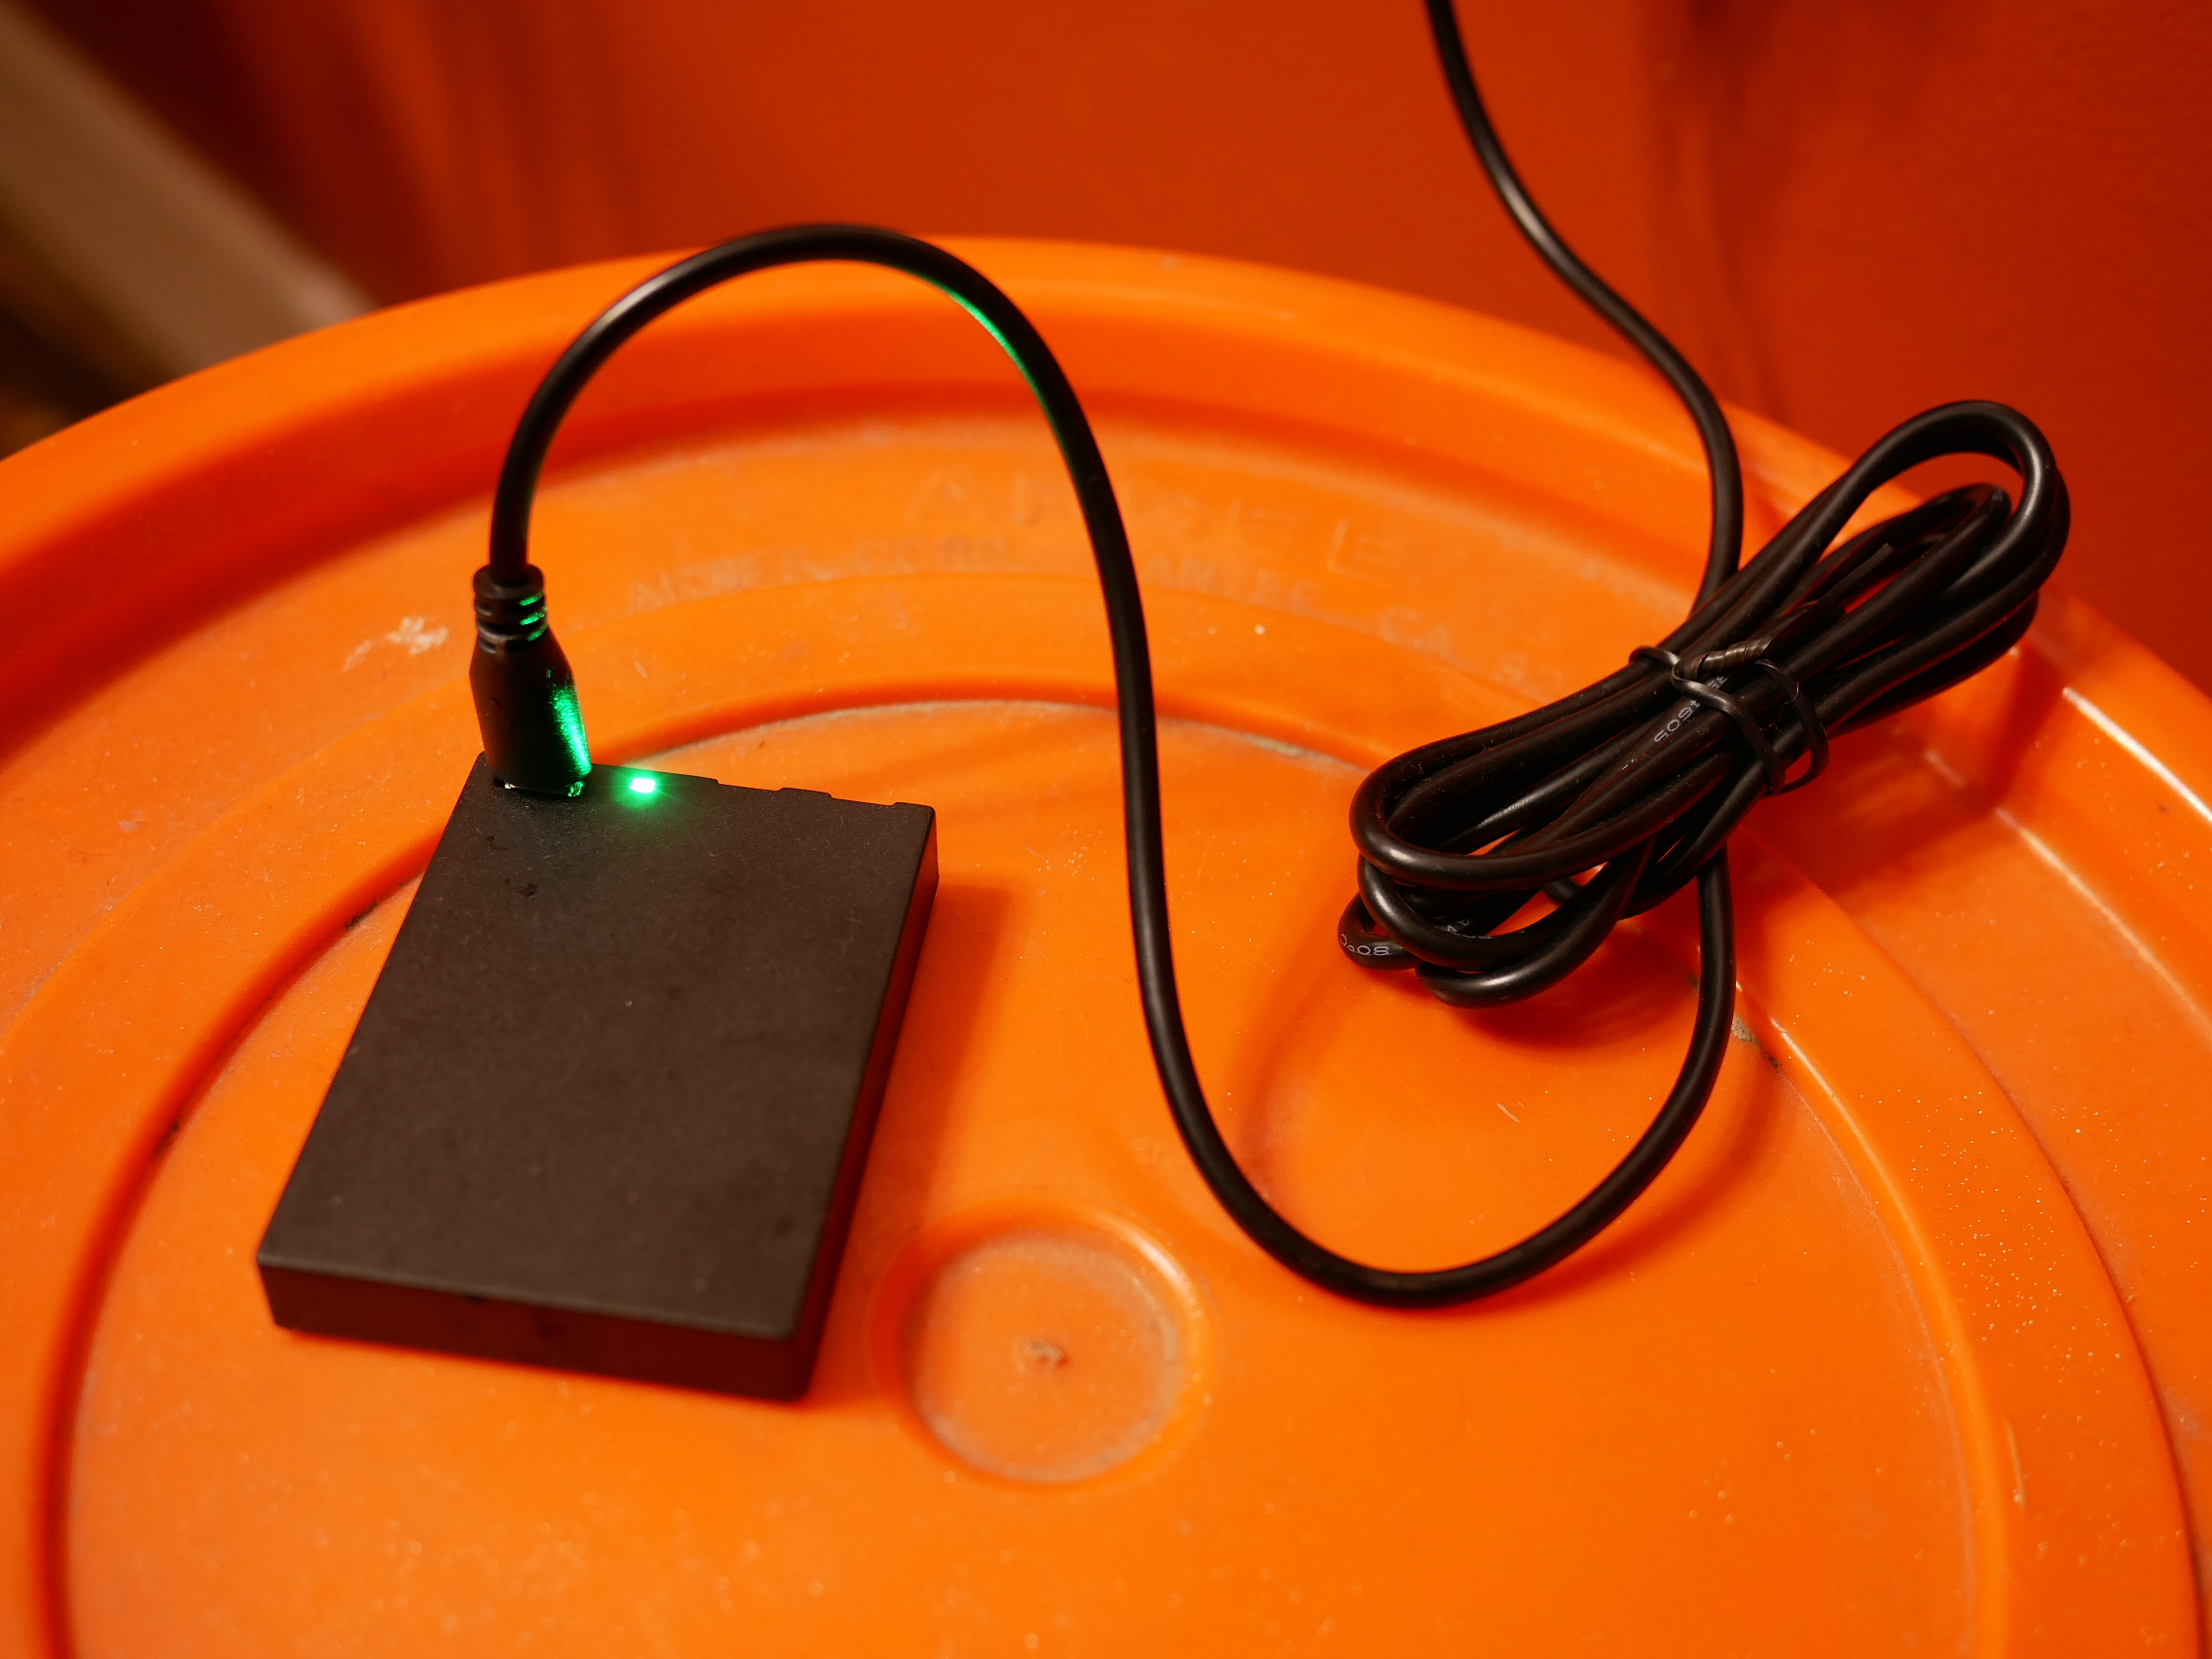
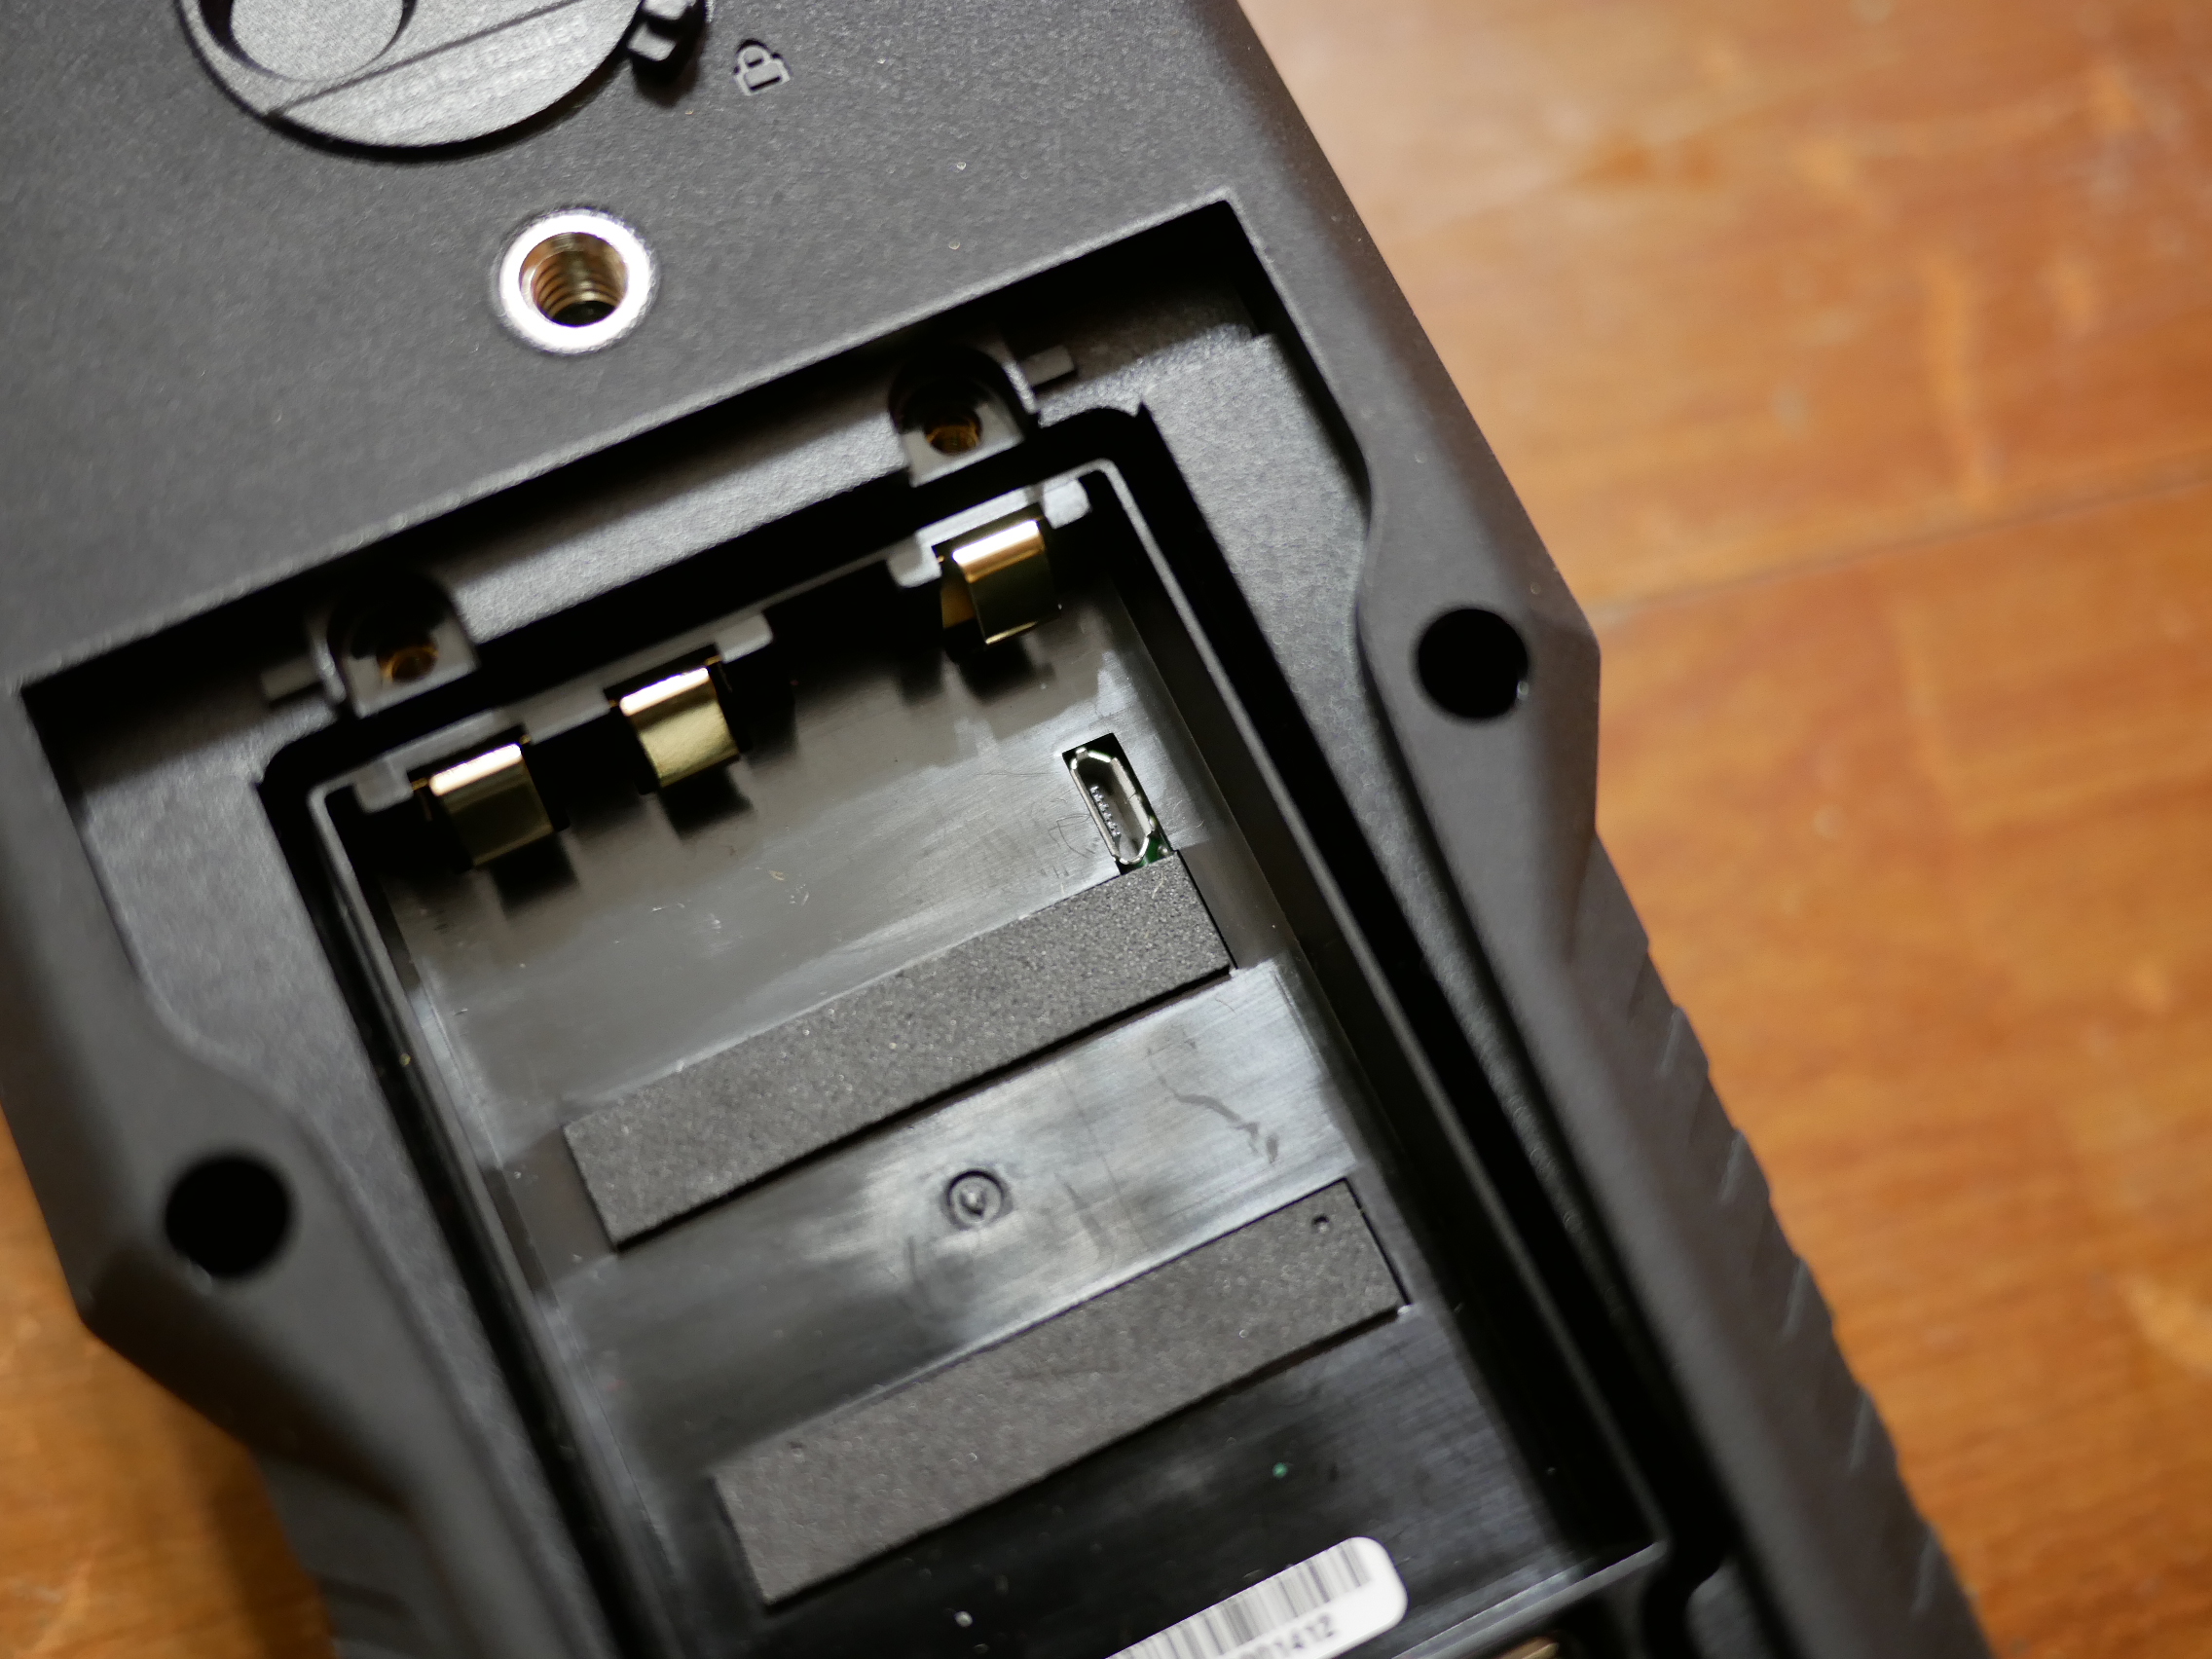
The unit itself runs on 4 AAA batteries which are included, or you can use the optional Flir lithium ion battery for up to 30 hour runtime. My test unit came with the optional lithium battery and charger and luckily the battery itself can be charged with any micro usb cable so in case you ever lose the included cable, you’ll be able to use the charger from your phone, unless you have an Iphone which uses a different cable.


One thing that I found neat was that you can also plug in a flexible clamp meter if you need that functionality although the added accessory is not included.
As a side note, as I was inspecting the unit, I noticed there’s a micro usb port on the back of the multimeter where the battery goes. Obviously the multimeter doesn’t save thermal images onto the device so I was curious as to see what this usb port was for. I contacted Flir to see what the port iss for and waited for their reply. In the meantime I plugged a standard micro usb cable into the back of the multimeter and plugged it into my pc to see what would happen. To my surprise nothing happened on the computers end, but I did notice that the usb cable provided power to the multimeter. This was interesting because the multimeter was in the off position but yet it was on. I scrolled through a few features and the ones I tried out worked as normal even the light, thermal imager and laser functions. Although the manual says not to operate the unit with the battery cover off so don’t try this at home or in the field. Soon after I got a response from Flir and they mentioned that the usb port on the multimeter was for upgrades.
Conclusion
The price of the unit is around $750 so it’s not exactly cheap. Is it worth it? It all depends on your situation but I will say this, it sure beats having to carry multiple tools separately. Especially when you need to carry both a thermal imager and a multimeter. This two in one combo not only saves space but it also saves precious time as it speeds up troubleshooting and we all know time is money. I would gladly pay extra for tools that make my job easier and quicker and therefore make me more money. The multimeter portion offers a pleasing variety of functions and then some. I personally liked the integrated non contact voltage detector and built in light. Those are two more separate tools I wouldn’t need to bring on my projects further cutting down on tools needed to carry around. The thermal imager portion of the unit is very usable and offers core thermal imager features and even comes with the aid of a laser for pinpoint temp readings. After using the Flir C2 I did miss the additional features found on the Flir C2 that this DM248 unit does not have such as the ability to save pictures and does not have the MSX technology of the C2 such as dual image sensors for added picture detail. For users that want a full featured thermal imager will have to look elsewhere.
![]()

Leave a Comment